
Scrambling the Mt Baldy traverse in Kananaskis, AB
After a week of misadventures (and some victories) in the Canadian Rockies, I’ll be honest: we were hoping to sleep in. Not very glamorous for our final day of what was supposed to be a week of mountain climbing, but it had been a week characterized by pre-dawn starts, intense rain, thunderstorms, painfully heavy packs, sketchy ice crossings, being lost, and some of the fastest rappels I’ve ever done. Coupled with some gruesomely sore legs from a big climb the day before, we were just hoping for an easy win for the final day of our trip. Yes, an 11am start suited us very well.
Over obscene amounts of cheese the night before at the Grizzly House fondue restaurant in Banff (highly recommend) we hunted for the perfect mix of criteria: a half-day, high quality scramble, with some decent elevation gain and exposure, but nothing too long or committing, or requiring climbing gear. And after multiple episodes of getting lost on the way to routes, we were hoping for something with very straightforward route finding. We were to find all this in the Mt Baldy traverse, across the road from Barrier Lake in Bow Valley Provincial Park, Alberta.
The Mt Baldy traverse is actually a collection of three different Mt Baldy summits: the true summit at 2192m, then Mt Baldy South (2145m) and West (2125m). From the Baldy trailhead beside Barrier Lake, we chose to ascend the well-travelled path to the main summit, traverse to the south summit, and then take the standard scree gully descent back down to the parking lot. Note that completing the west summit, and then either doubling back to the scree gully descent trail, or continuing down another trail off the west summit, is also possible (note that the west summit trail leaves you at a different point up the highway though, so you’ll have to add some time for a walk back to your car). After some conflicting research, we chose to do the route clockwise – seems like some are adamant that this is the best direction to complete the traverse, while others insists counter-clockwise is superior. While I can’t speak to the counter-clockwise direction, I can say that I’d do the traverse clockwise again, as route finding was reasonable, difficulties were short-lived, and no ascents nor descents were too terrible.
After a slow morning and leisurely drive up to Kananaskis (note that you’ll need to purchase a Conservation Pass to hike in the park for this one, $15 per vehicle for the day as of Aug 2022), we arrived at the Baldy trailhead. We picked up multiple footpaths right away – make sure to the take the leftmost one if you intend to do the traverse clockwise. Keeping right will take you up the descent trail, and incidentally, past a cool little sport climbing crag, if that’s your jam. (Looked like good rock, with little plaques at the bottom of each route with grades. I love stumbling across little gems like that).
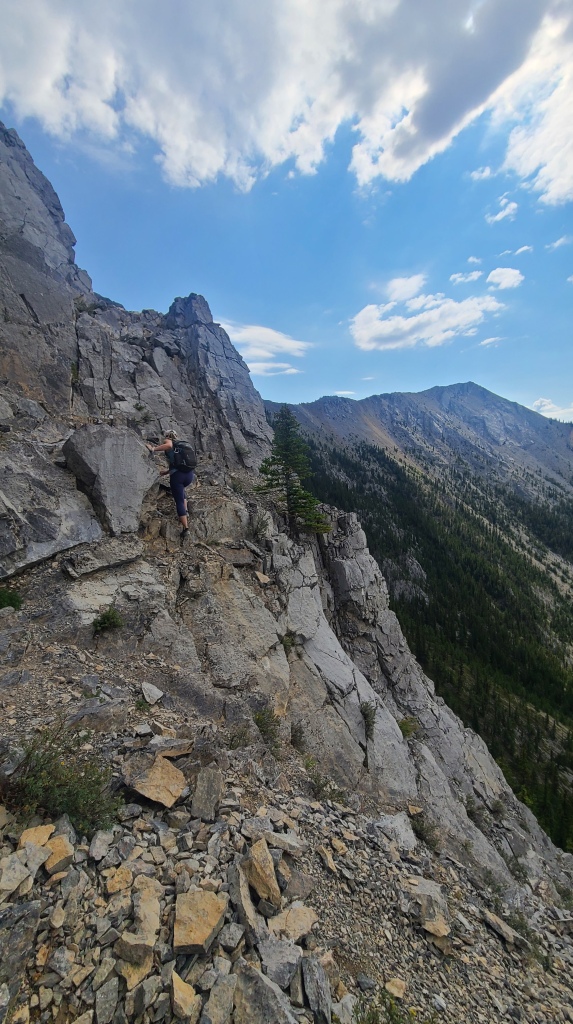
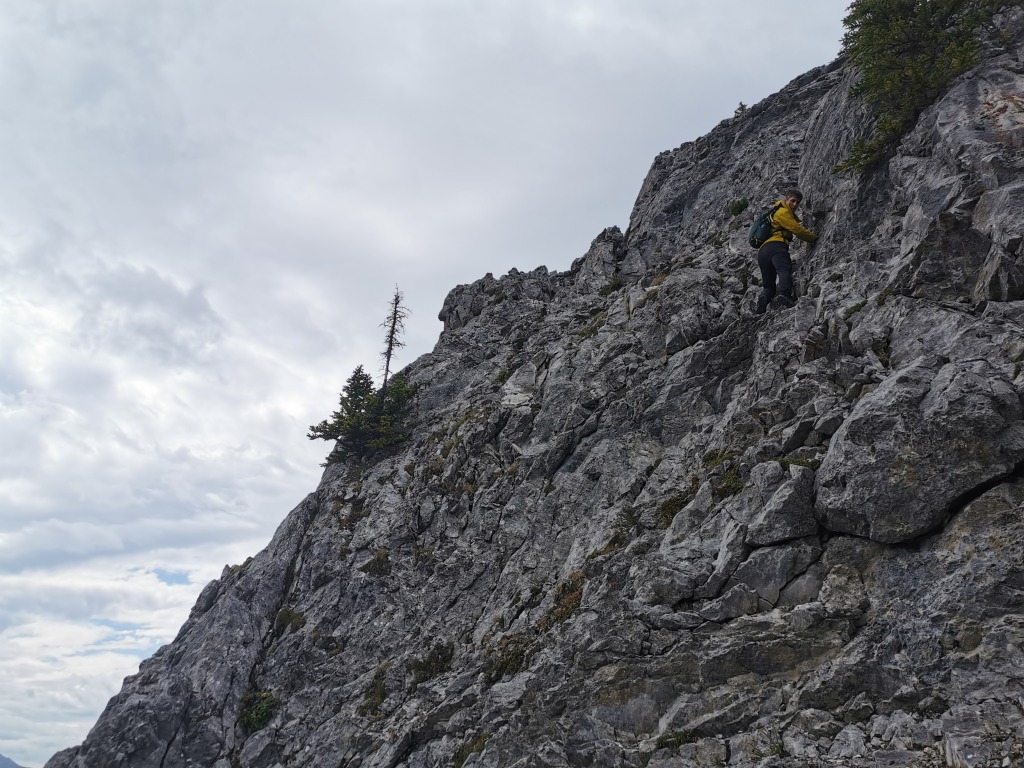
Unfortunately for my sore calves, the trail creators clearly did not believe in switchbacks. The Baldy trail ascends steeply straight up, pretty much until you hit the first summit and descend to the ridge. Sorry legs! After about 45 minutes of calf-crunching, we encountered the first bits of scrambling. This section consisted of short bursts of class 3 climbing on pretty solid rock, and was very enjoyable. Some thoughtful route-finding will help you avoid anything too intense. Keep high and left at the first obvious trail junction for good and easy scrambling – right will take you into a mess of loose scree, from what I hear.
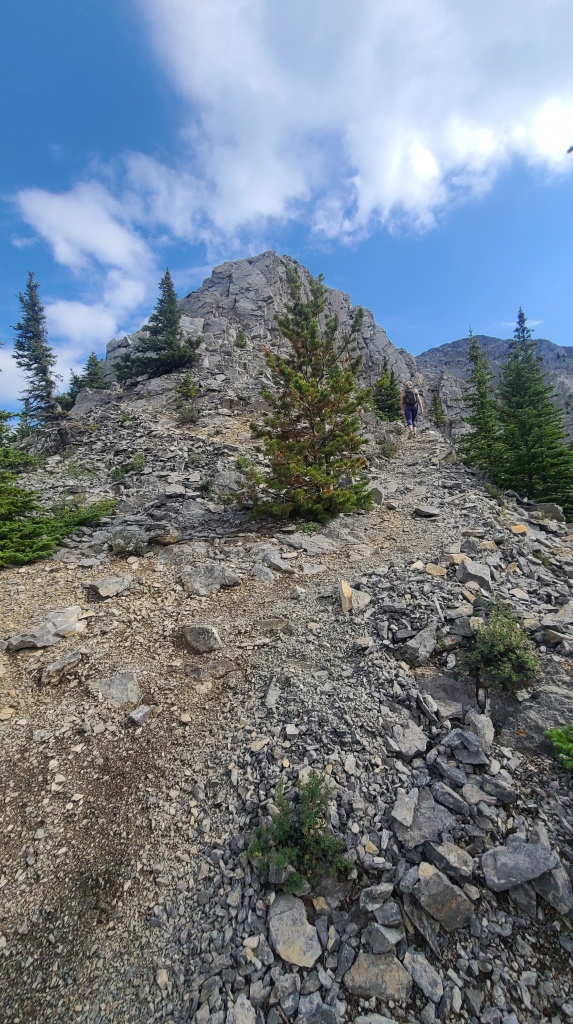

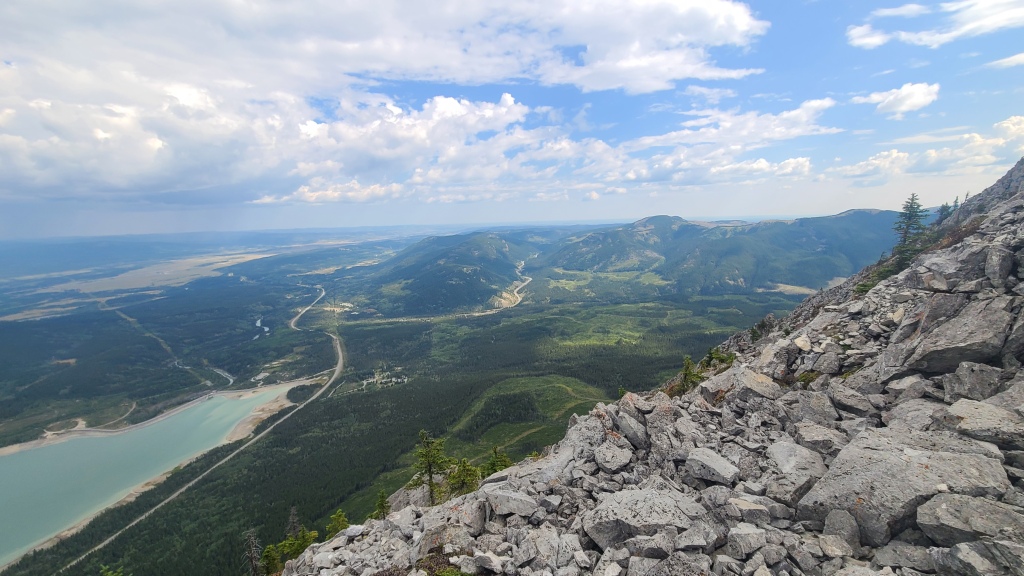
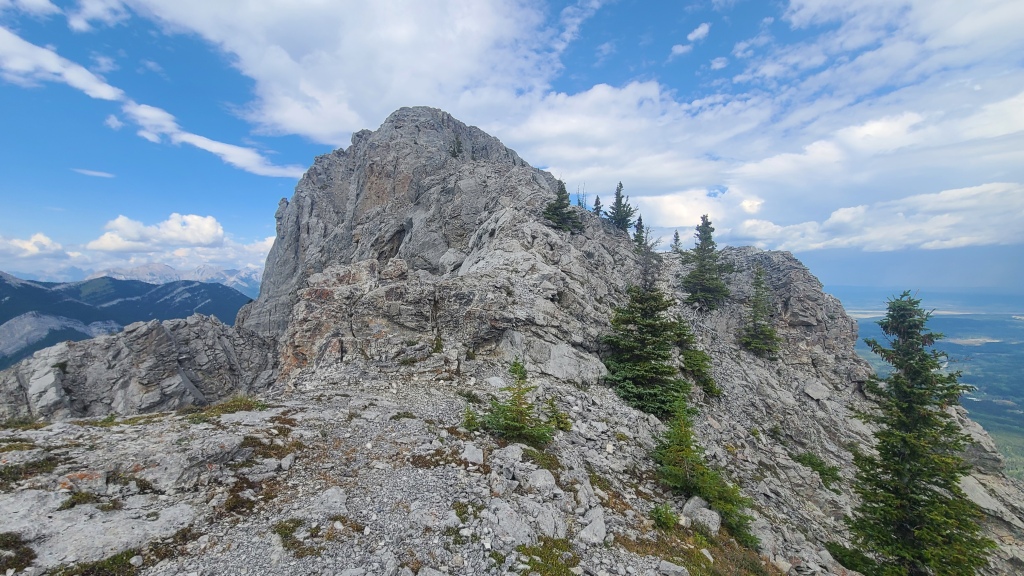
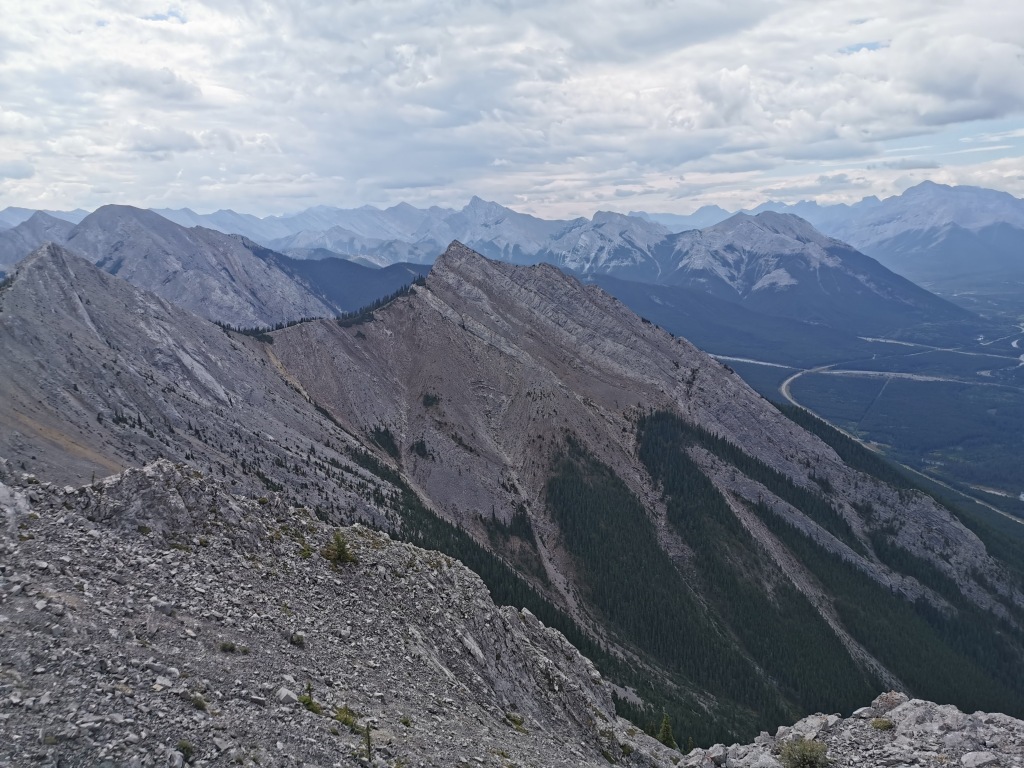
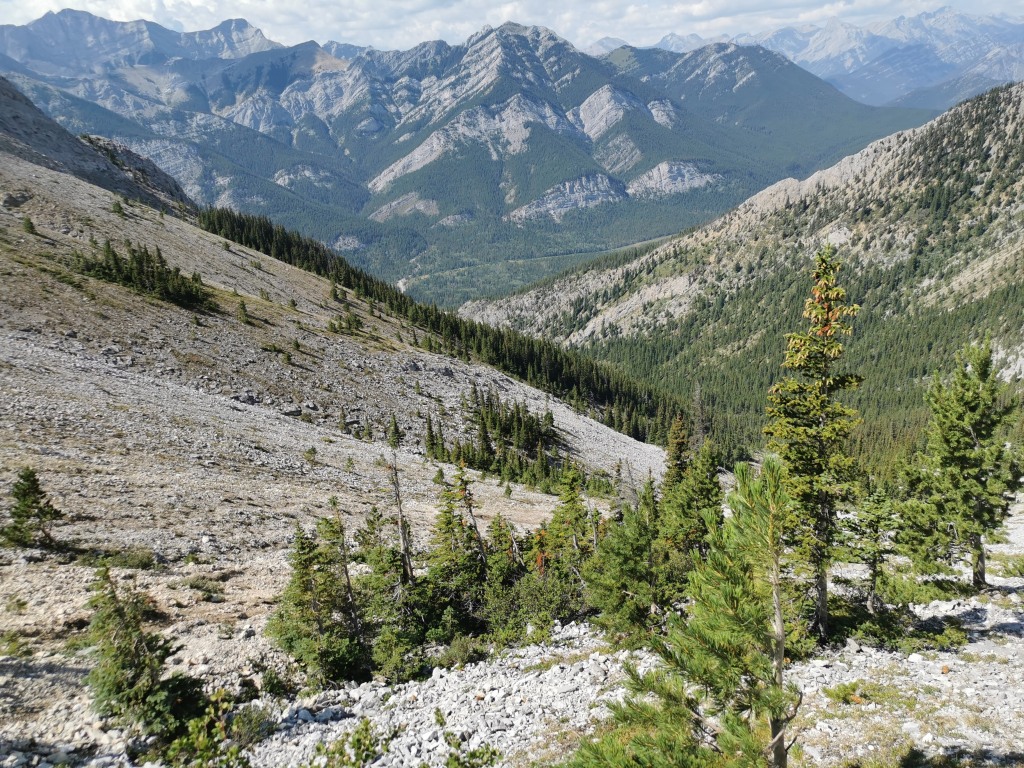
Shortly after the scrambling begins, you’ll get your eyes on the false summit. While this rock tower can look a little intimidating, my experience has been that these things always look worse from a distance. As we neared the rock, we kept right, aiming for a little saddle between the rock peak and small spur on the far right. Easy and unexposed climbing quickly got us through this section and onto the final switch-backing climb to the main summit. If you look right as you ascend, towards the saddle between the south and west peaks, you’ll catch a glimpse of the descent trail (you’ll want to note this for later), which is marked by a dirt-coloured band dropping into the valley below, with a faint trail visible lower down the slope. Again, it looks pretty steep at first sight from far away, but it’s really not that bad once you’re on it.
My poor legs demanding rest, we followed the footpath up the side of the mountain to the first summit. This part was probably the least enjoyable of the whole traverse, as the climb, while easy and not technically scrambling, has a lot of loose rock. Once at the top, we threw on our wind-breakers to defend against the aggressive breeze and took a few minutes to enjoy the view before continuing on for the traverse.
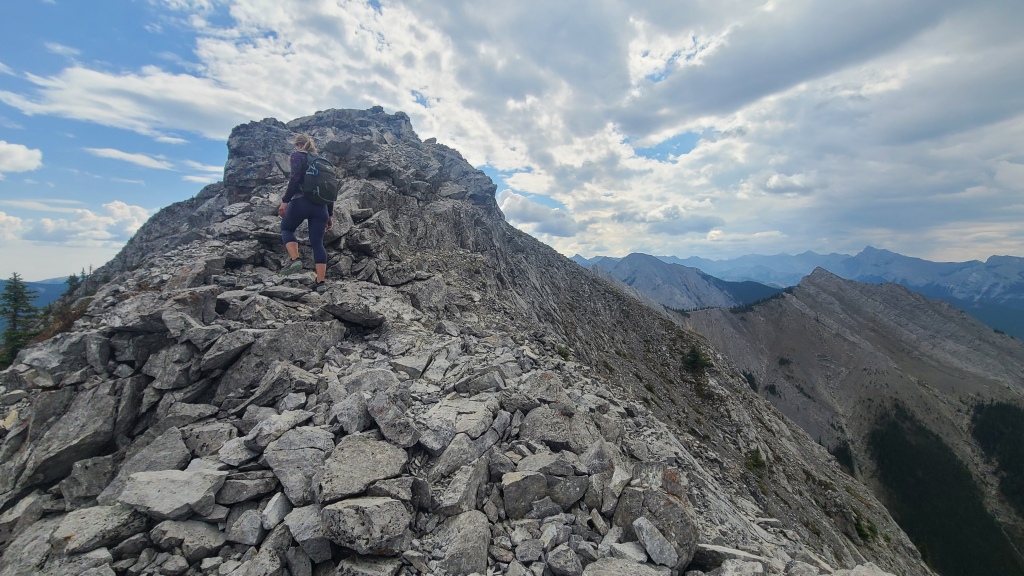
The route-finding along the ridge is somewhat straightforward – generally, stay at the top and use some common sense on what is reasonable to down-climb. A few cairns are placed here and there, but not reliably, so don’t rely on them. The crux of the entire route, in my opinion, happens while down-climbing just before the low point between the main summit and south summit. Here, if you stay straight and high on the ridge, you’ll encounter a section of pretty committing and difficult down-climbing. Instead, turn left and pick out an easier path down onto the dirt by the trees. While I’d still call this down-climb the crux, it’s reasonable, with minimal exposure. A small push upwards from here will place you back on top of the ridge on an extremely gentle walk towards the south summit.
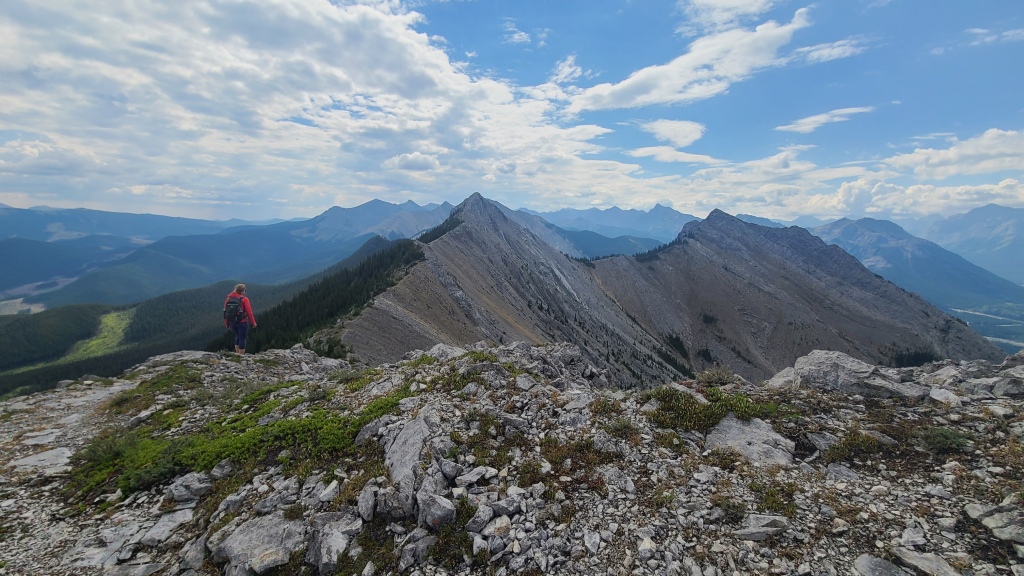
The south summit is easily hiked, and after a few more photos, we began our descent to the saddle between the south and west peaks. Ensure you keep right as you descend, as another more appealing trail will you pull you left to an entirely different ridge if you’re not careful. The descent from the south summit was not super pleasant. The slope has lots of loose scree, and is moderately steep, so take your time and watch your step. From the low point in the saddle, watch right and you’ll see another footpath steering you down into the descent gully. This trail is more of the same for another 15-20 minutes – steep and loose, and a little hard on the ankles. Eventually, this trail mellows out and takes you in pretty much a straight line back to the parking lot (passing through the aforementioned climbing crag).
The total traverse, including the main and south summits, was just over 6km, and about 850m of elevation gain. We completed it in just under four hours: two hours from the parking lot to the main summit, one hour to cross the ridge to the south summit, and one hour from south summit down the gully back to the car. Two summits, one ridge, four hours – and with more than enough time for a beer and a long sit in front of a campfire back at our campsite, it was hard to argue with that math!
Ever hiked in K Country? Tell me some of your favourite trails in the comments below!

Amazing hikes!
LikeLike