
– Winter camping at Mount Brew –
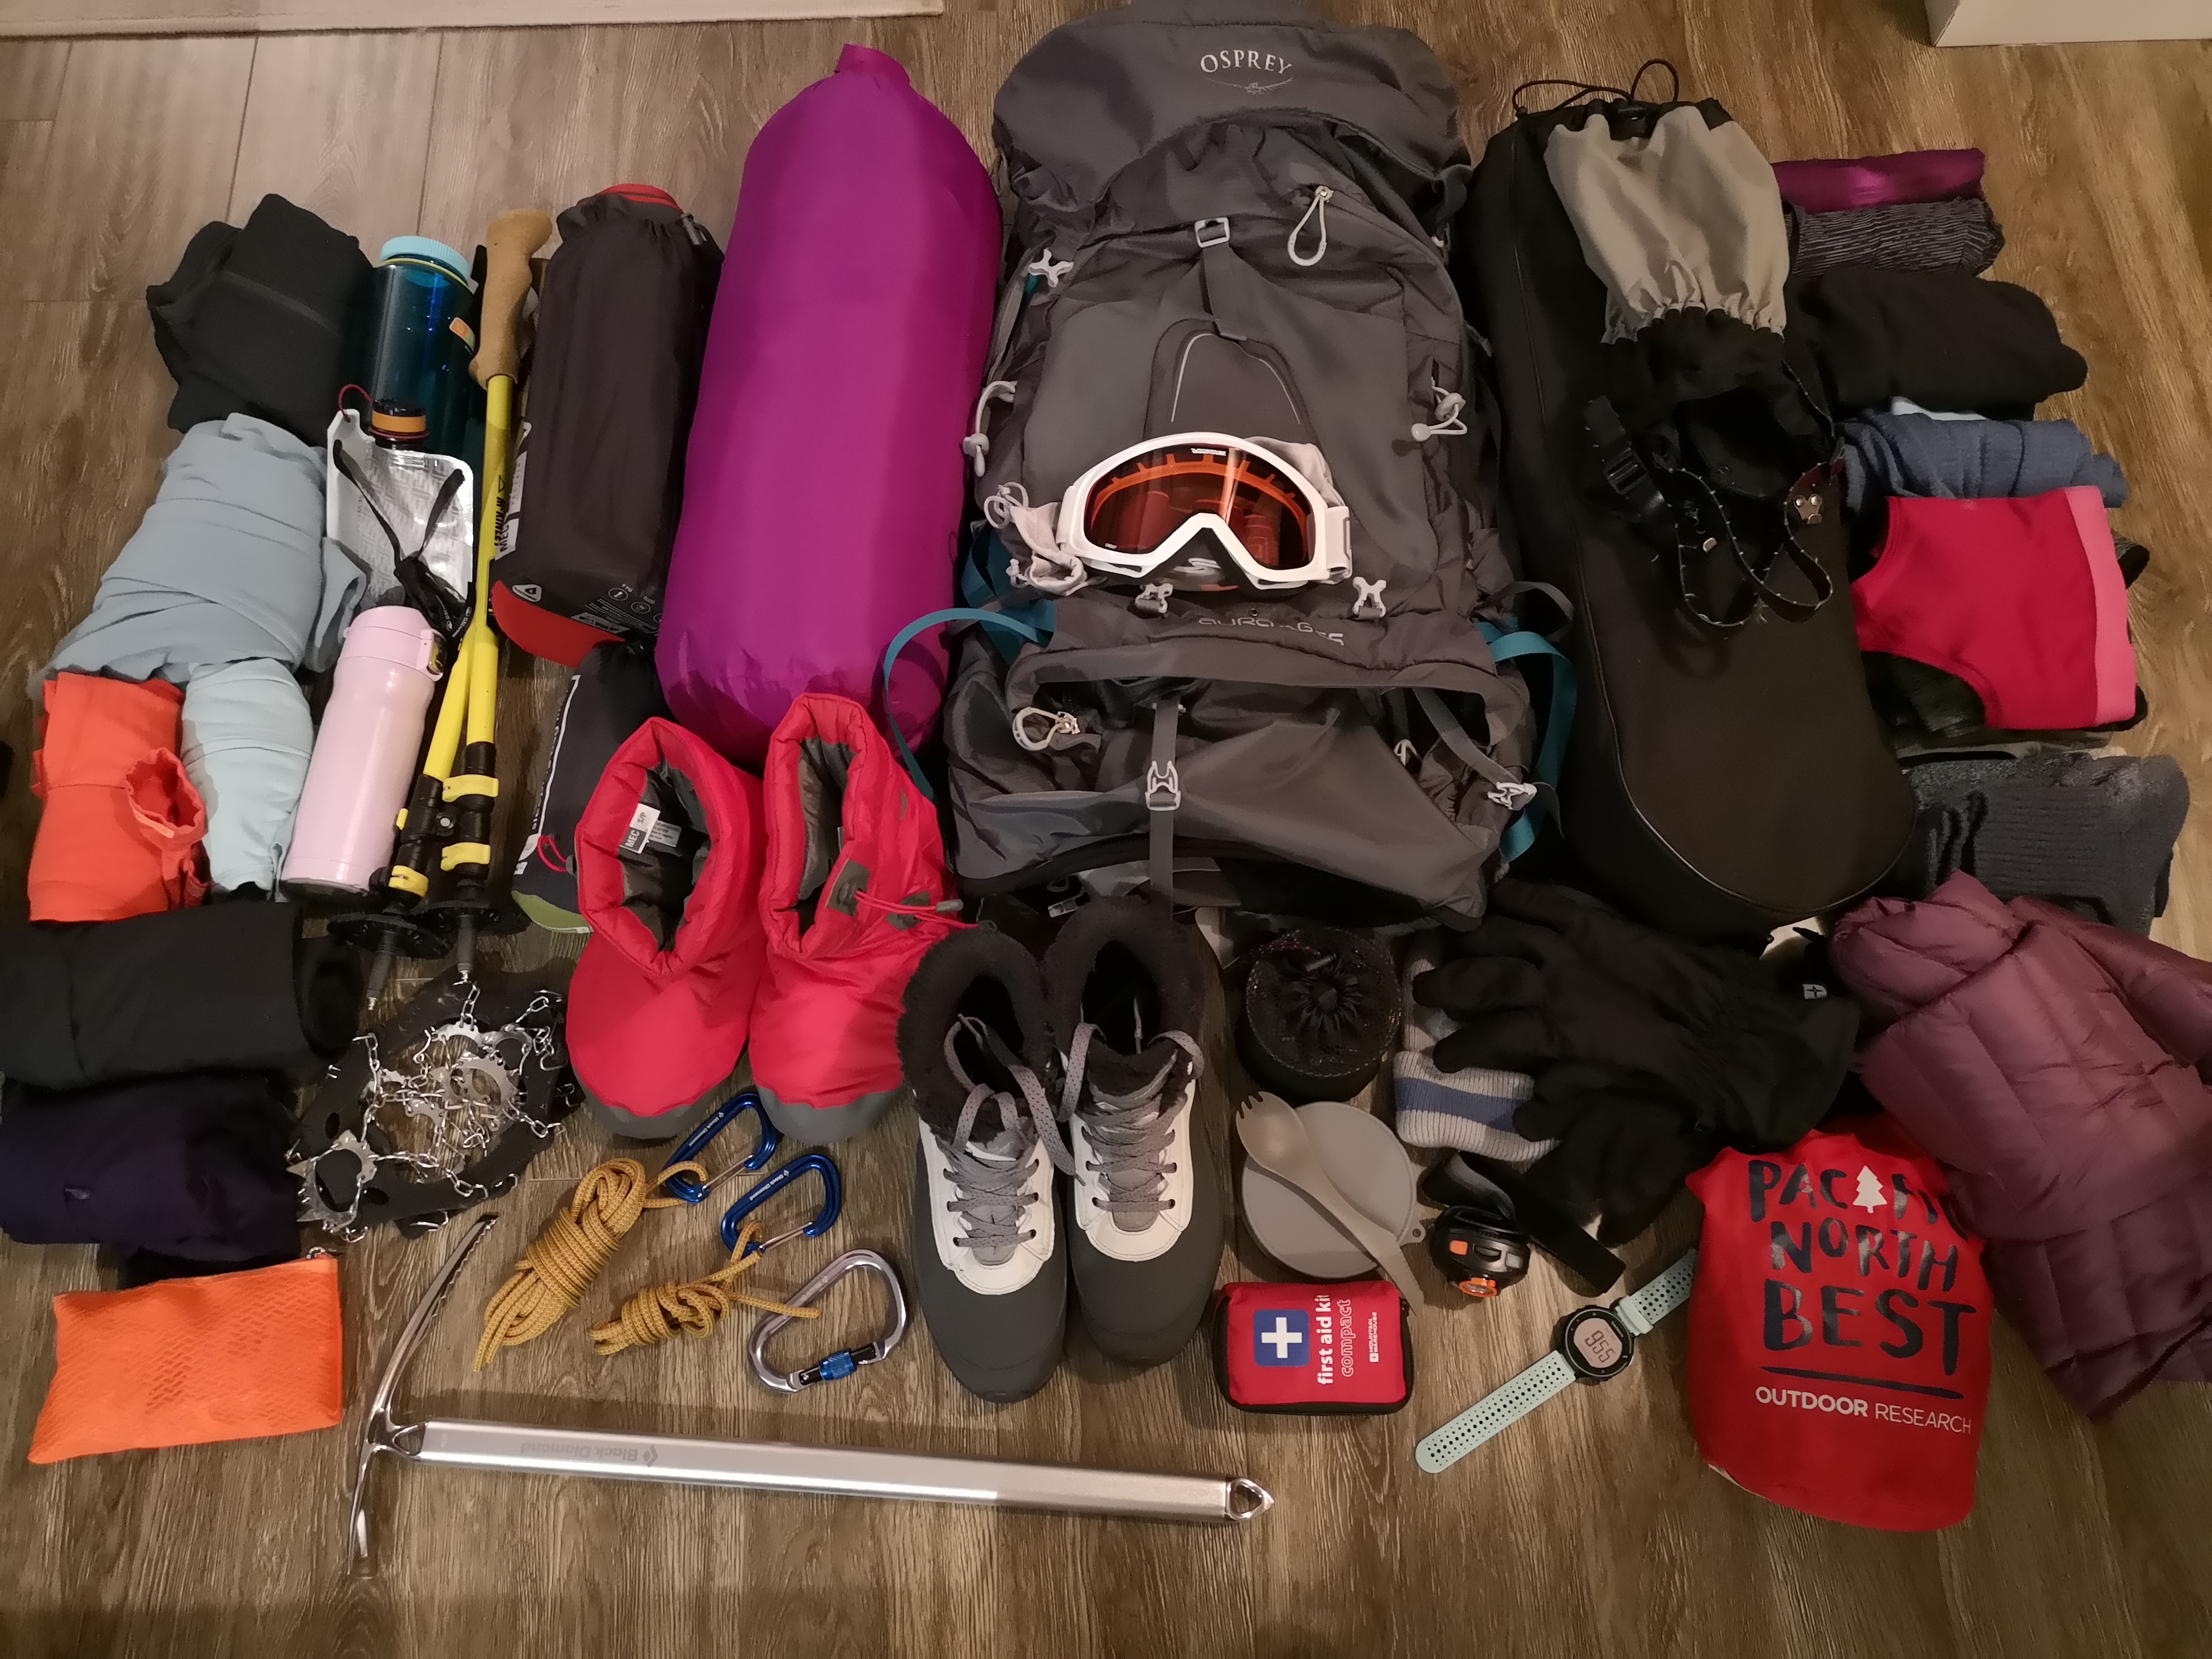
I found myself in the back of a Tacoma, wedged between 50 lb packs, snowshoes, and skis, making a shockingly entertaining attempt to drive up Roe Creek FSR to the trailhead for Brew Hut, an undeservedly obscure winter hike in the mountains north of Squamish. I was wondering at that moment what I’d signed myself up for. A series of mishaps dogged our morning, from digging out stuck vehicles (not our group), to hangovers (our group), to the ever-present threat of Yeti attacks waiting to disrupt our mission. This weekend’s objective? Reaching the Brew Hut on the south col of Mount Brew, where we would assess our winter camping savvy by pitching tents and sleeping in the -30°C air. With gear lists checked and re-checked, and the wonderful wood-stove in the hut as our safety net, we were prepared to test both ourselves and our gear.
The day started at the turnoff onto Chance Creek FSR off the Sea to Sky highway, near Daisy Lake. From here, we left one of our vehicles at the parking lot of Powder Mountain Catskiing company, and piled into the Tacoma for an attempt up the very questionable Roe Creek logging road. The road, passable in the summer, constitutes a lengthy approach to the trailhead, which we wanted to eliminate if possible. With significant amounts of snow, plus an incredibly bumpy washboard surface, this is a tough drive for anyone not in a snowmobile. We only made it about 1 km up before we had to abandon the idea altogether, shoulder the packs, and hoof it. While the hike up the road wasn’t very interesting, at least it made for a great warm up!
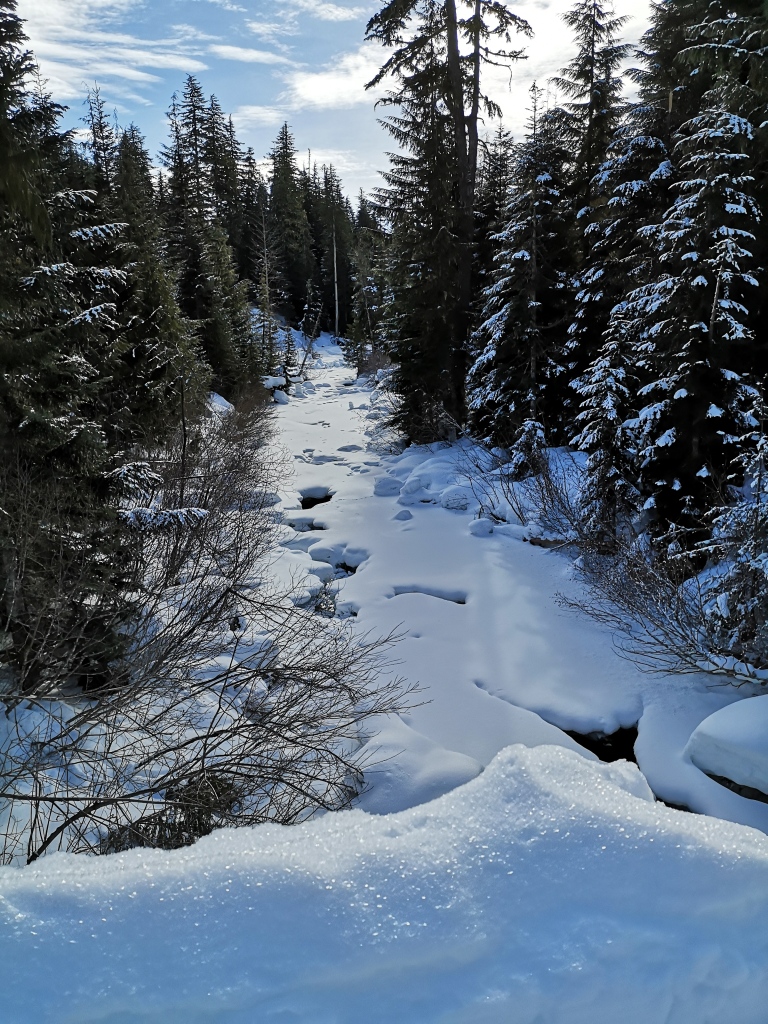

After about 3 hours and a lunch break, we reached the trailhead, indicated by a huge clearing which constitutes the summer parking lot. At this point, the trail enters the trees, and is well flagged. While the elevation was steady over the length of the road, the trail itself was much more variable – lots of ups and downs, interesting snow-loaded slopes, and tricky forest ascents presented themselves.
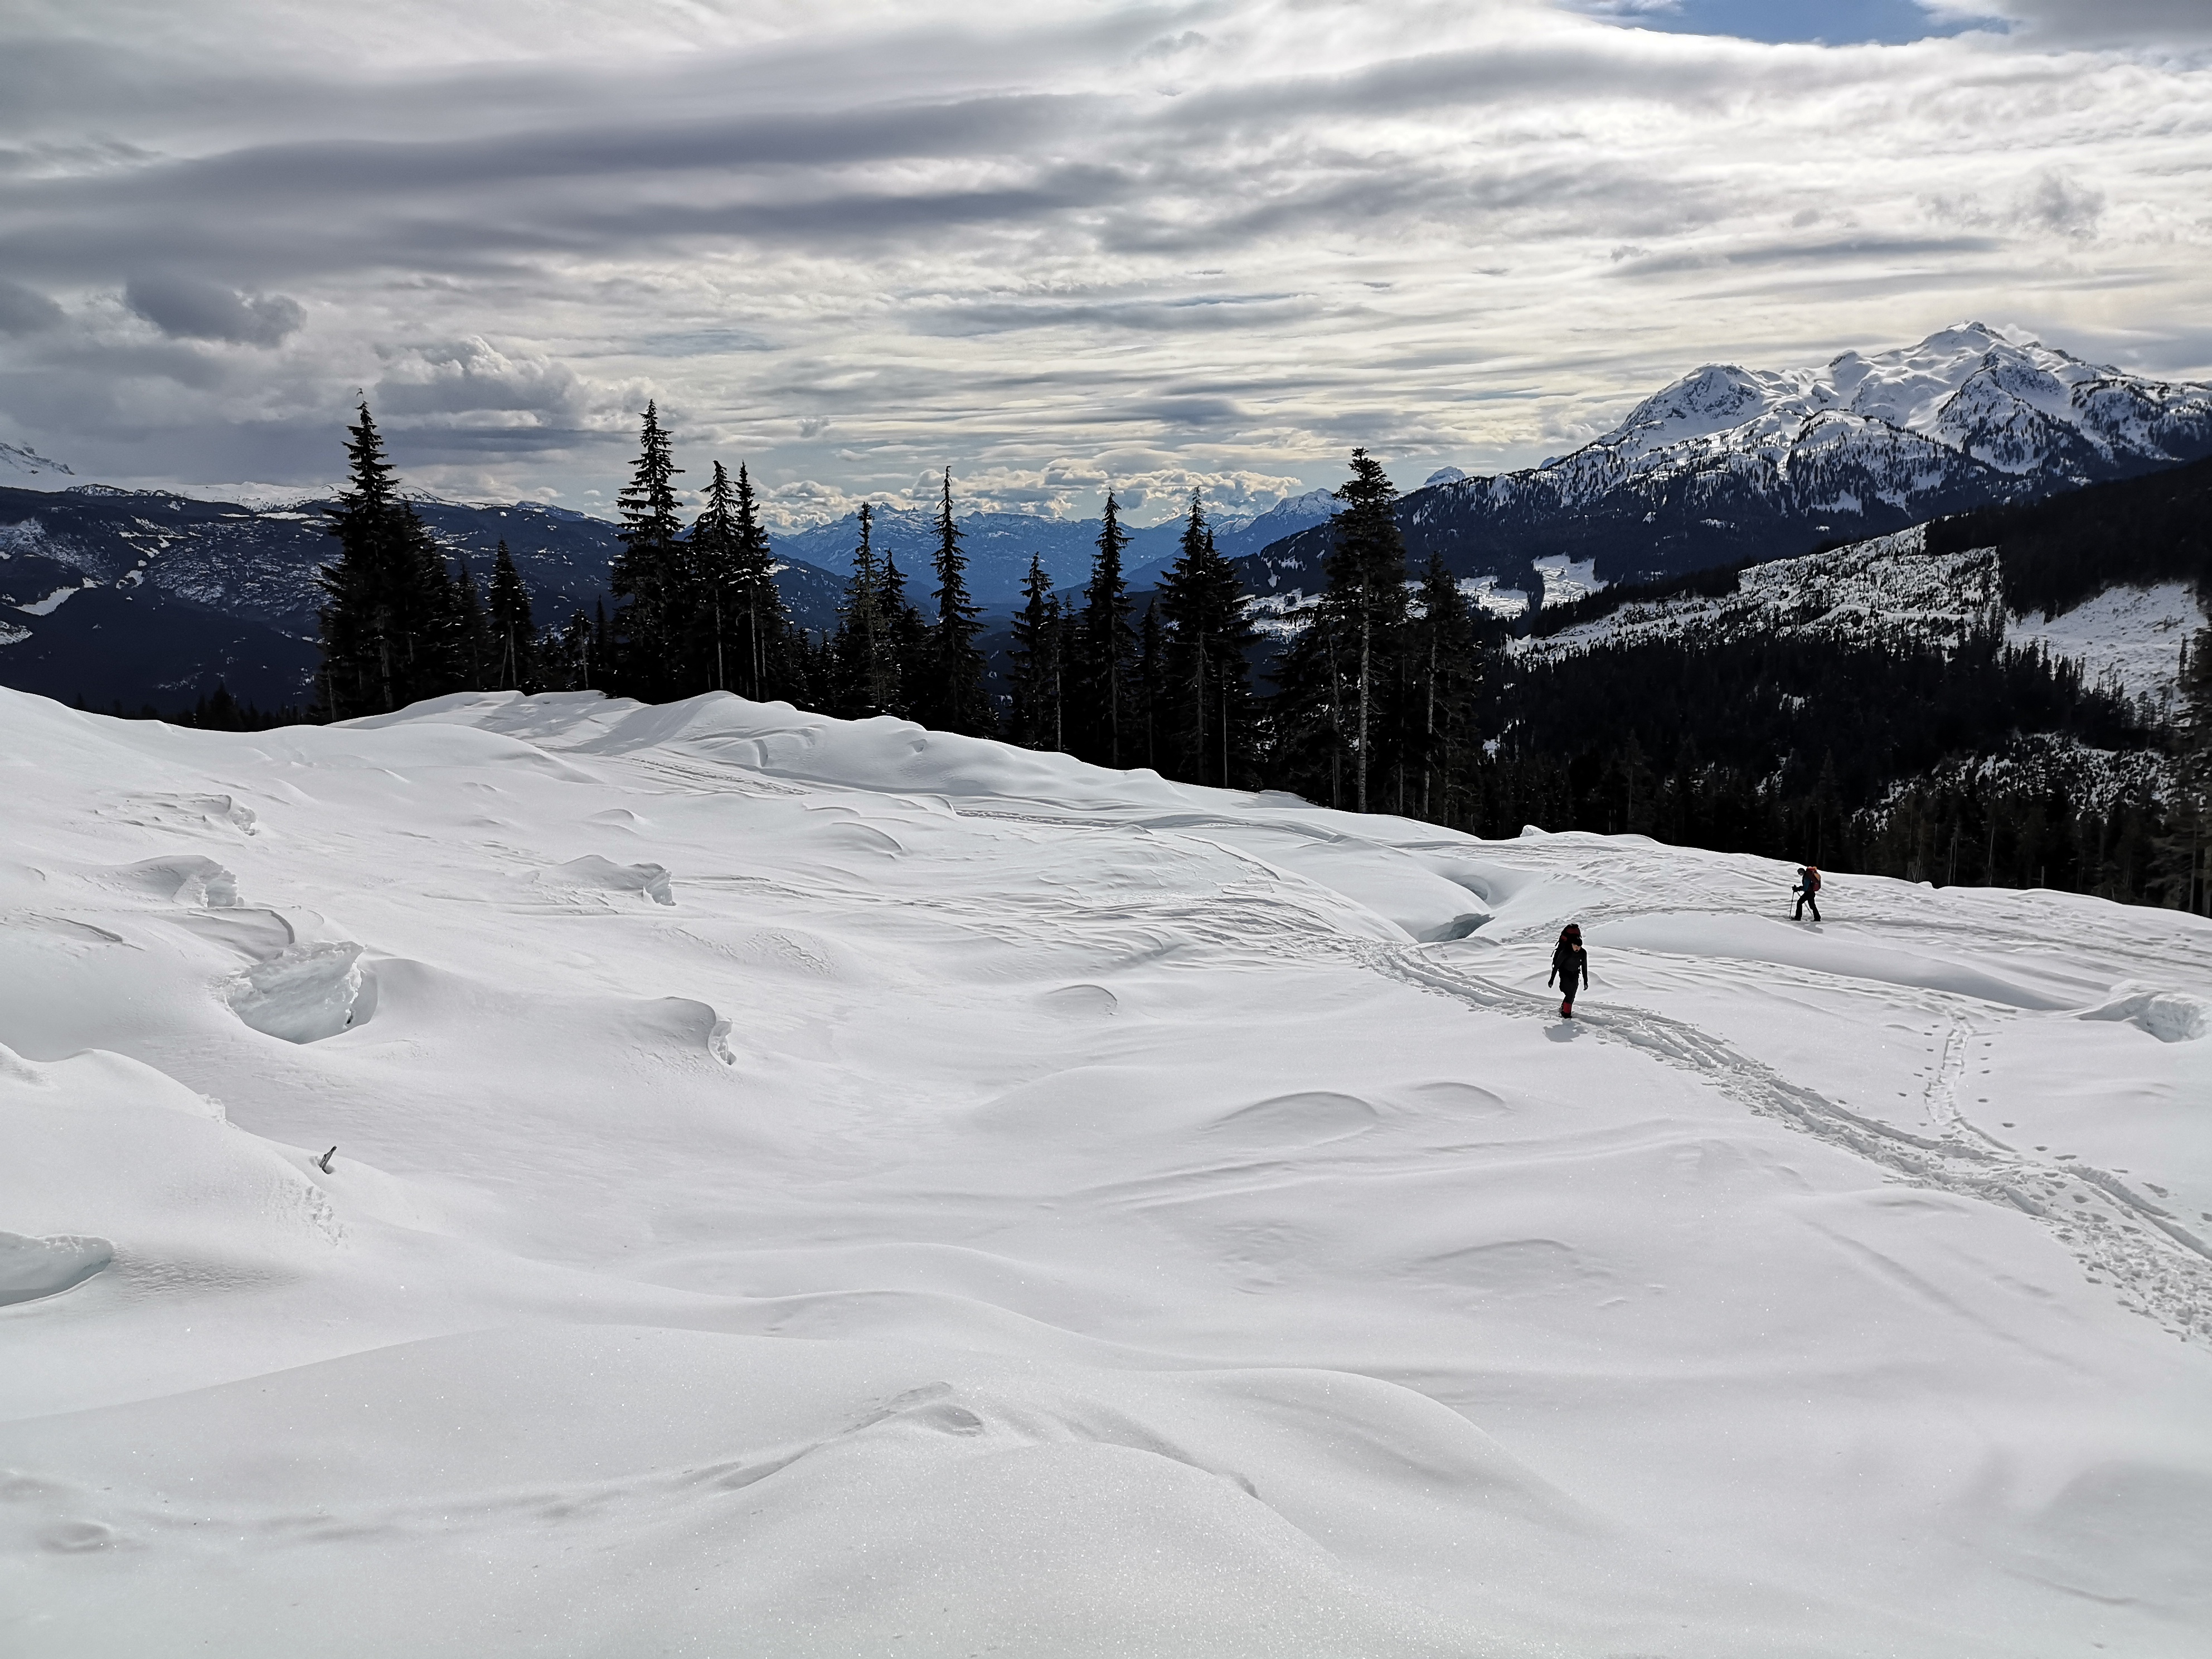
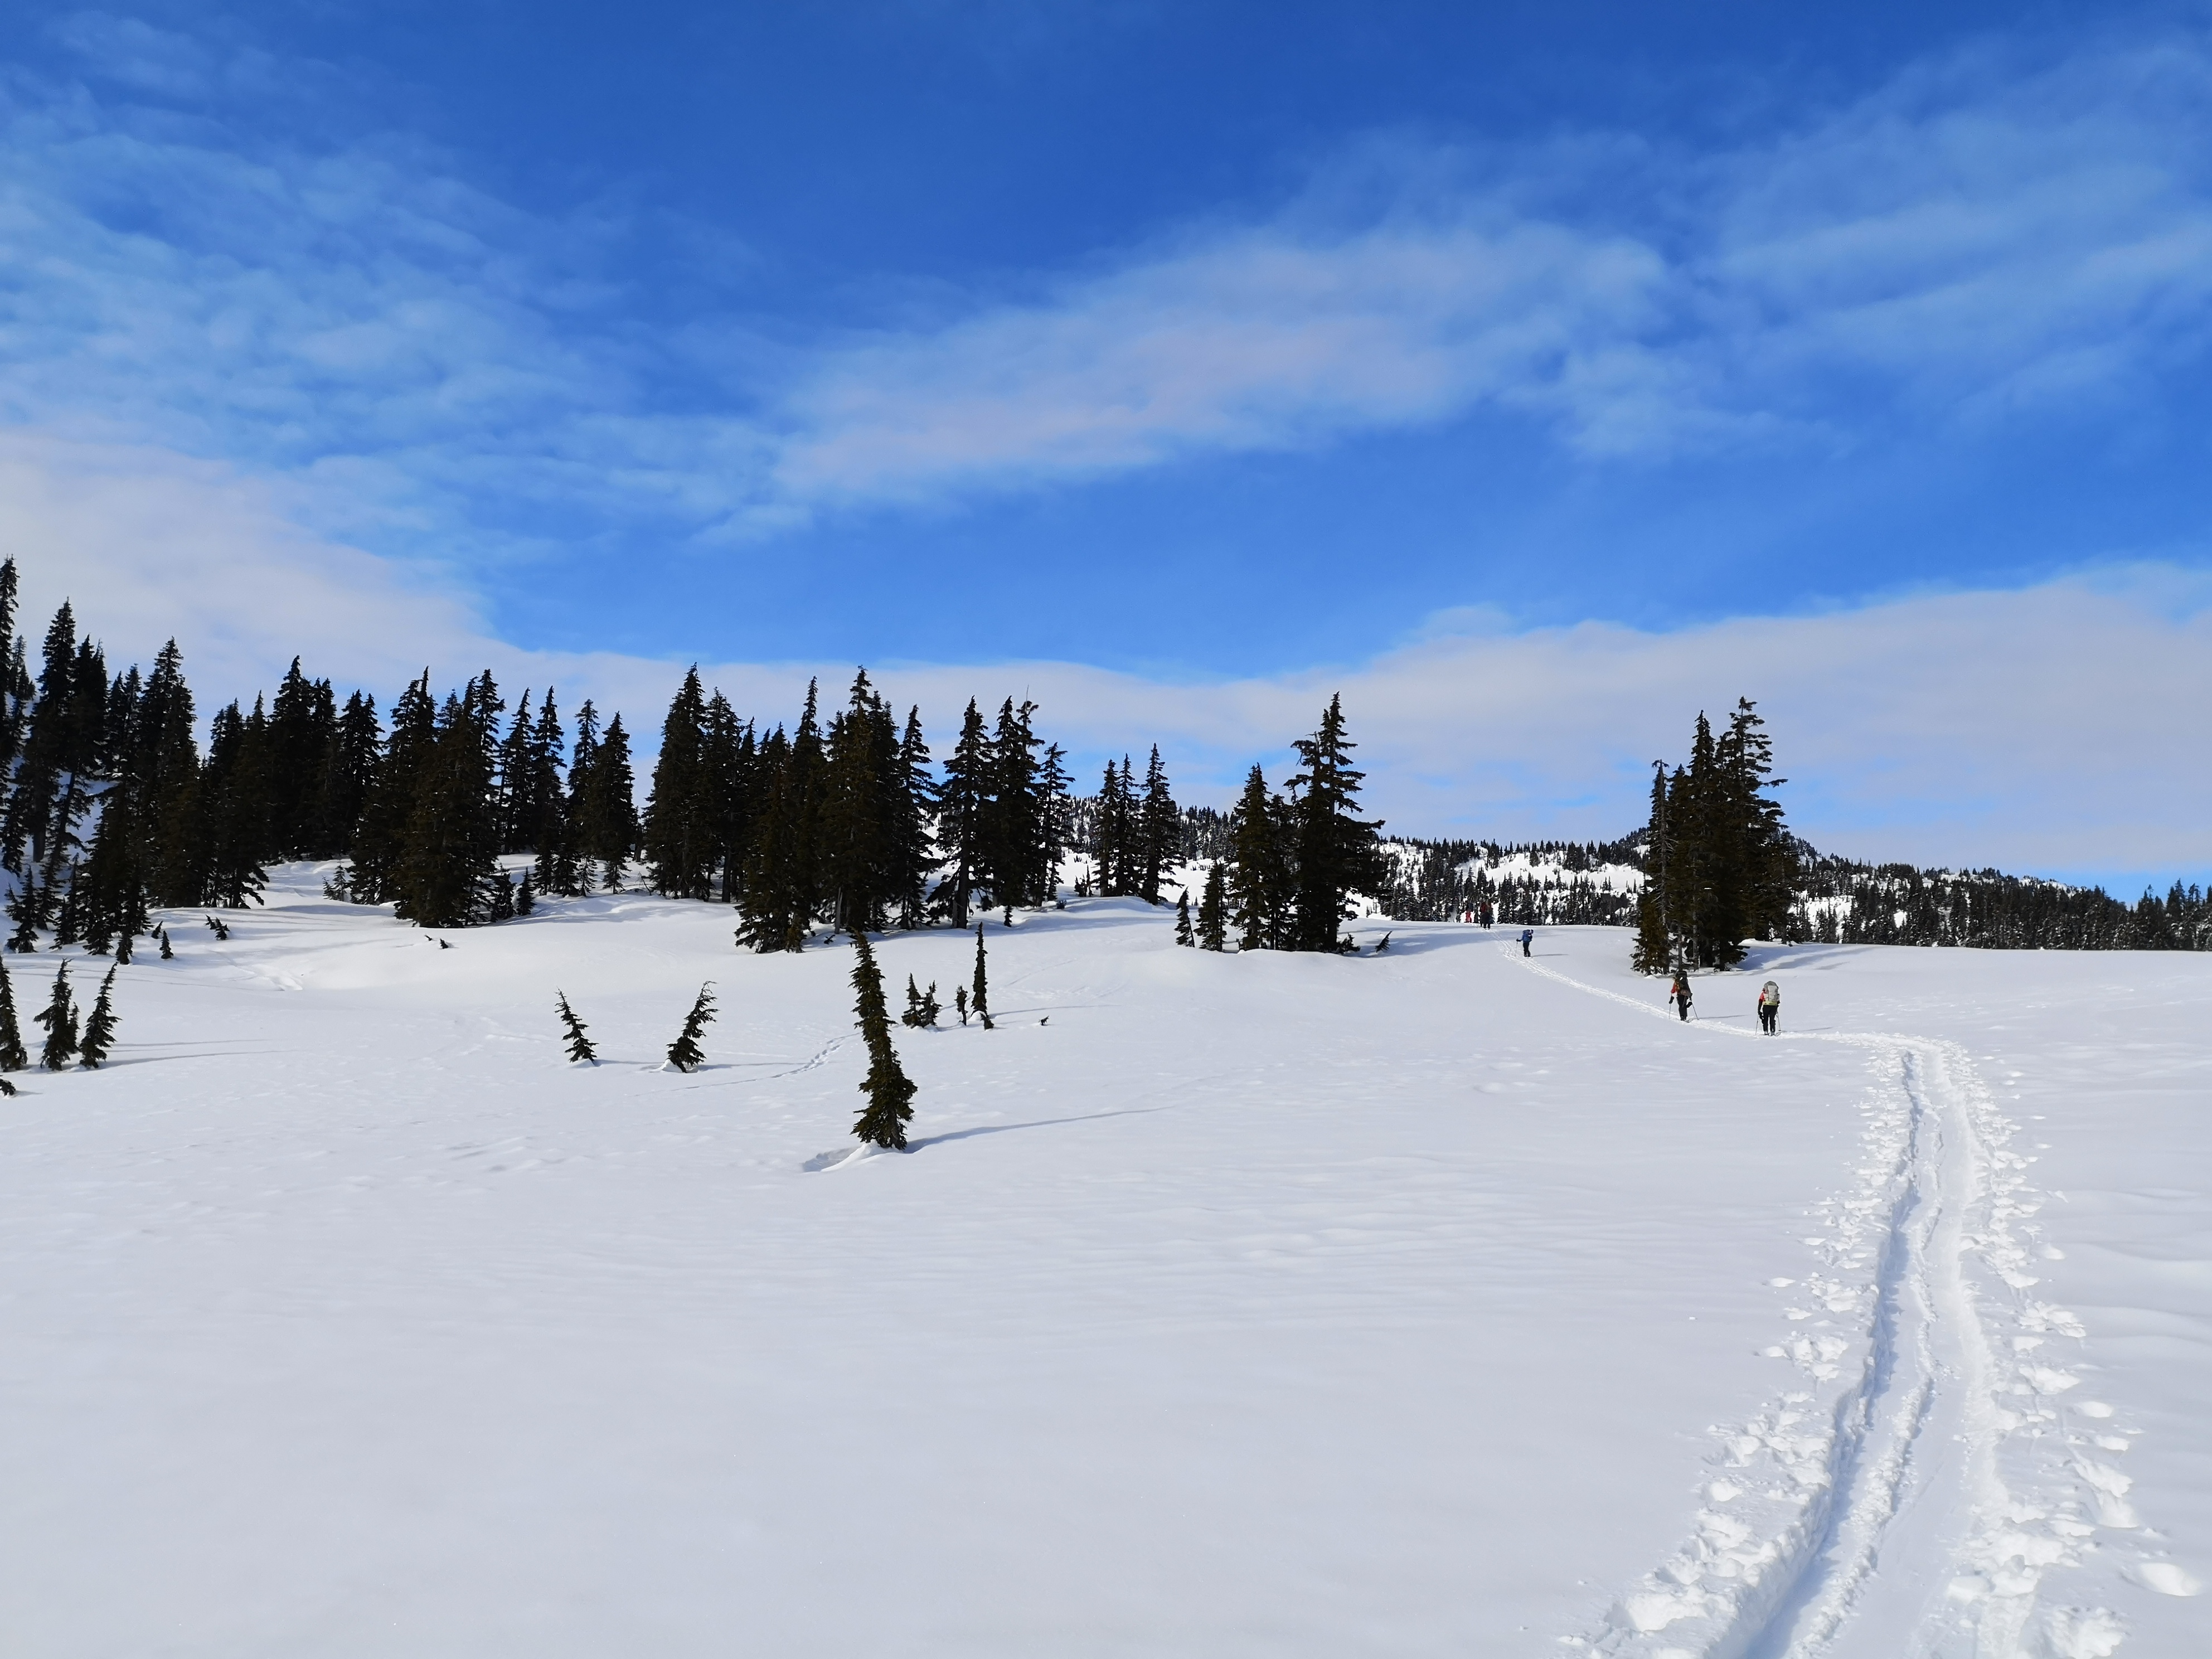
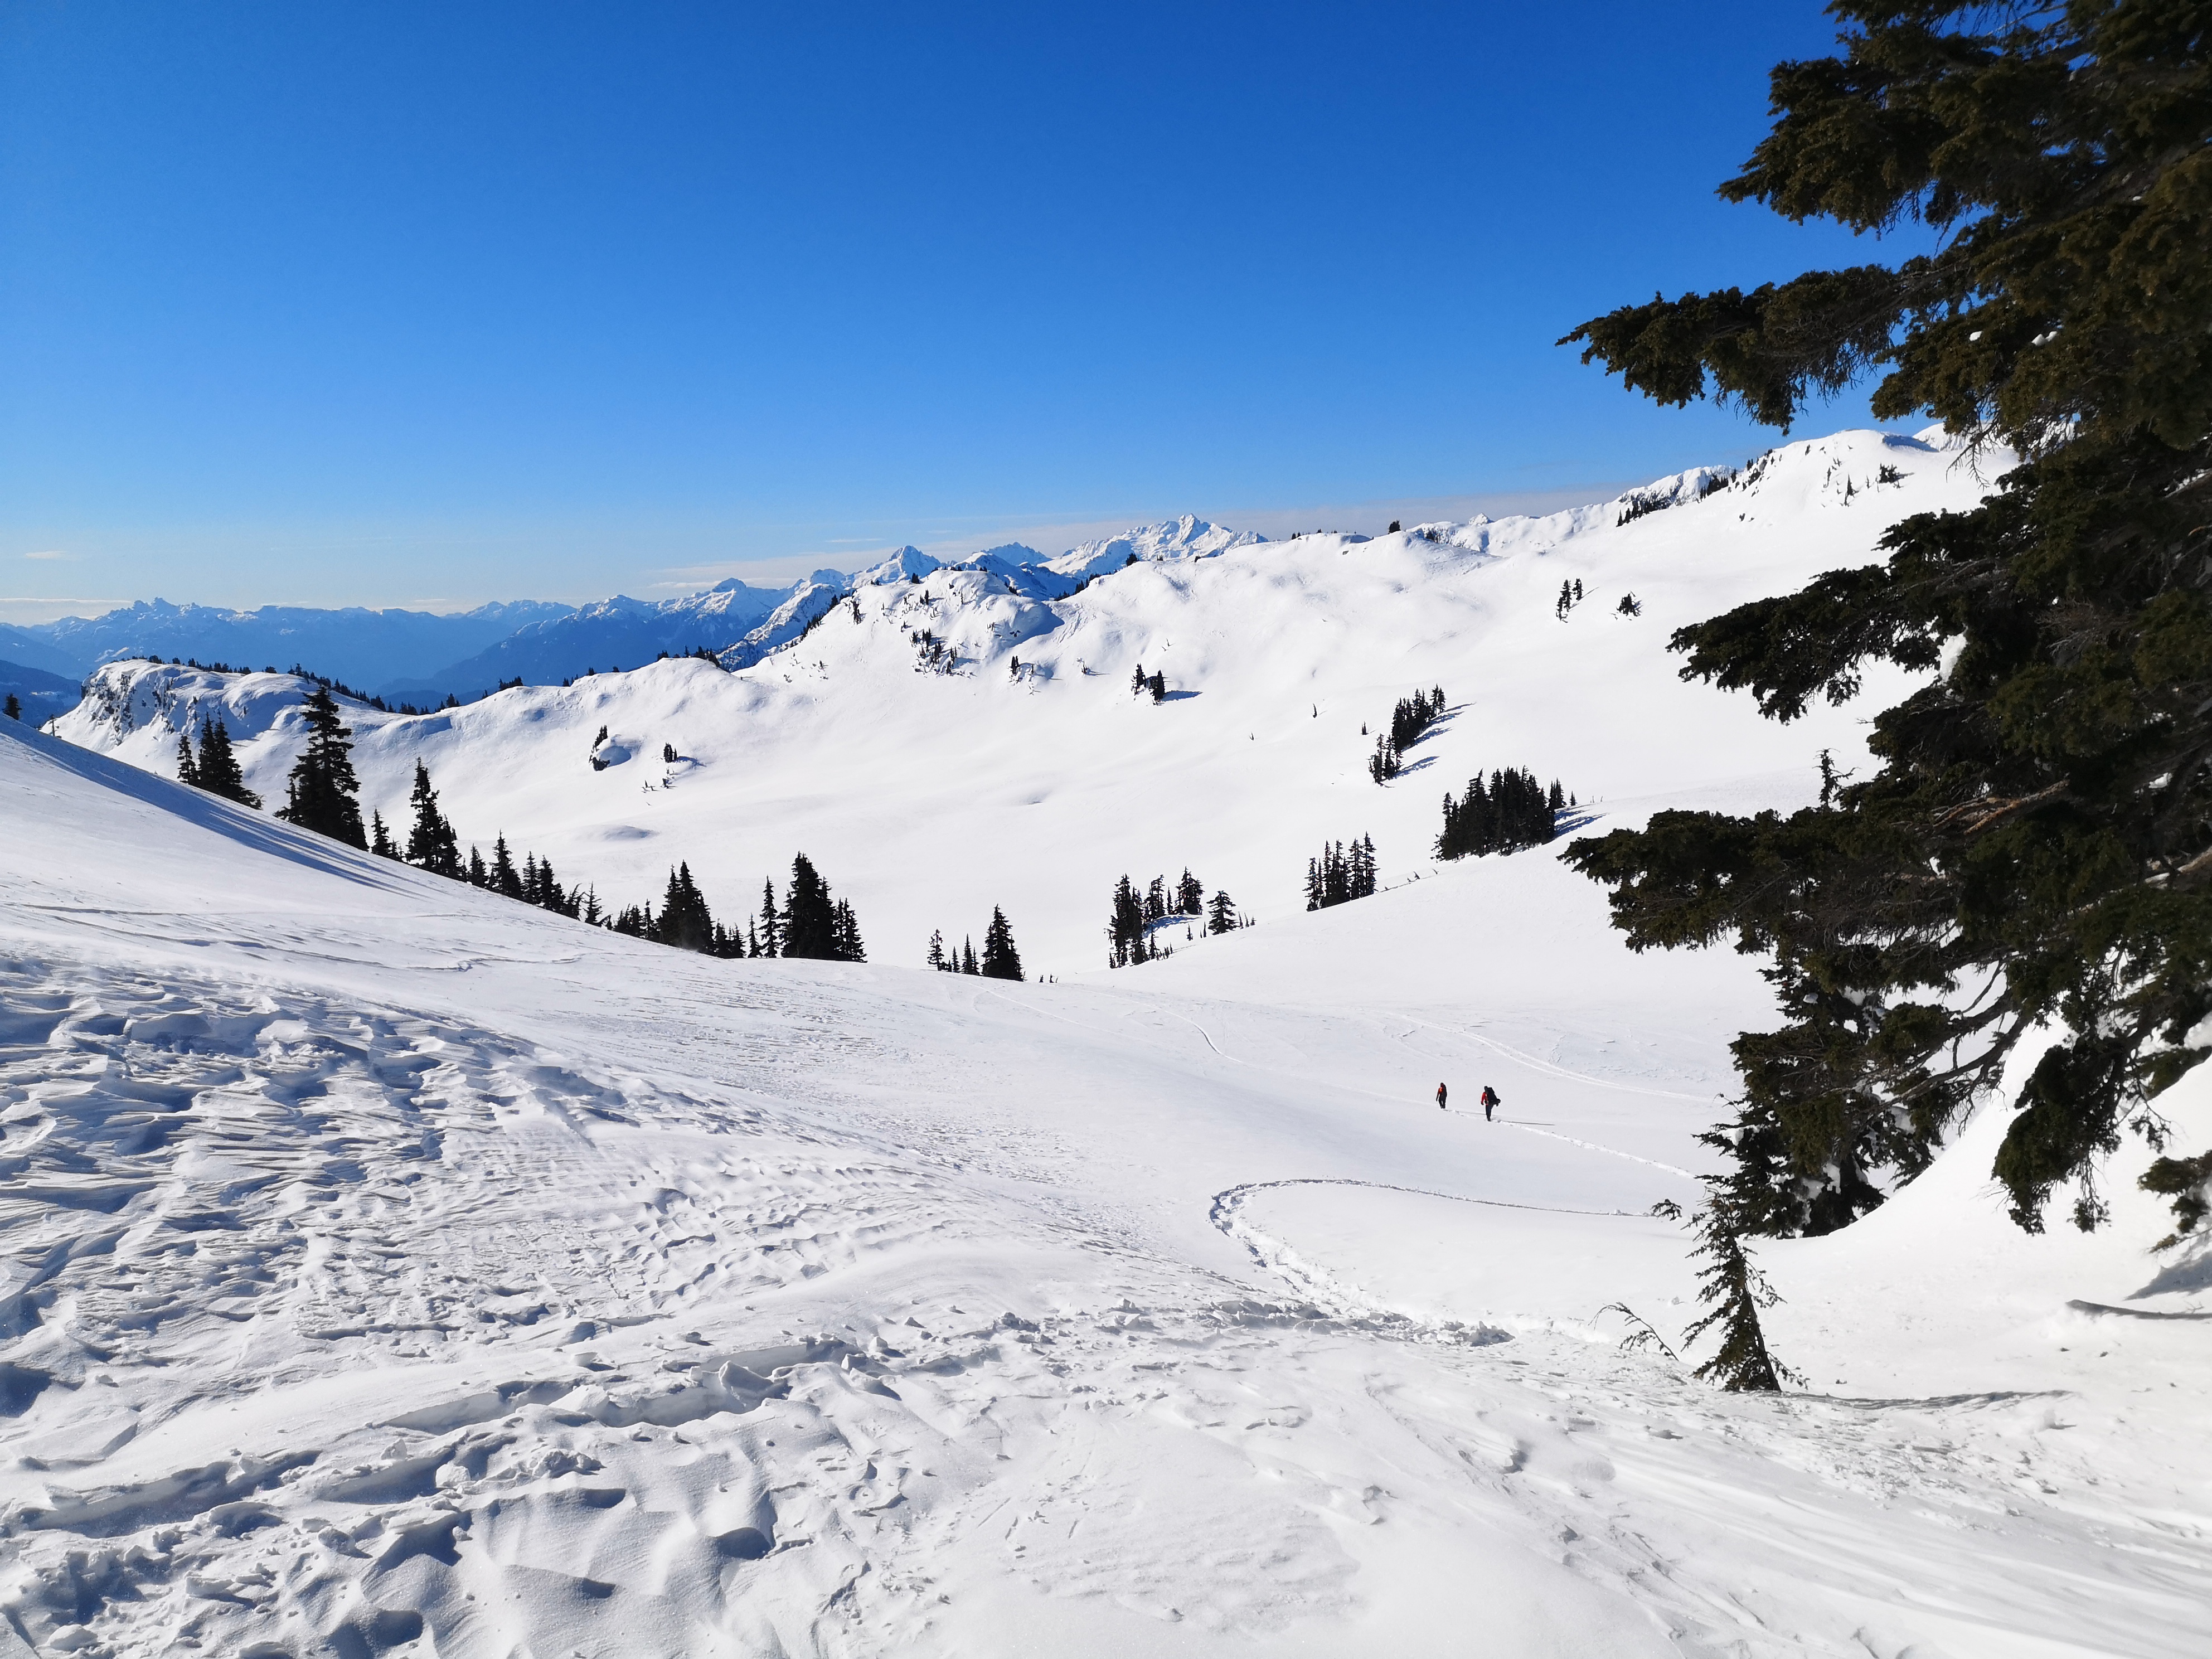
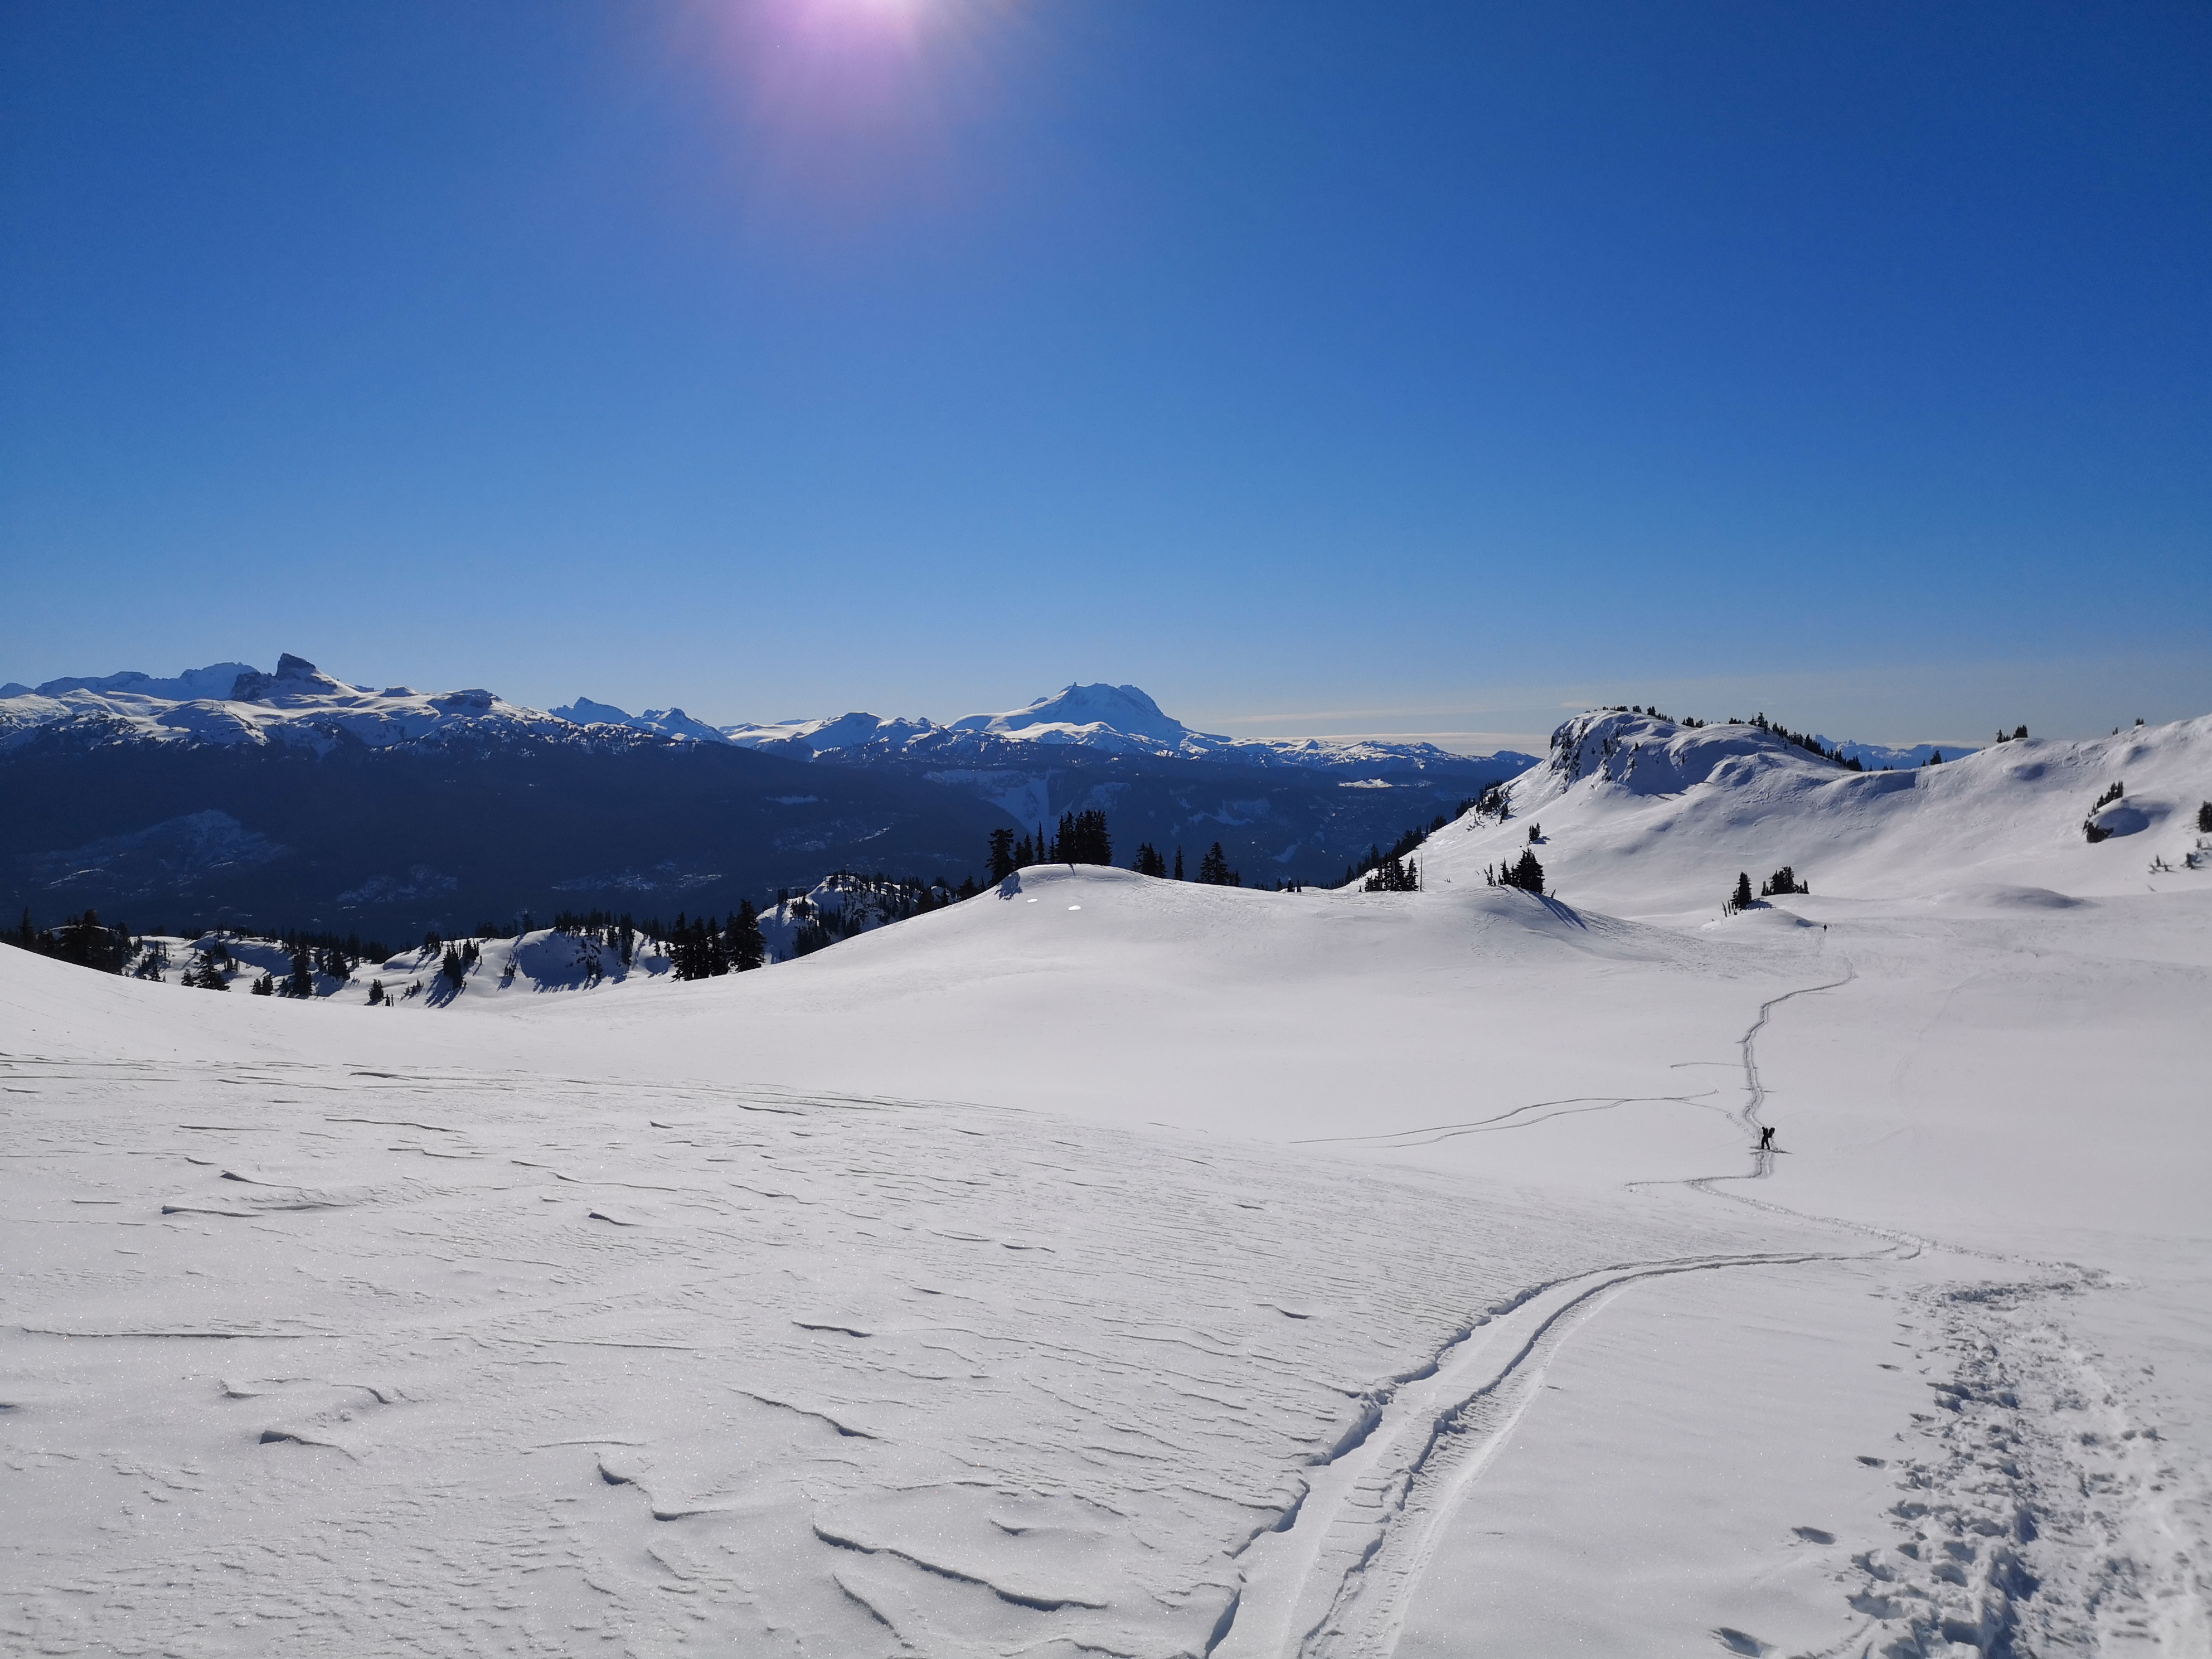
The last third of the trail was the best part: here, you emerge from the forest into the wide open space, and soon come across the frozen expanse of Brew Lake. Passing the lake on the south-west side, you steadily climb up the basin to the ridge south of Mount Brew. Note that the flagging ends when you leave the trees before the lake, so if there are no previous traveler’s tracks to guide you, some routing finding may be required. Luckily for us, it was a stunning, sunny weekend, and the hut itself was fully booked with ski tourers, so some well-defined tracks guided us the whole way up.
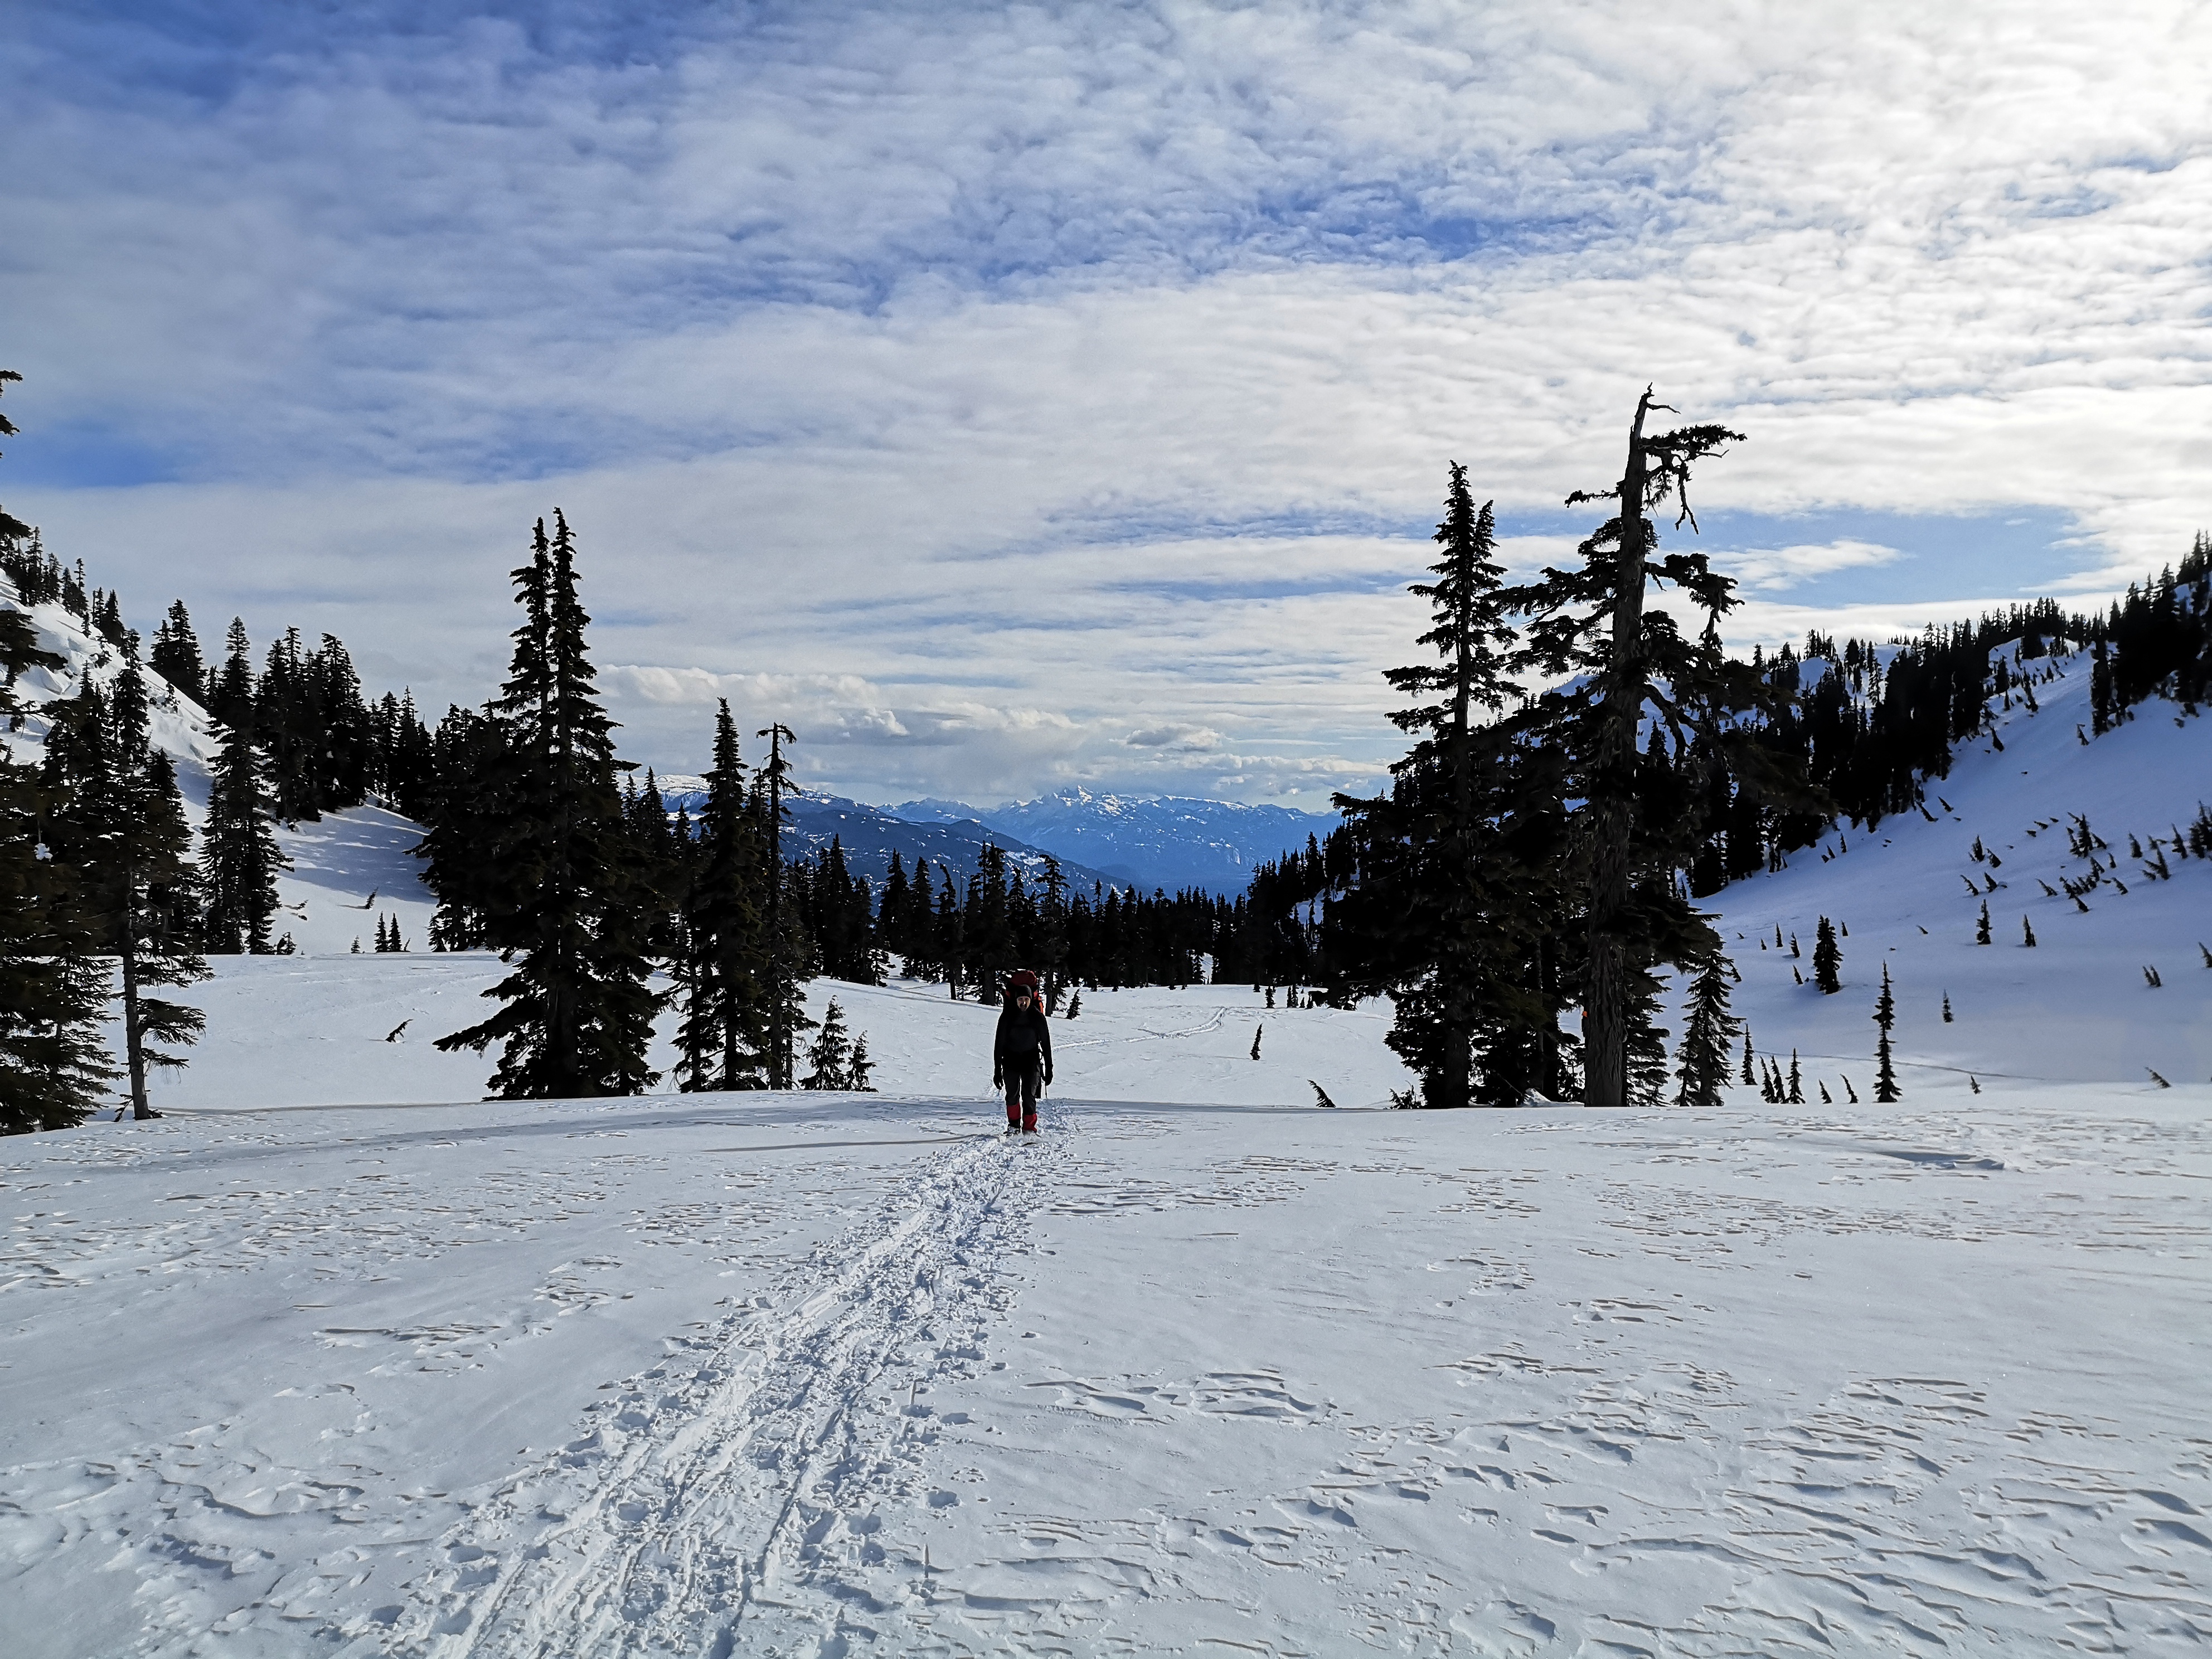
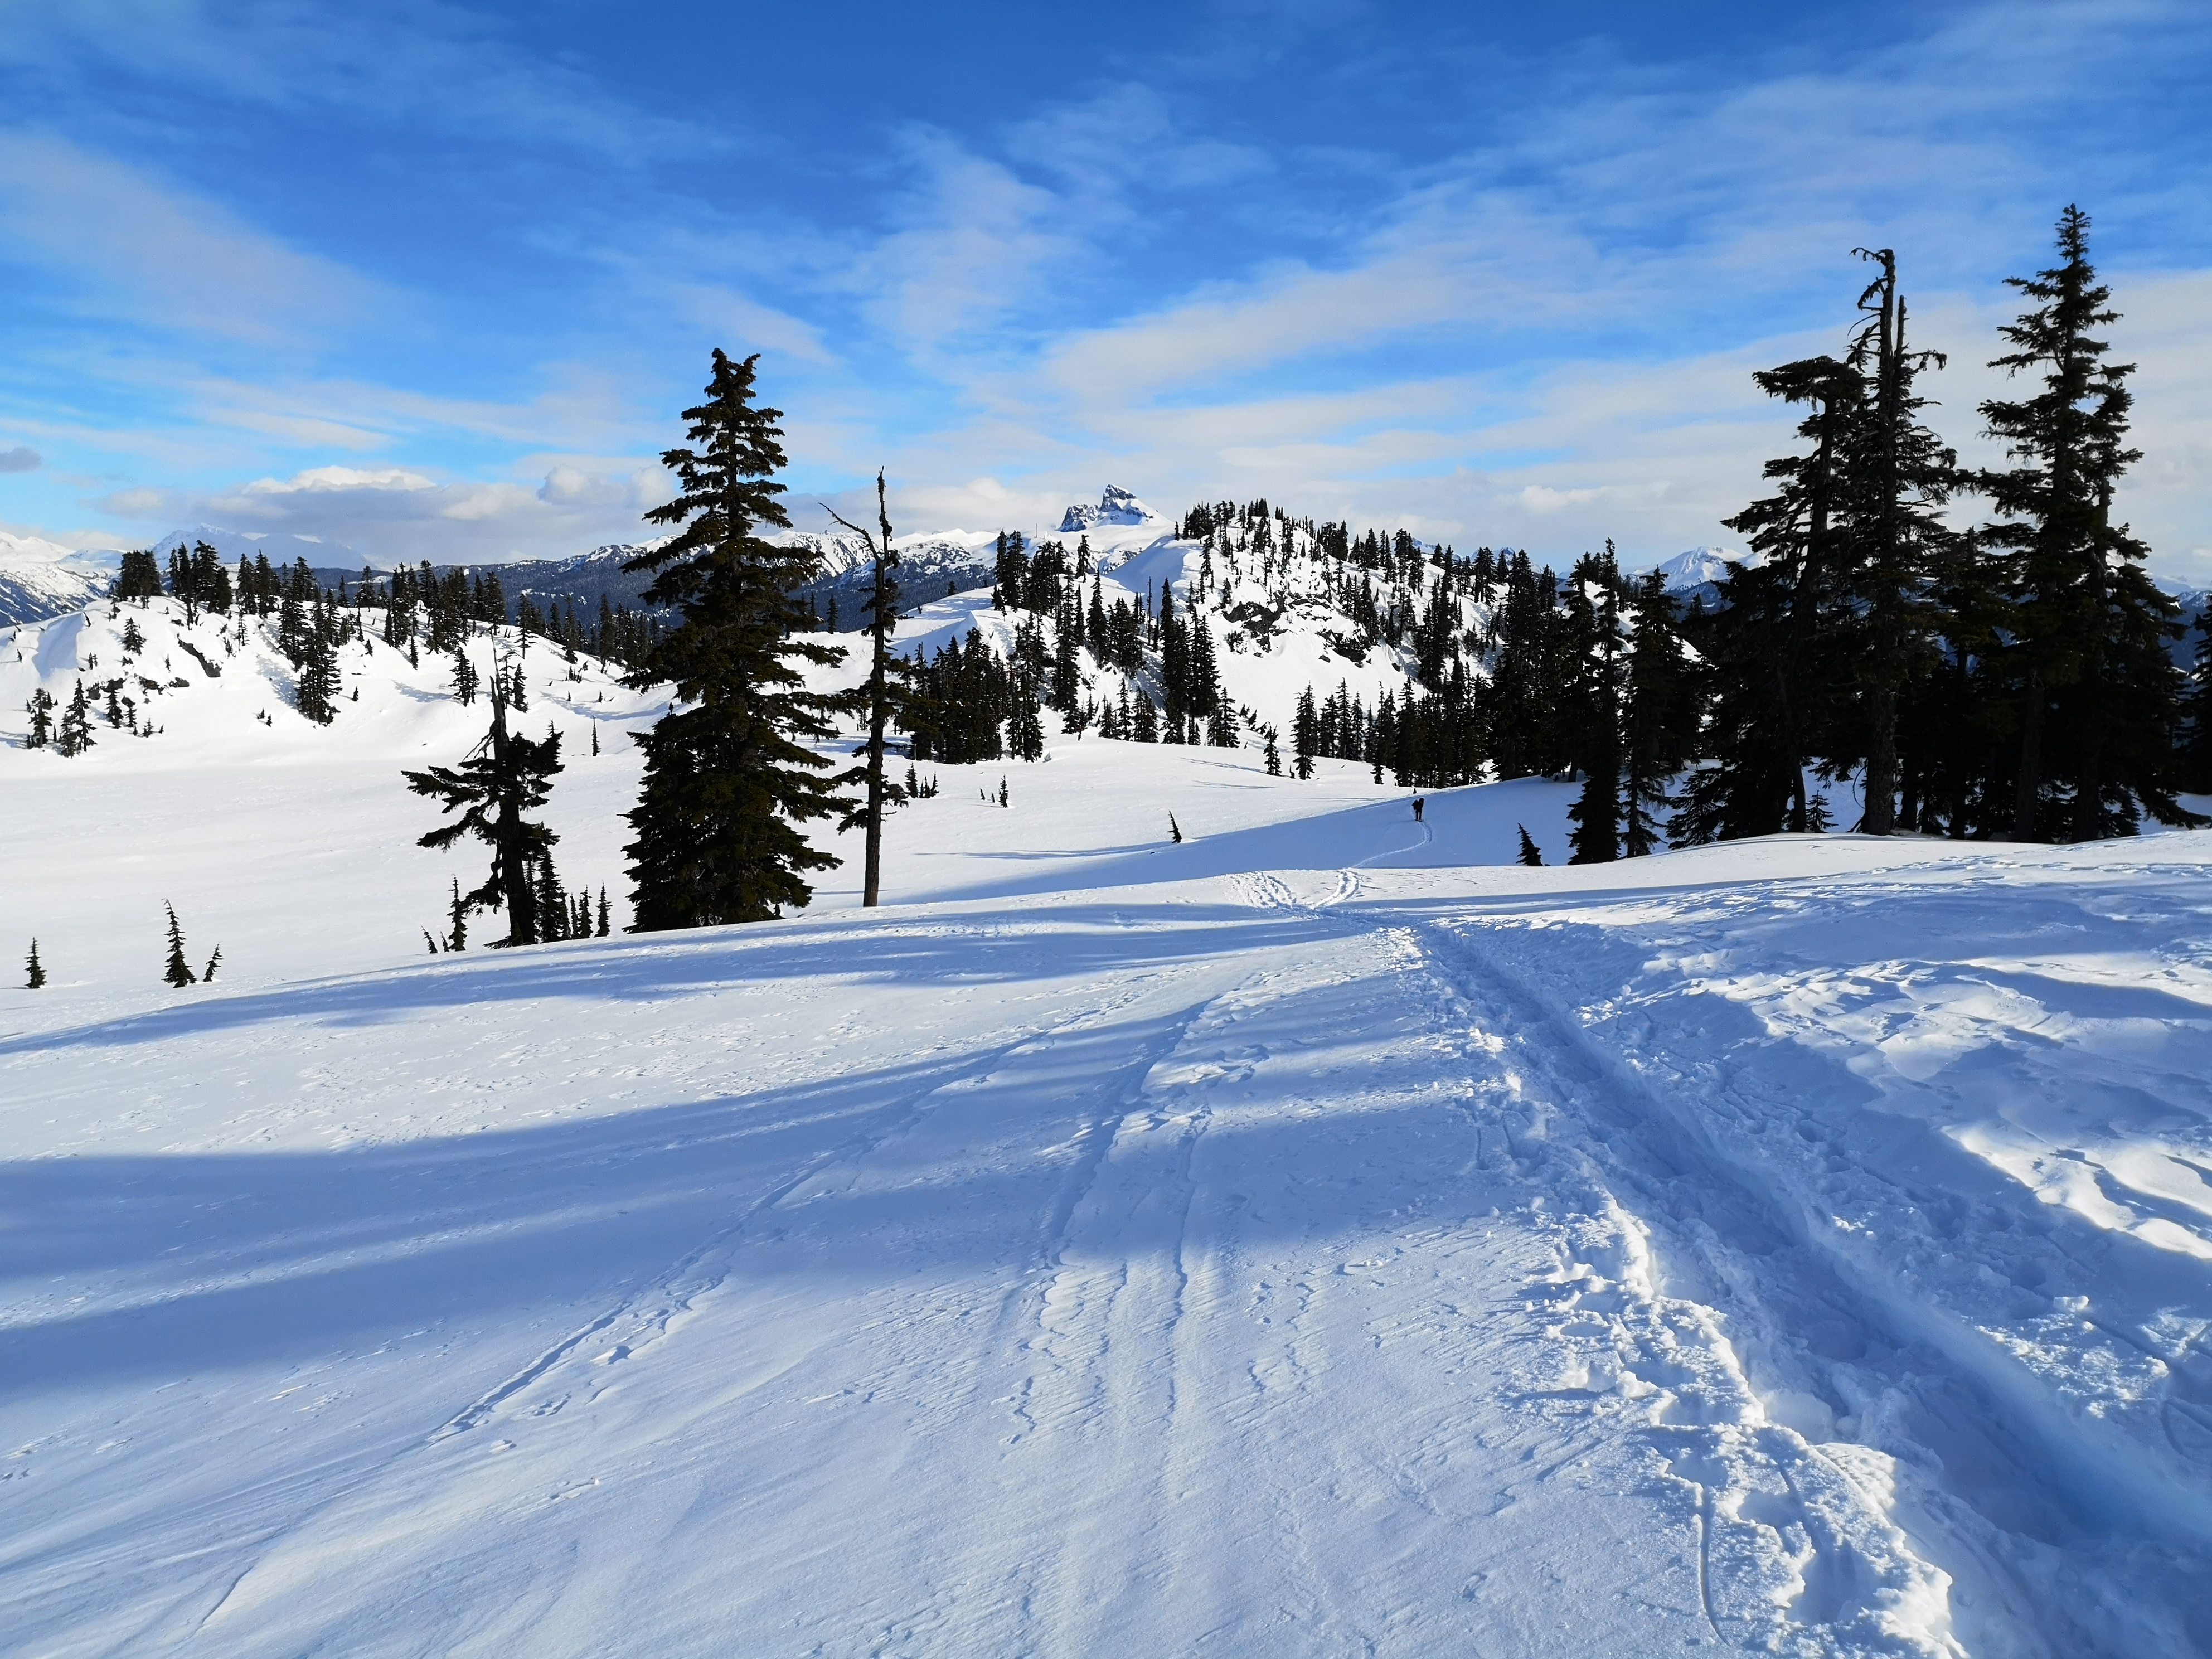
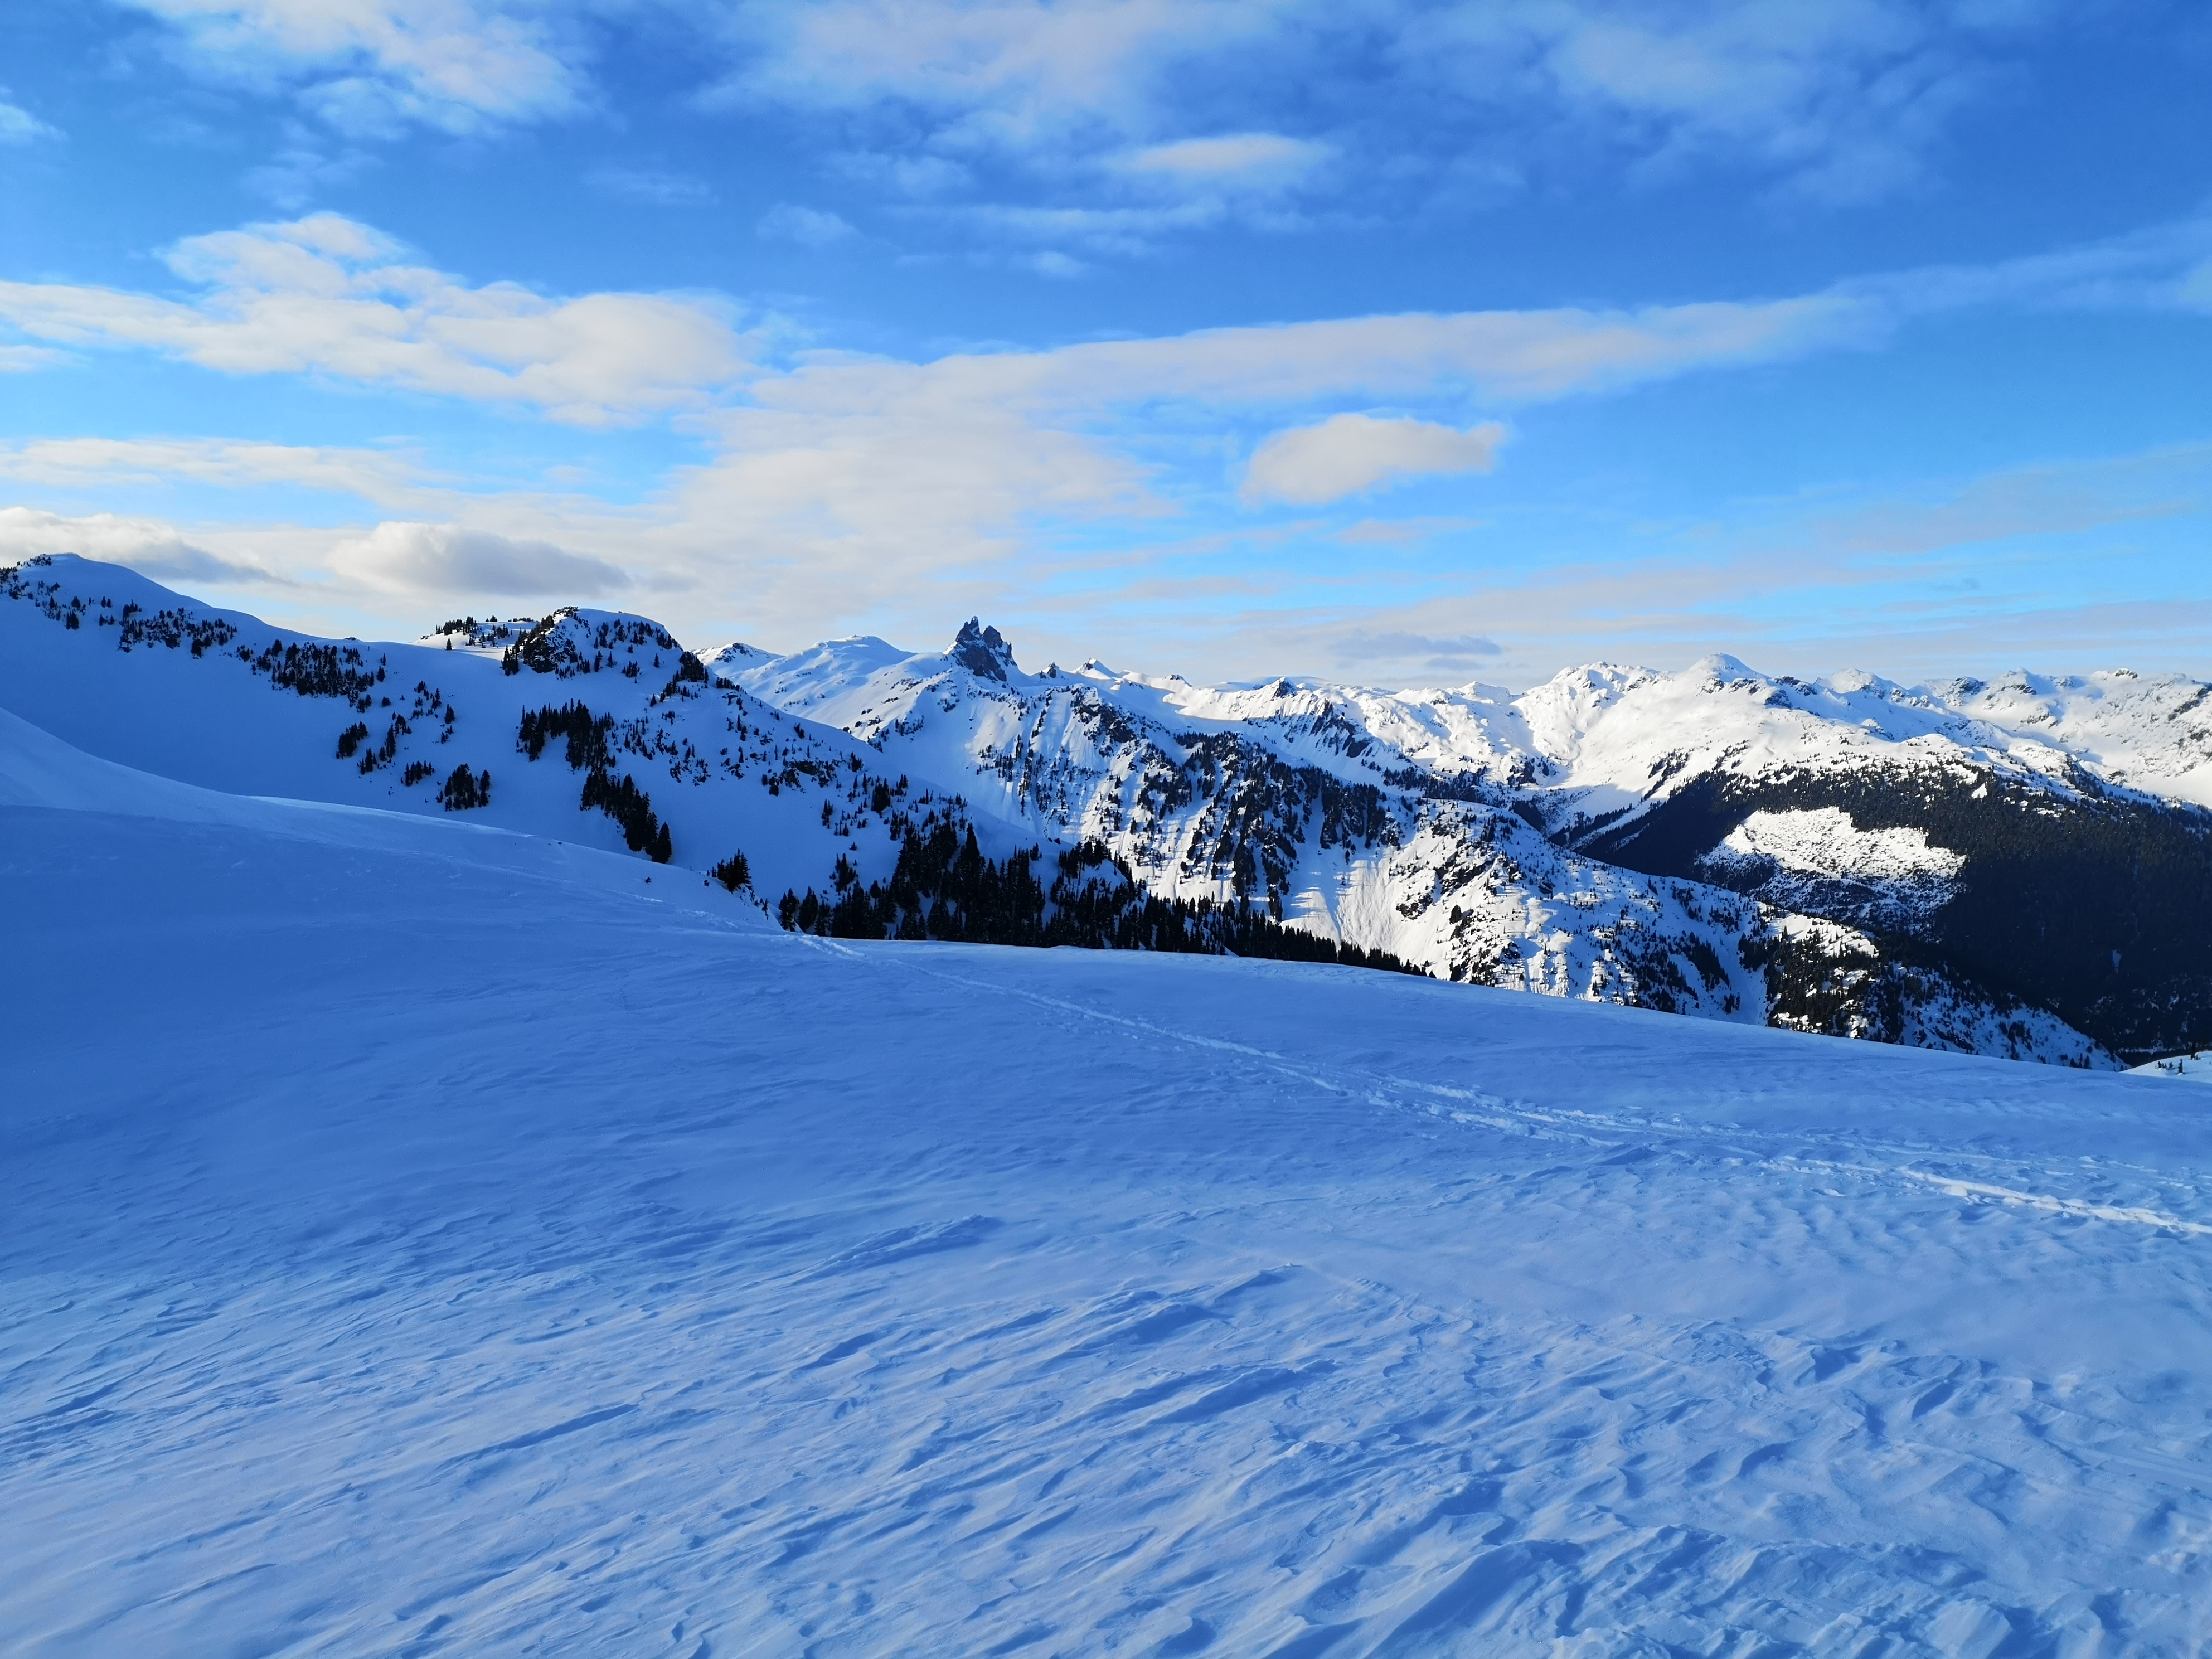
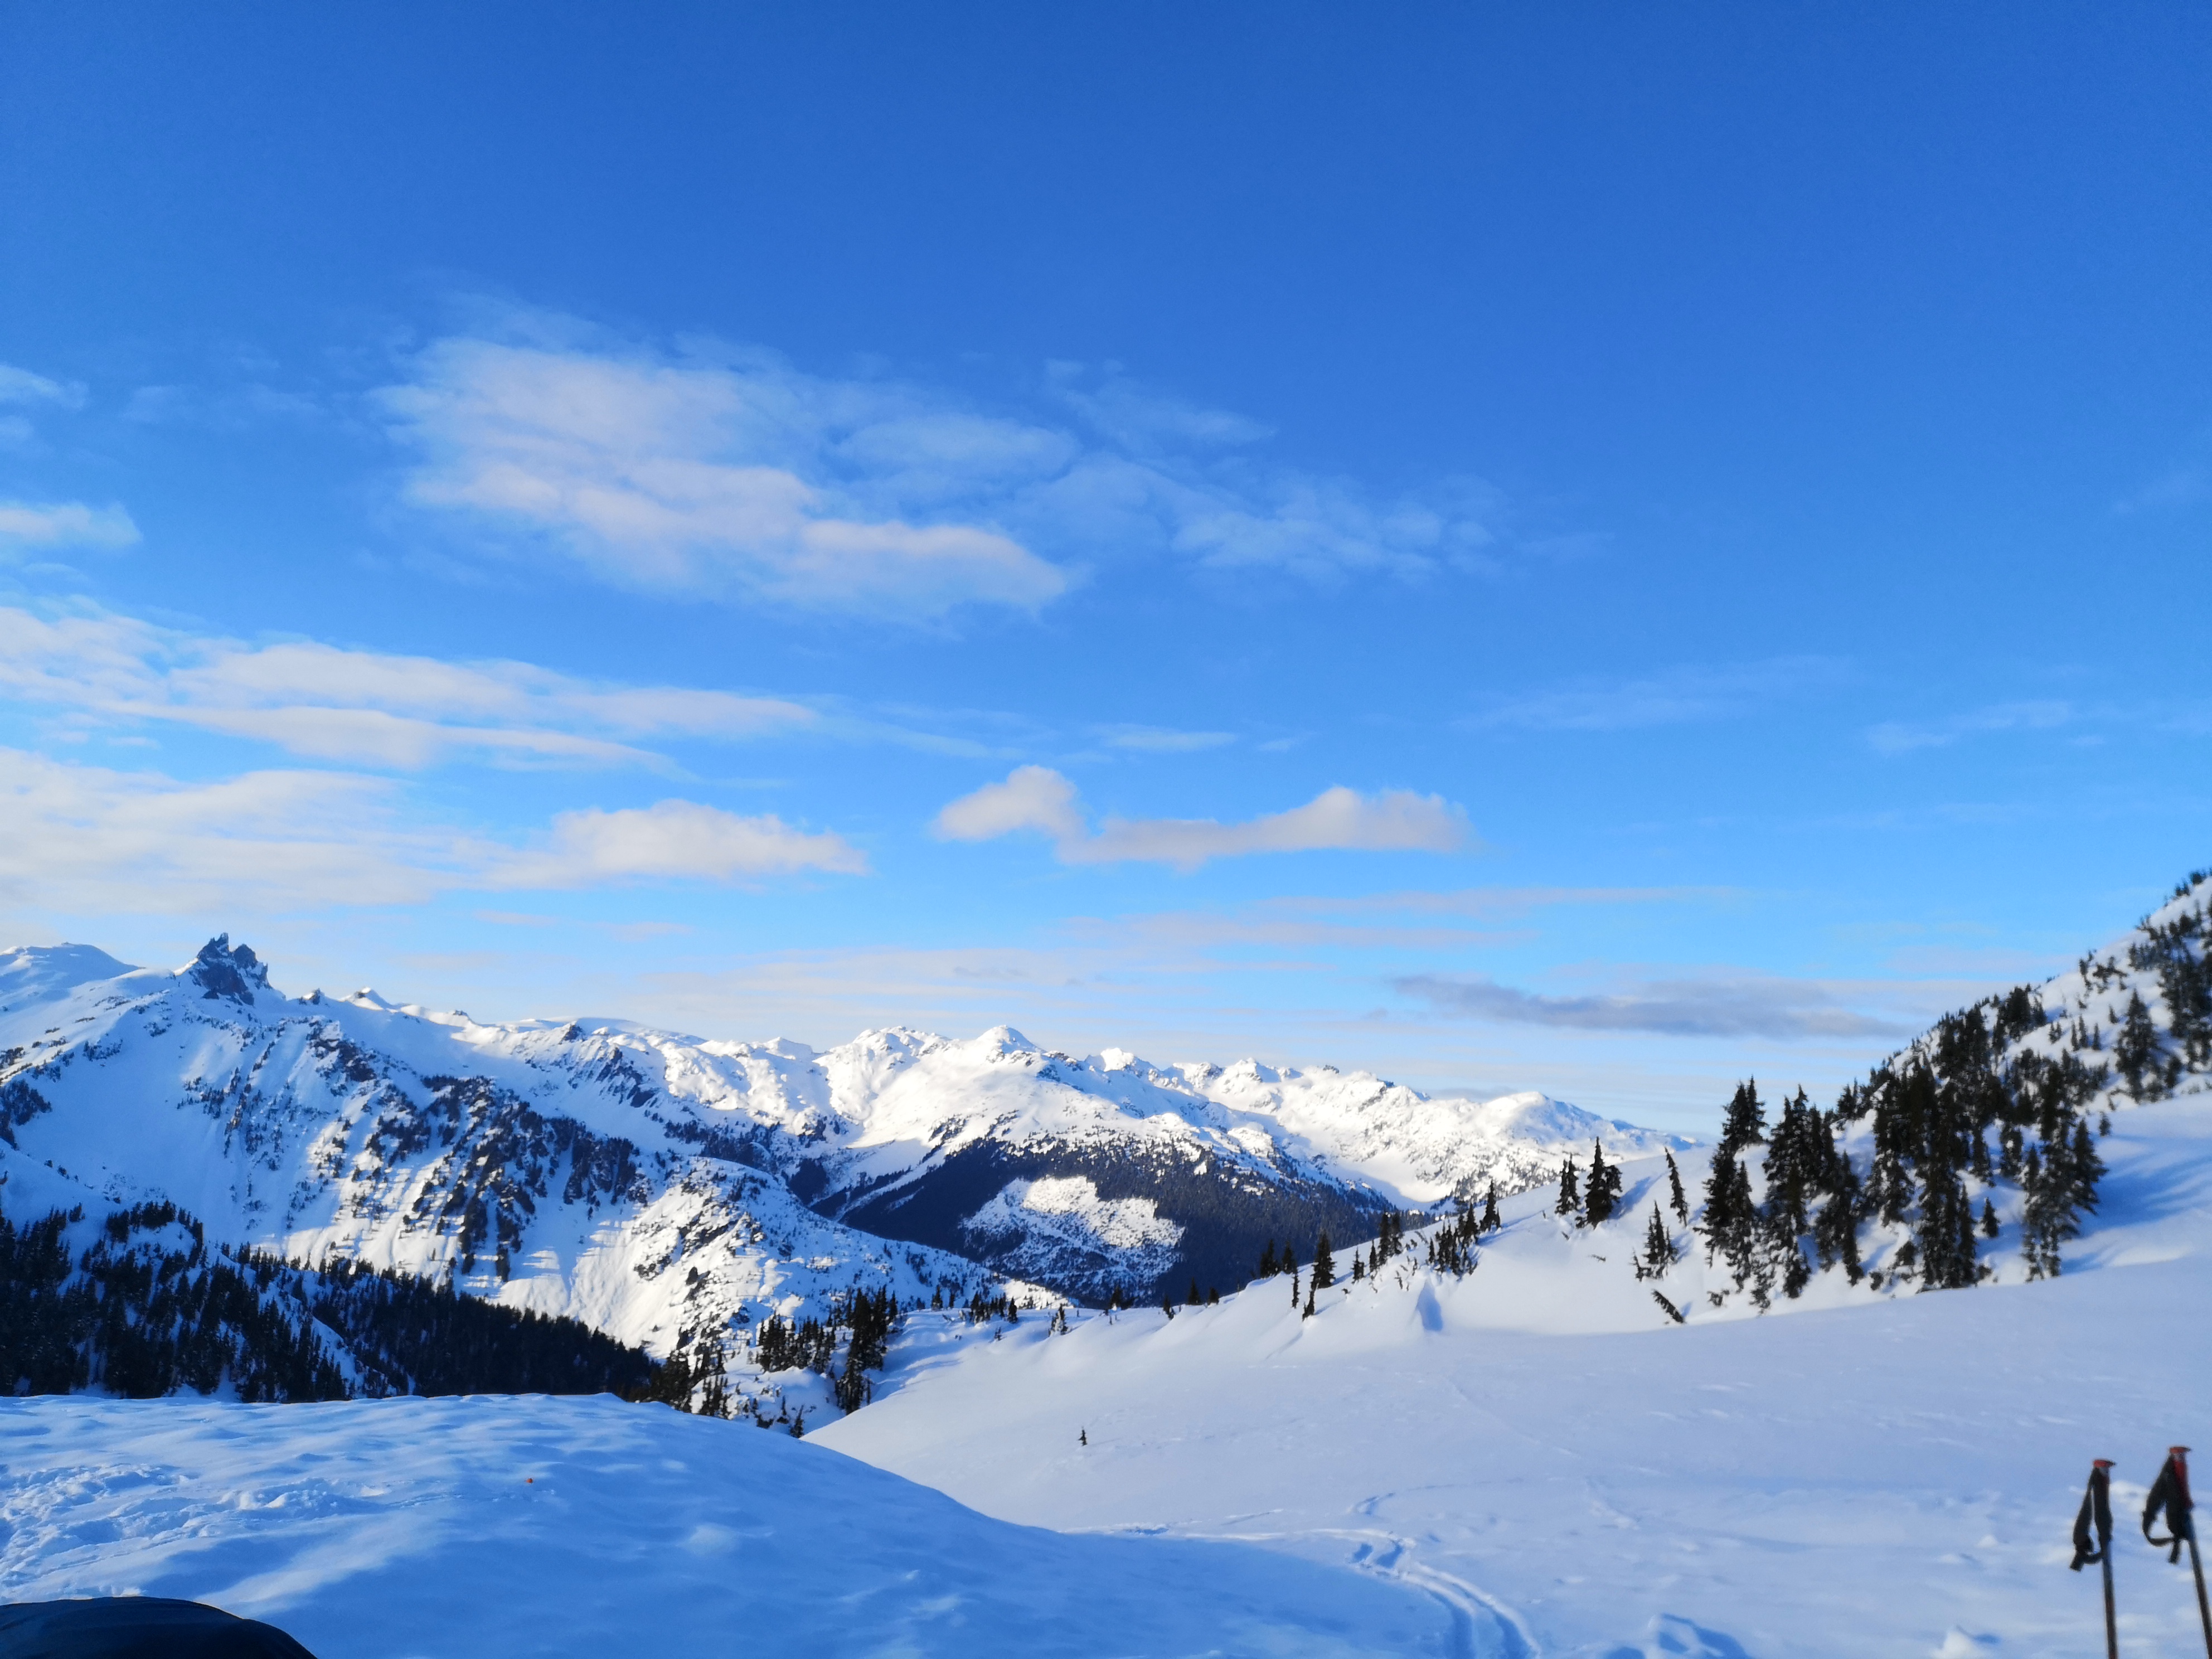
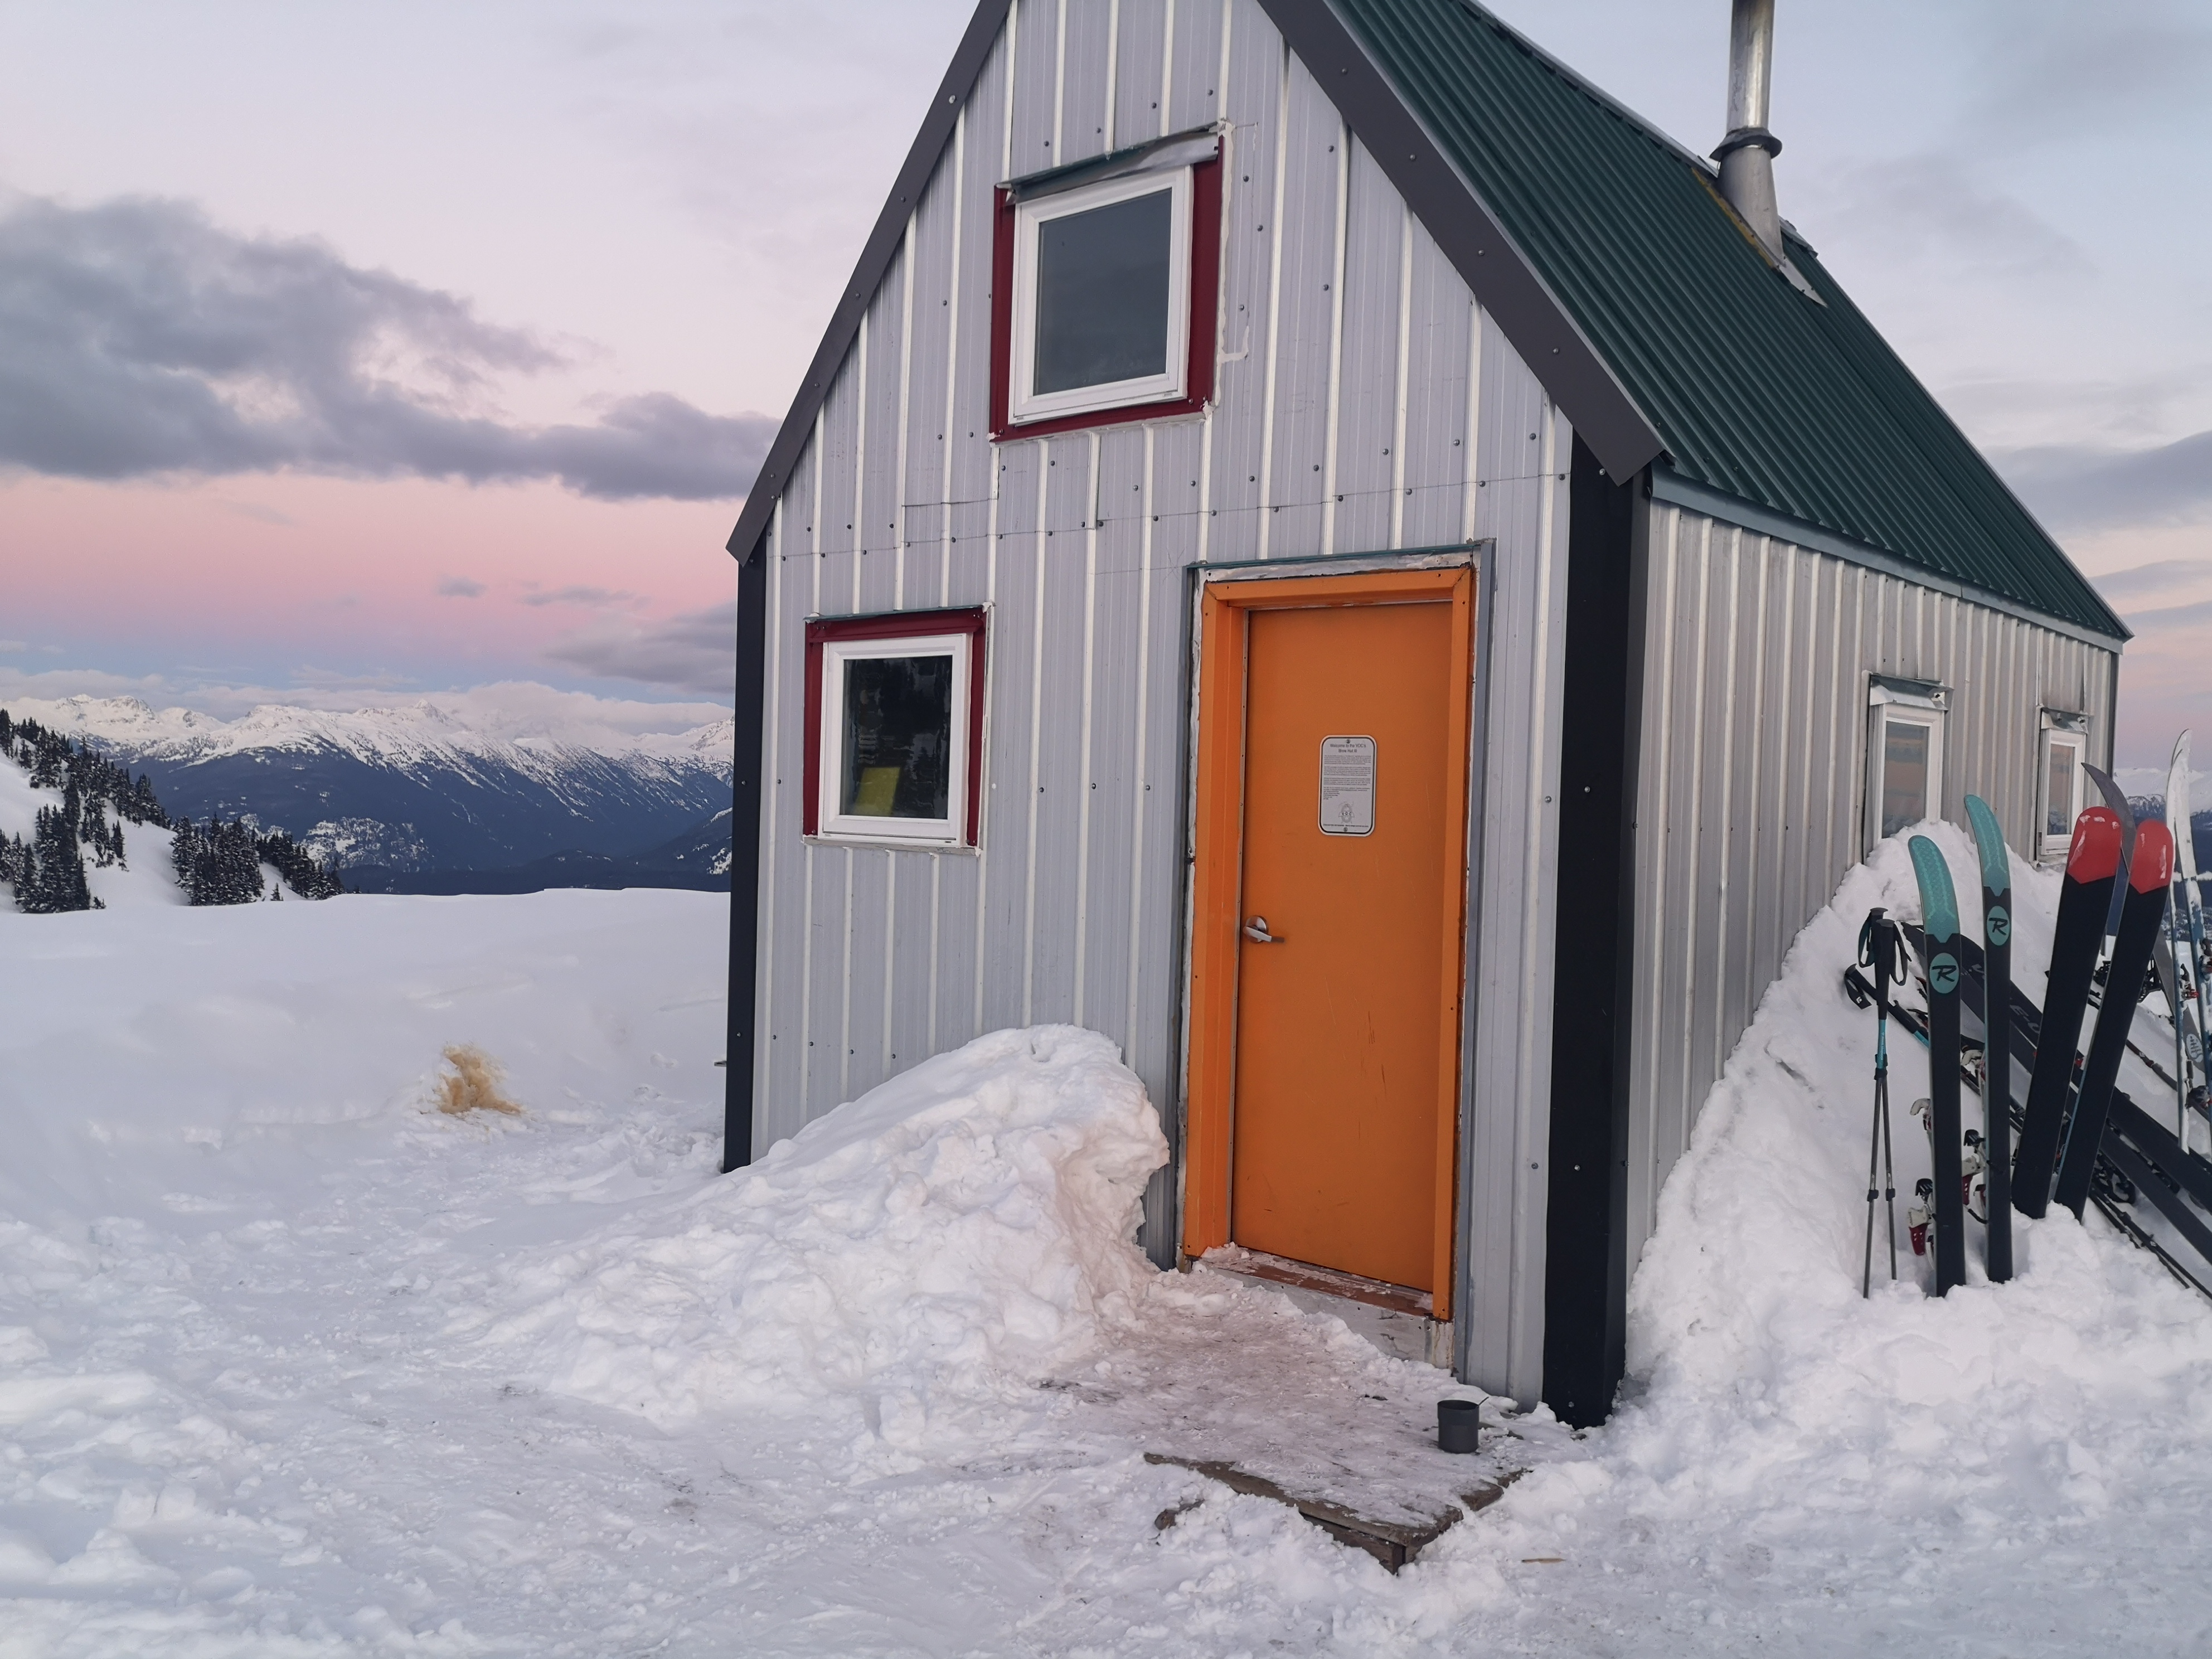
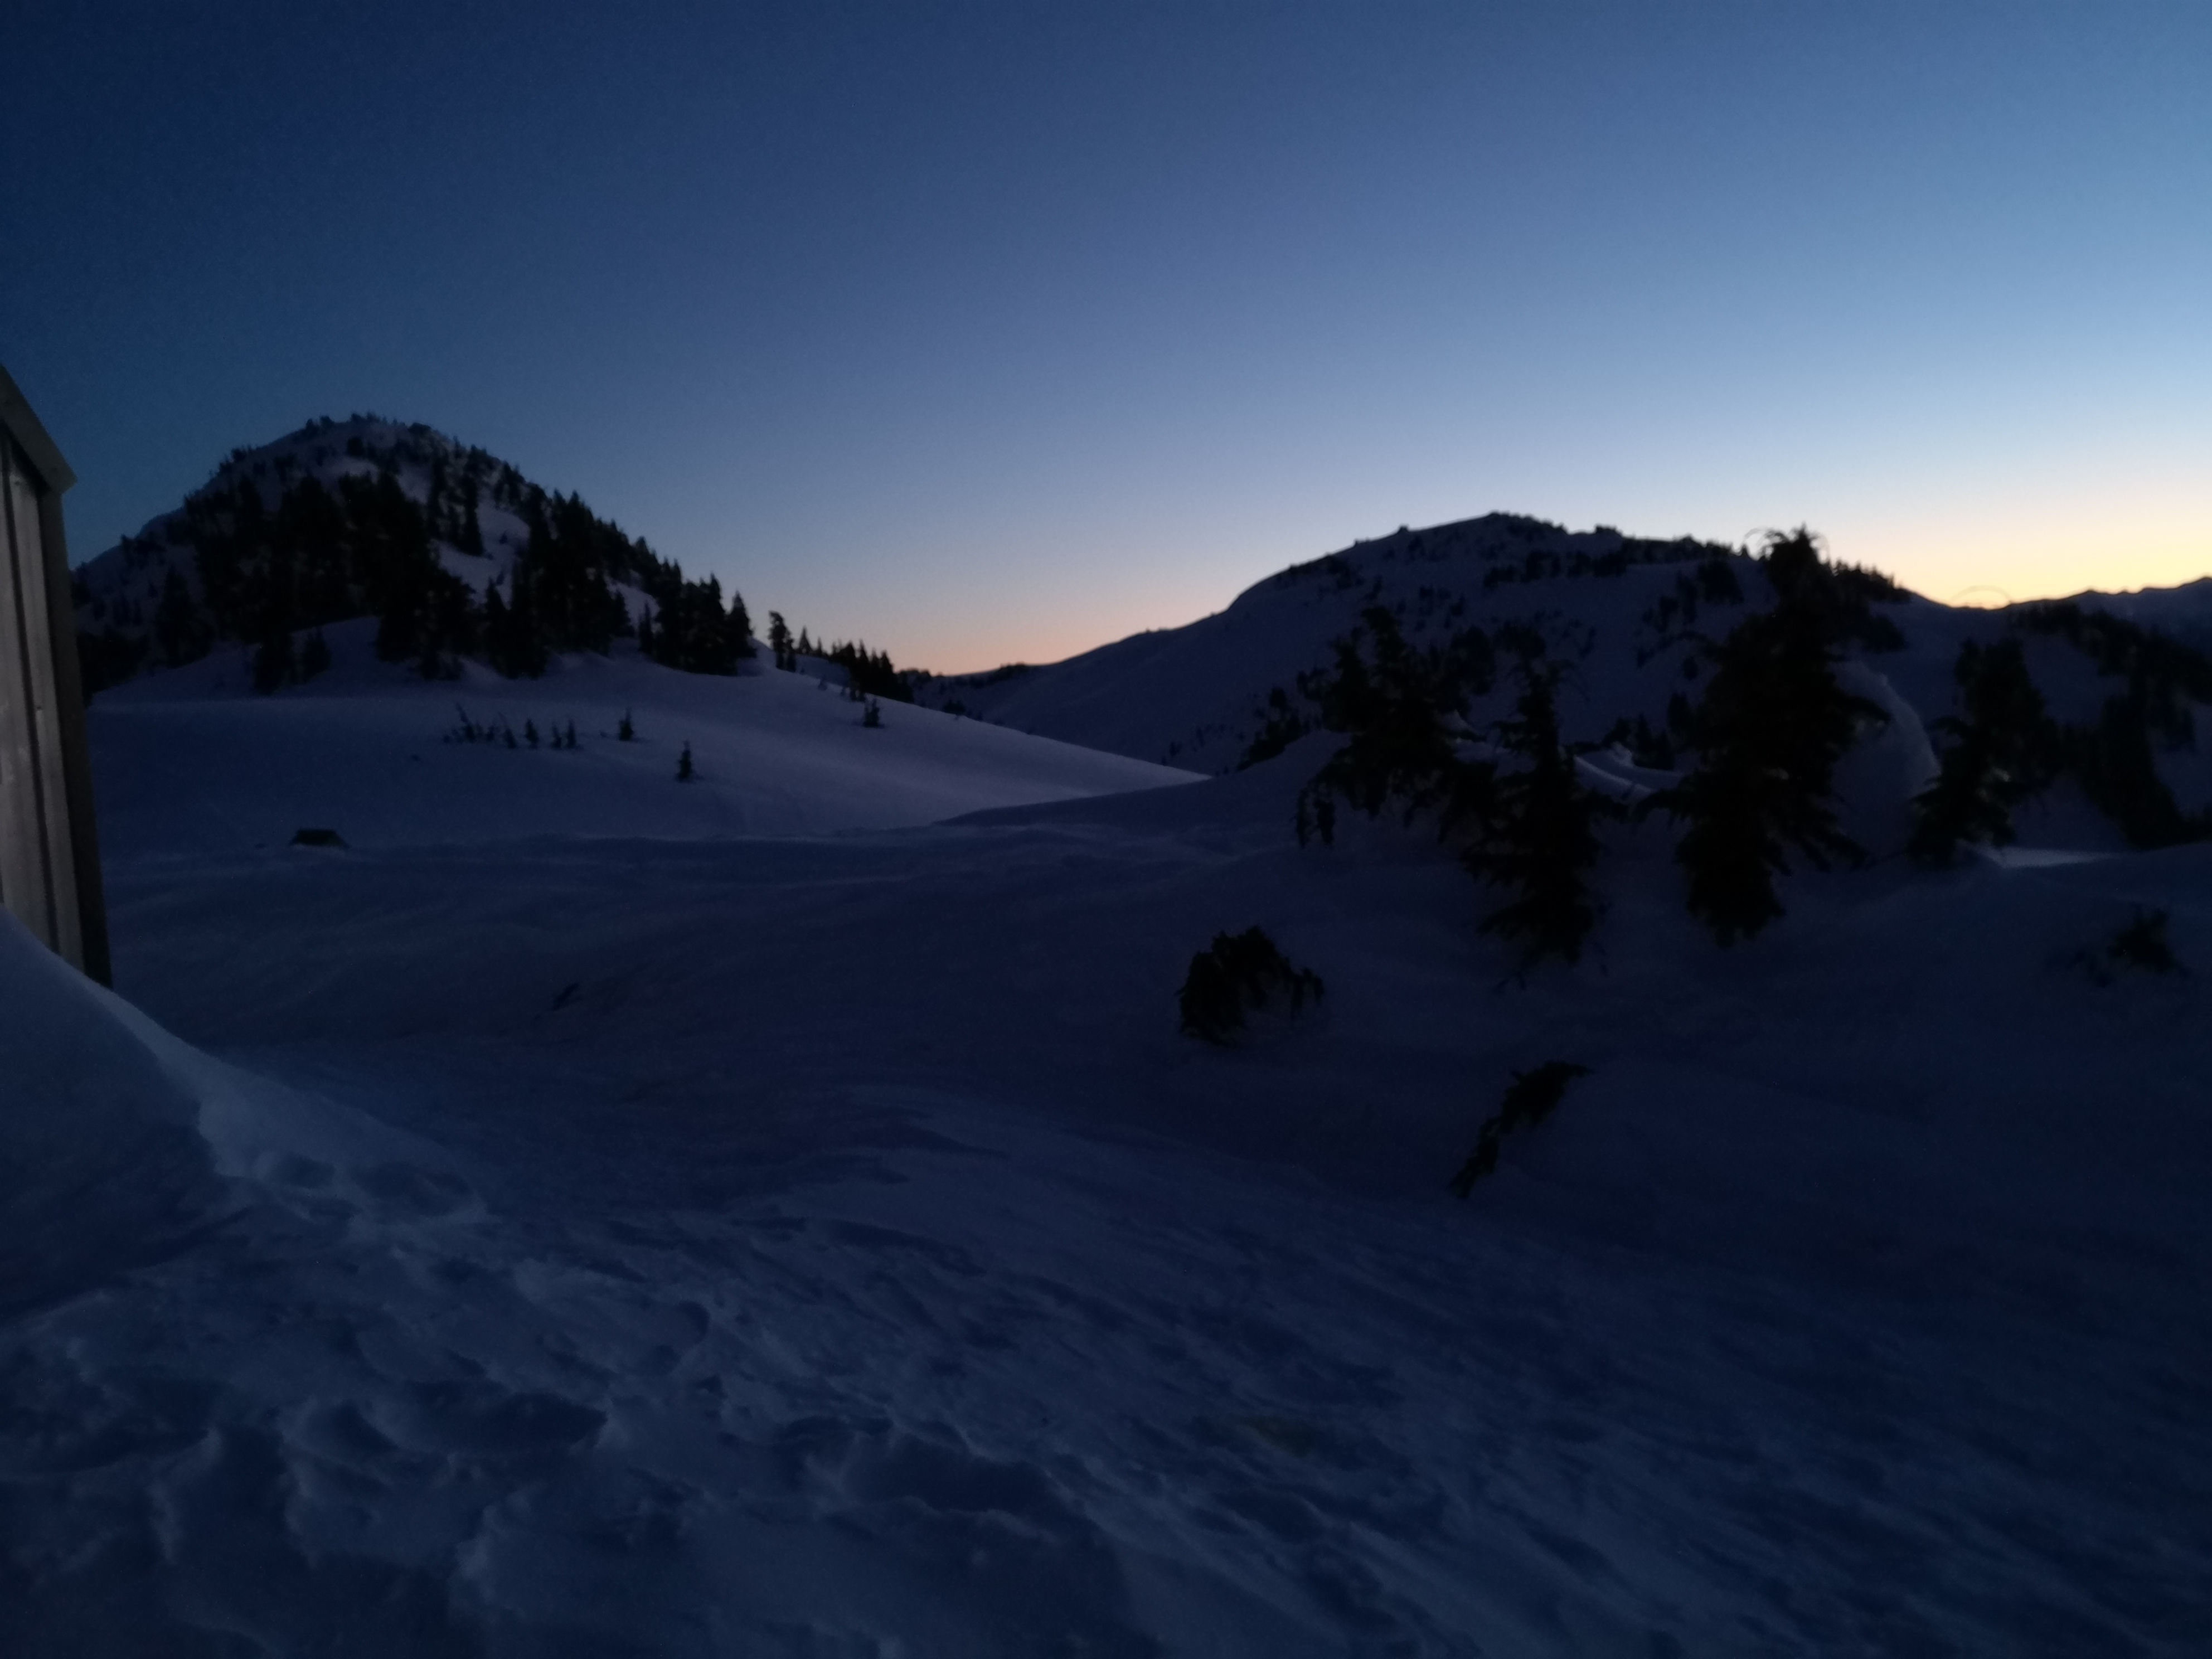
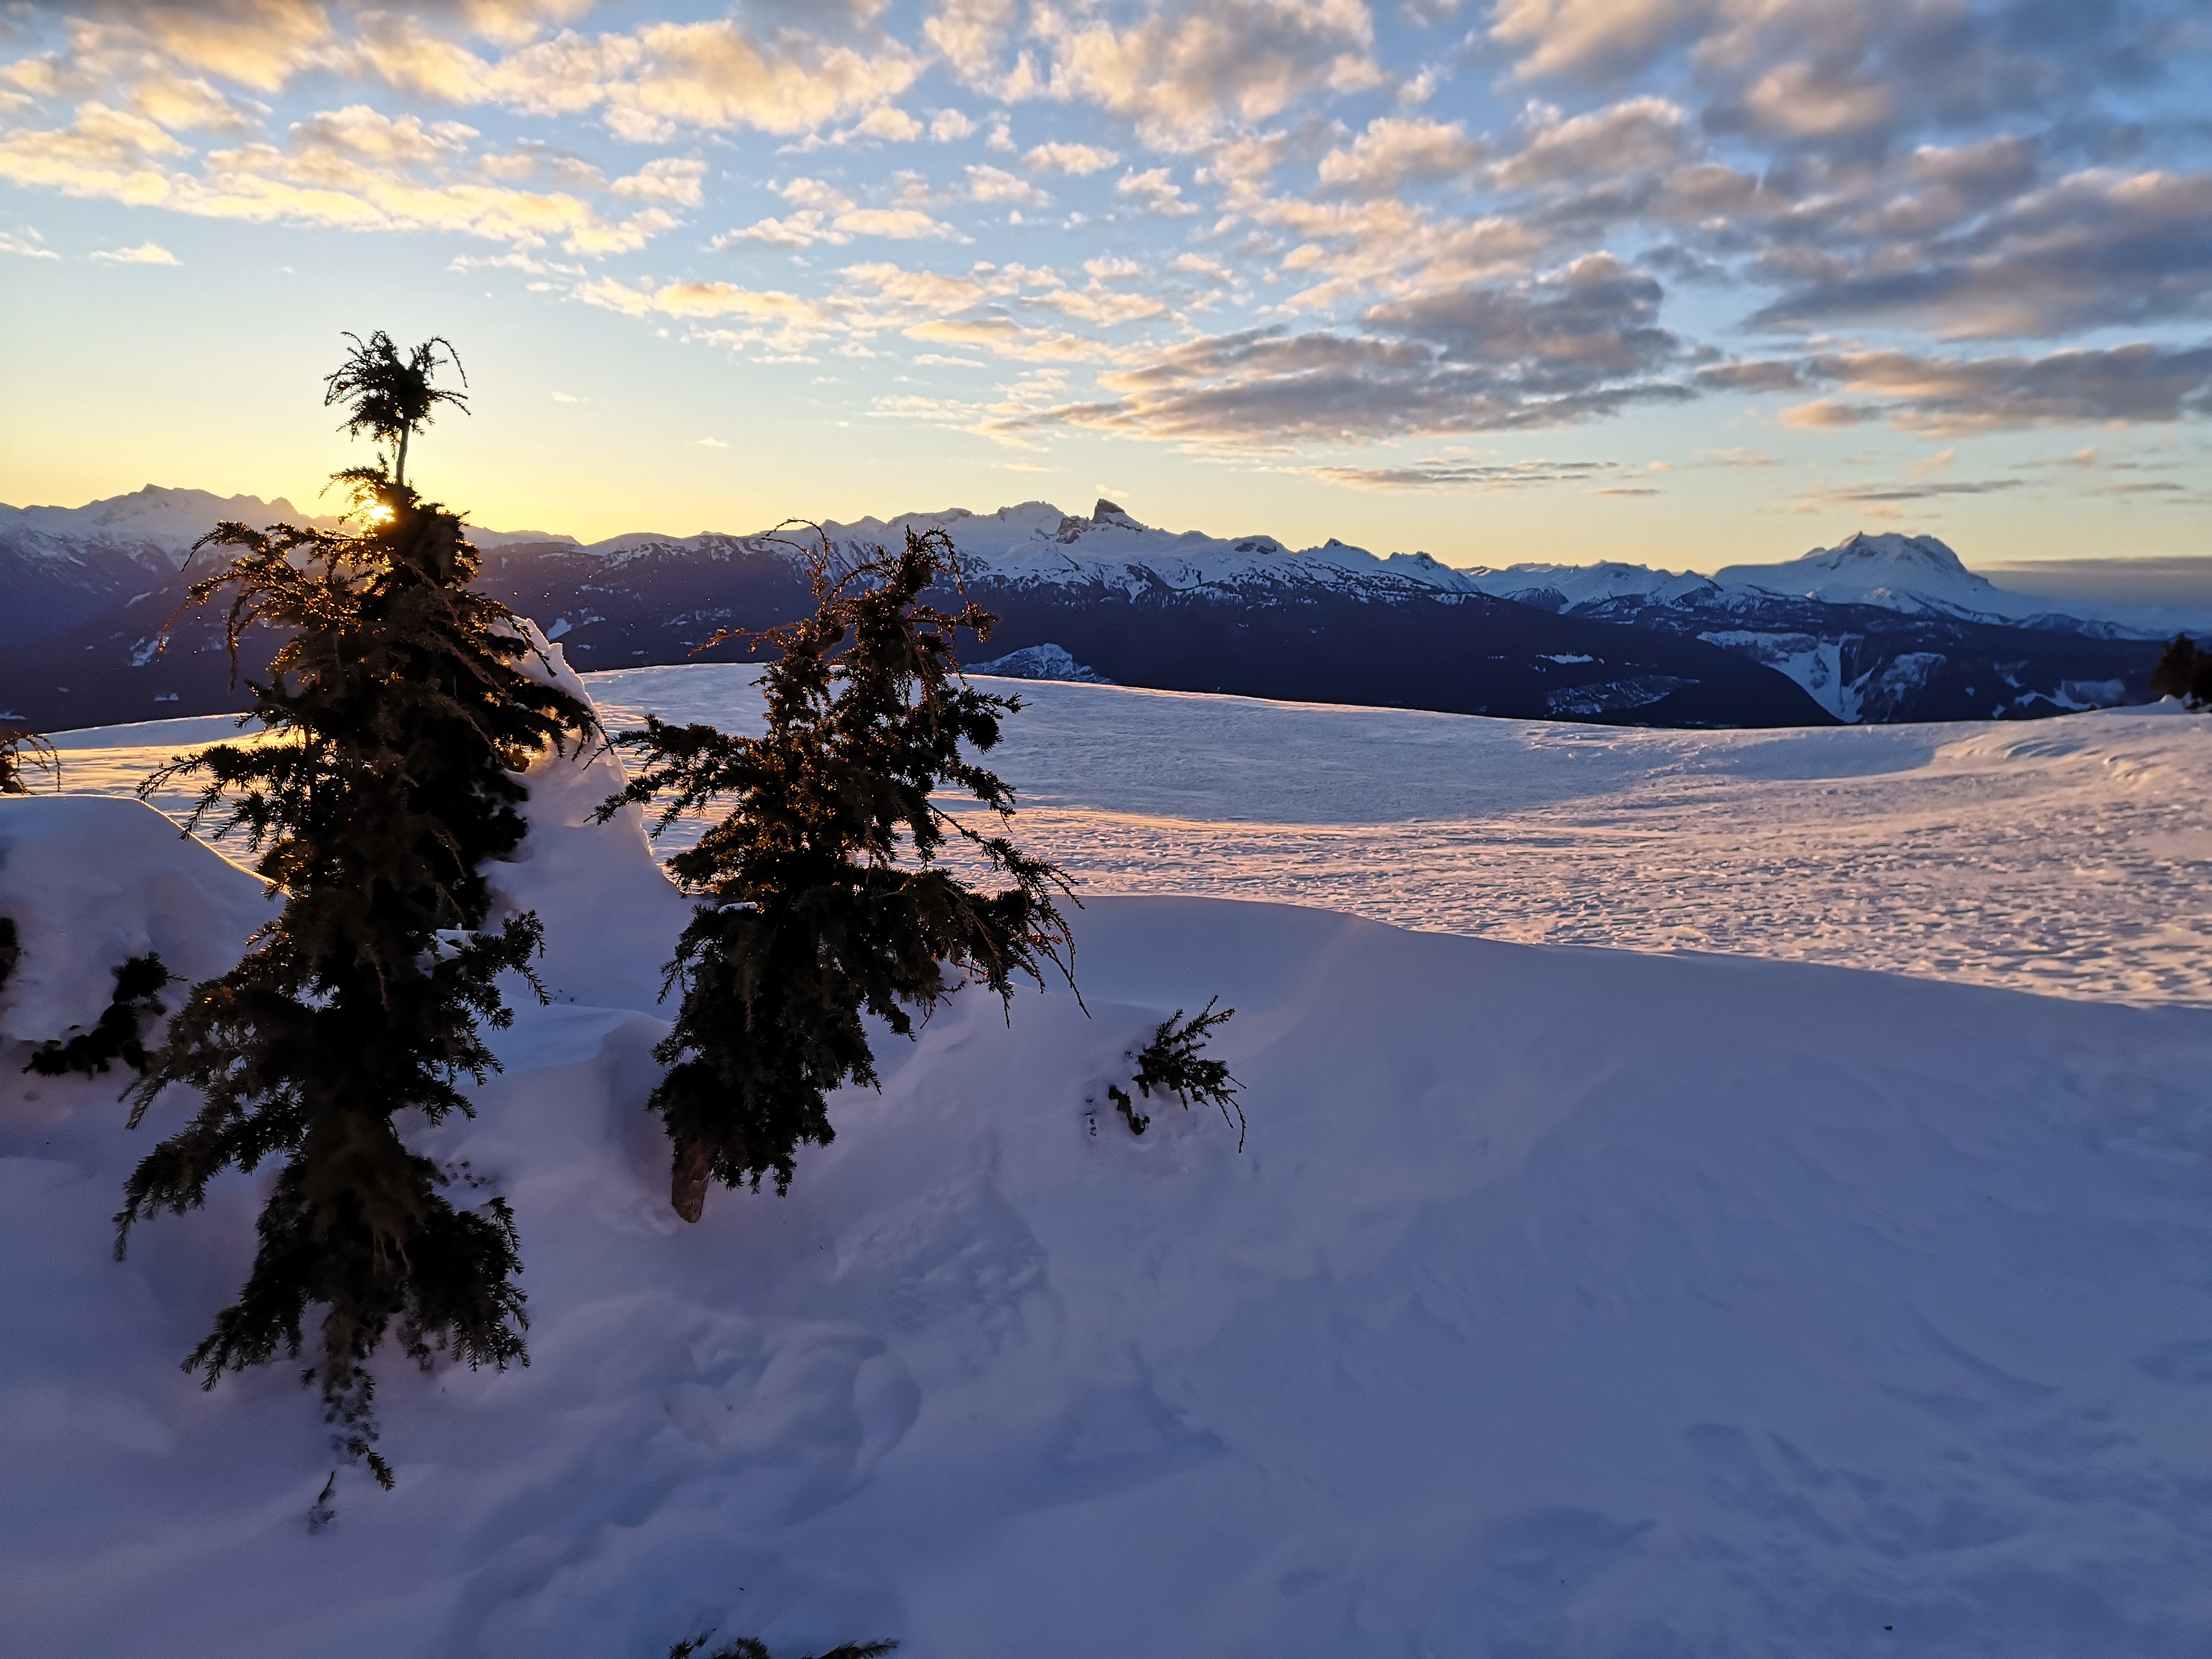
After a long slog up the logging road, plus the trail itself, that last kilometer up to the 1686m mark of the ridge felt eternal. Looking around when I stopped to catch my breath, however, reminded me that it was all worth it. All told, the ascent took just under seven hours, and we arrived at the hut in time to settle in, change into warm, dry clothing, and catch the sunset.
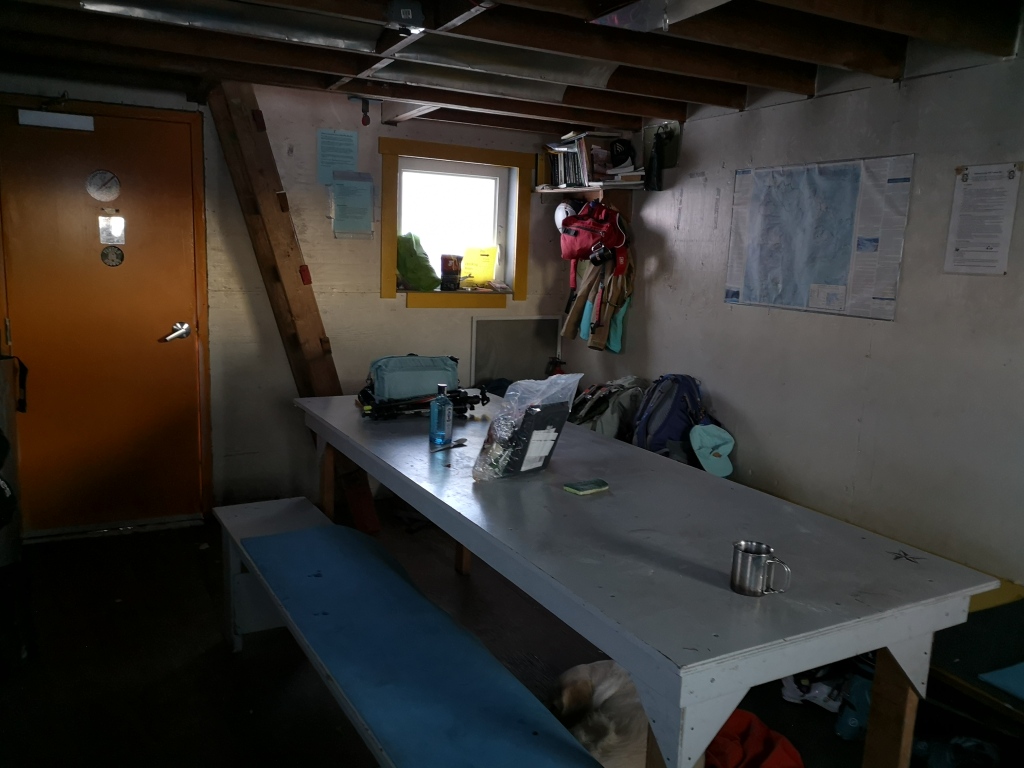
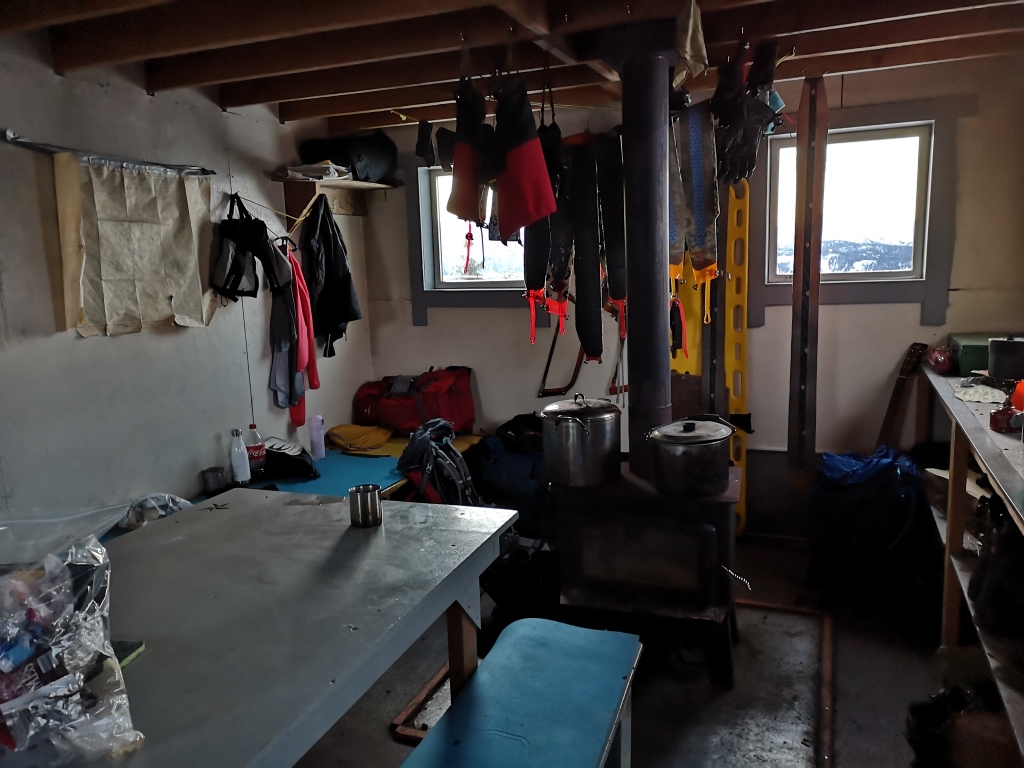
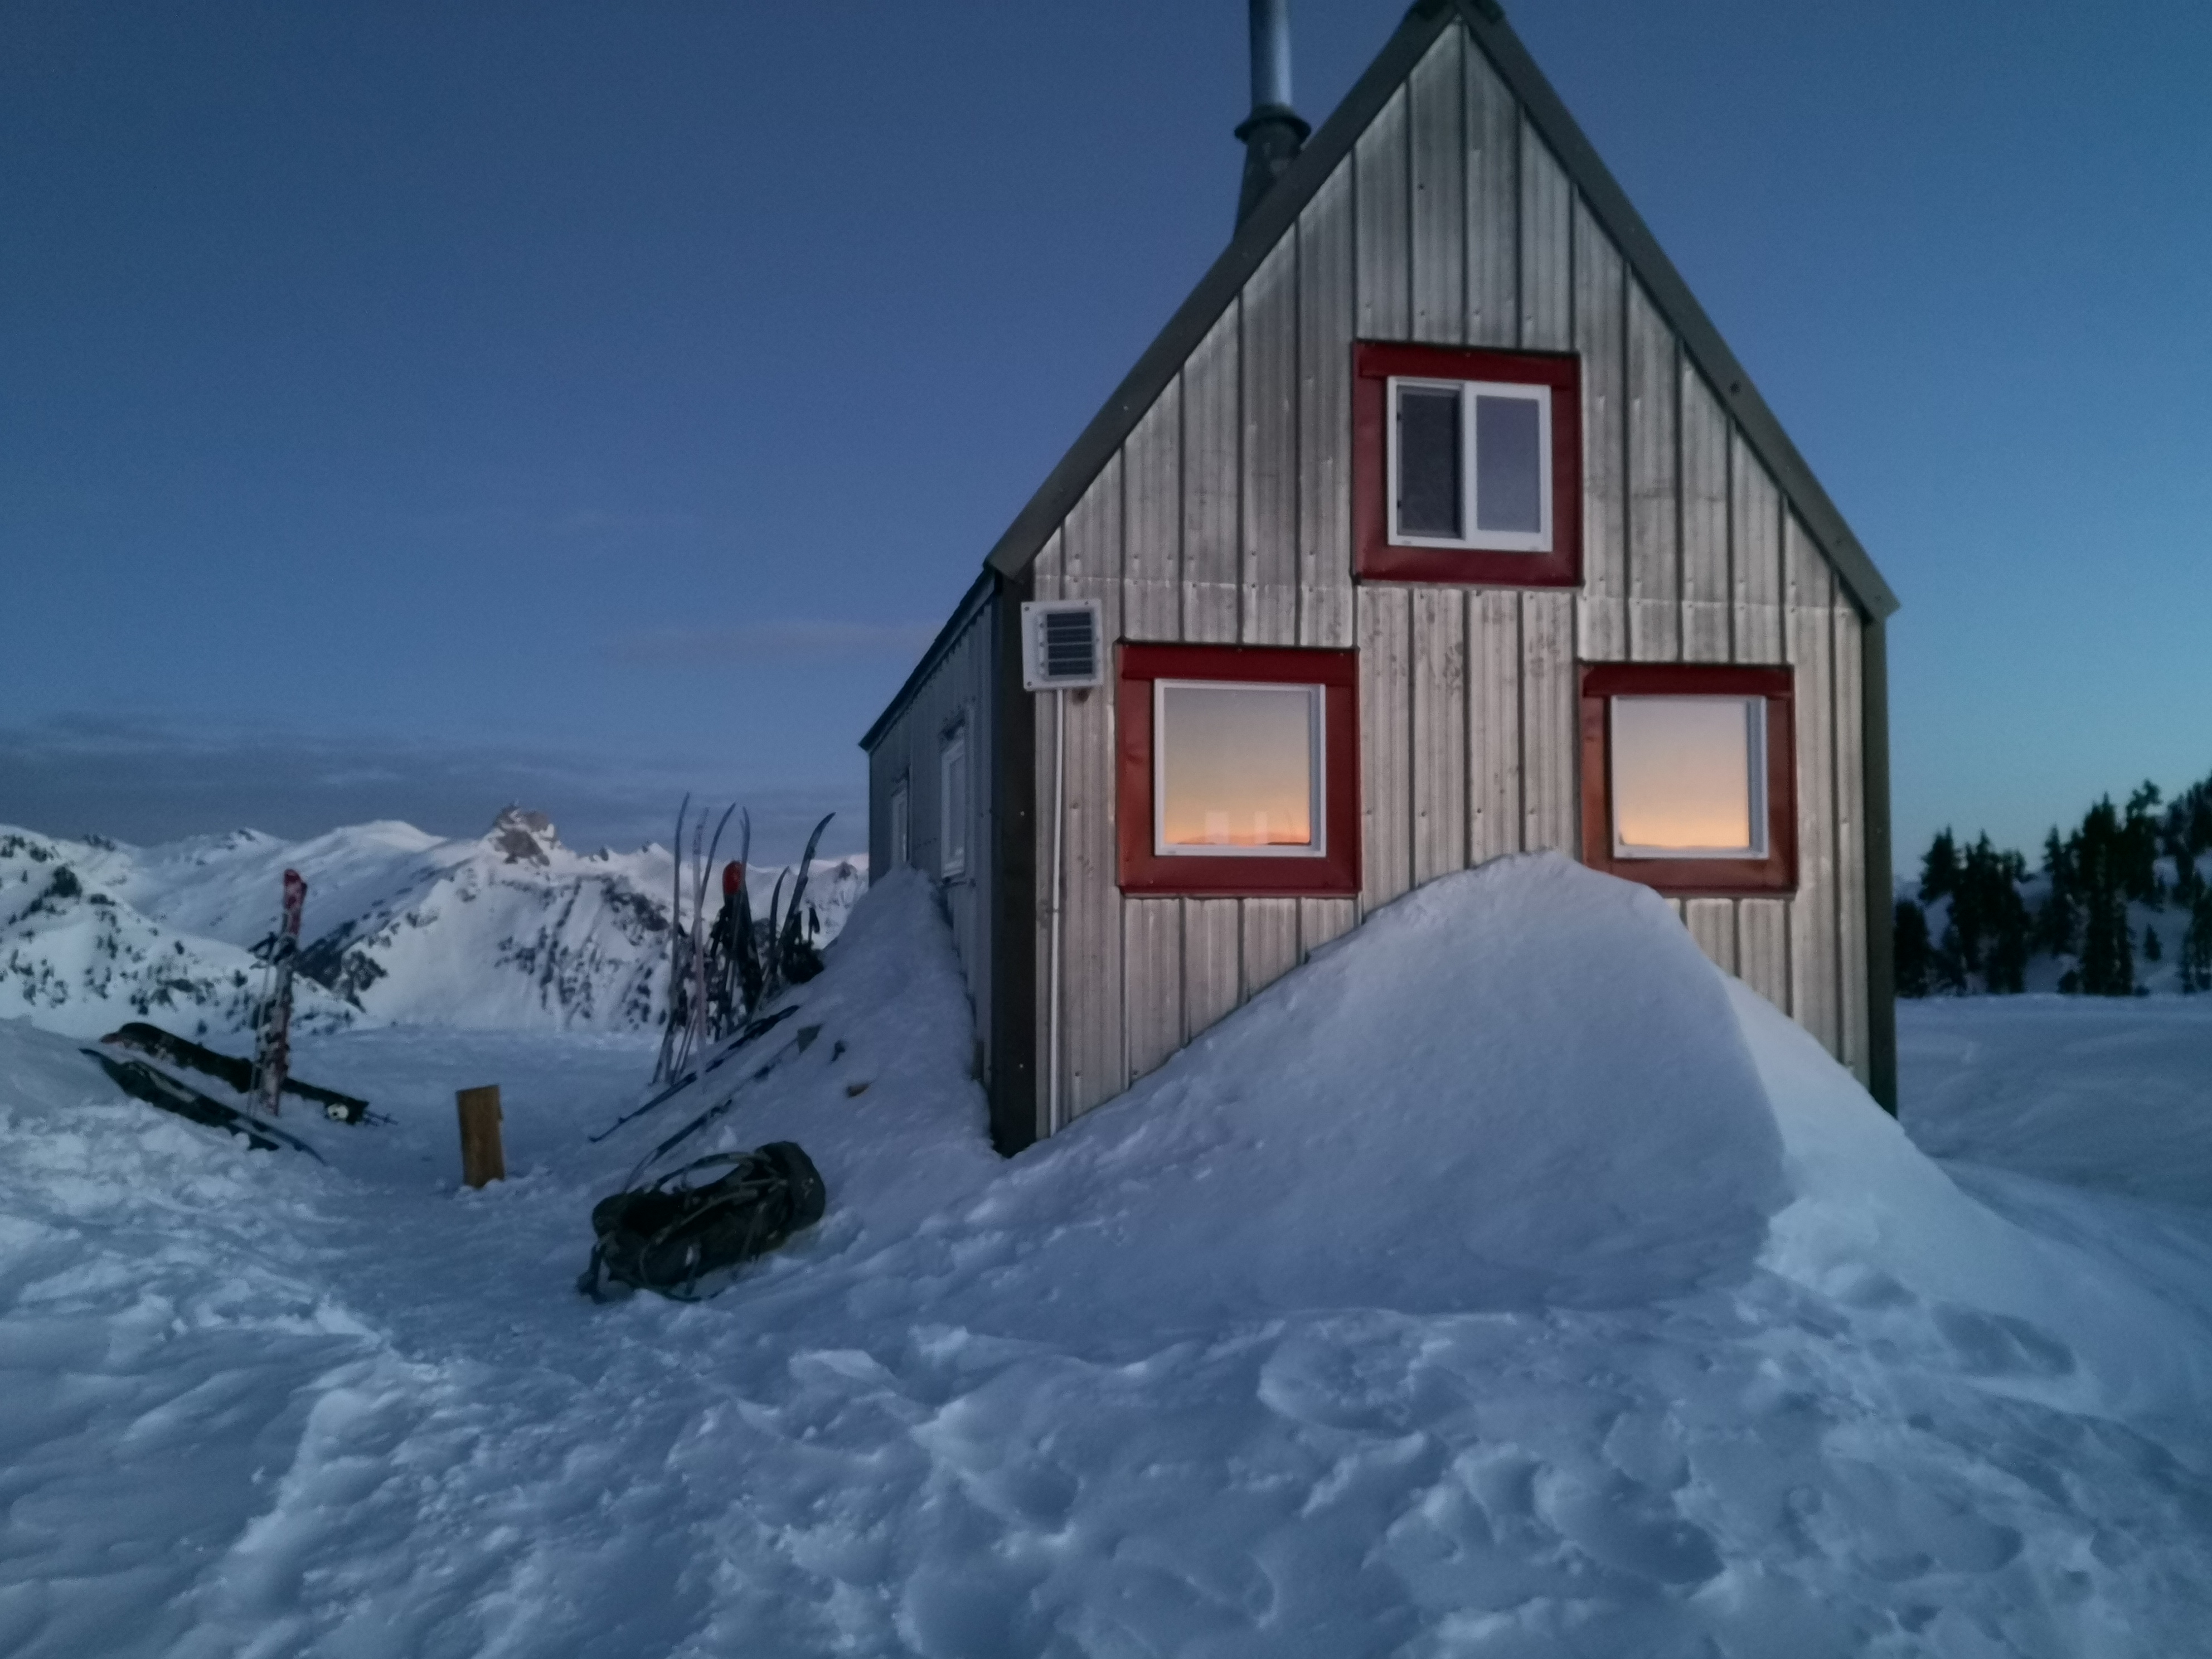
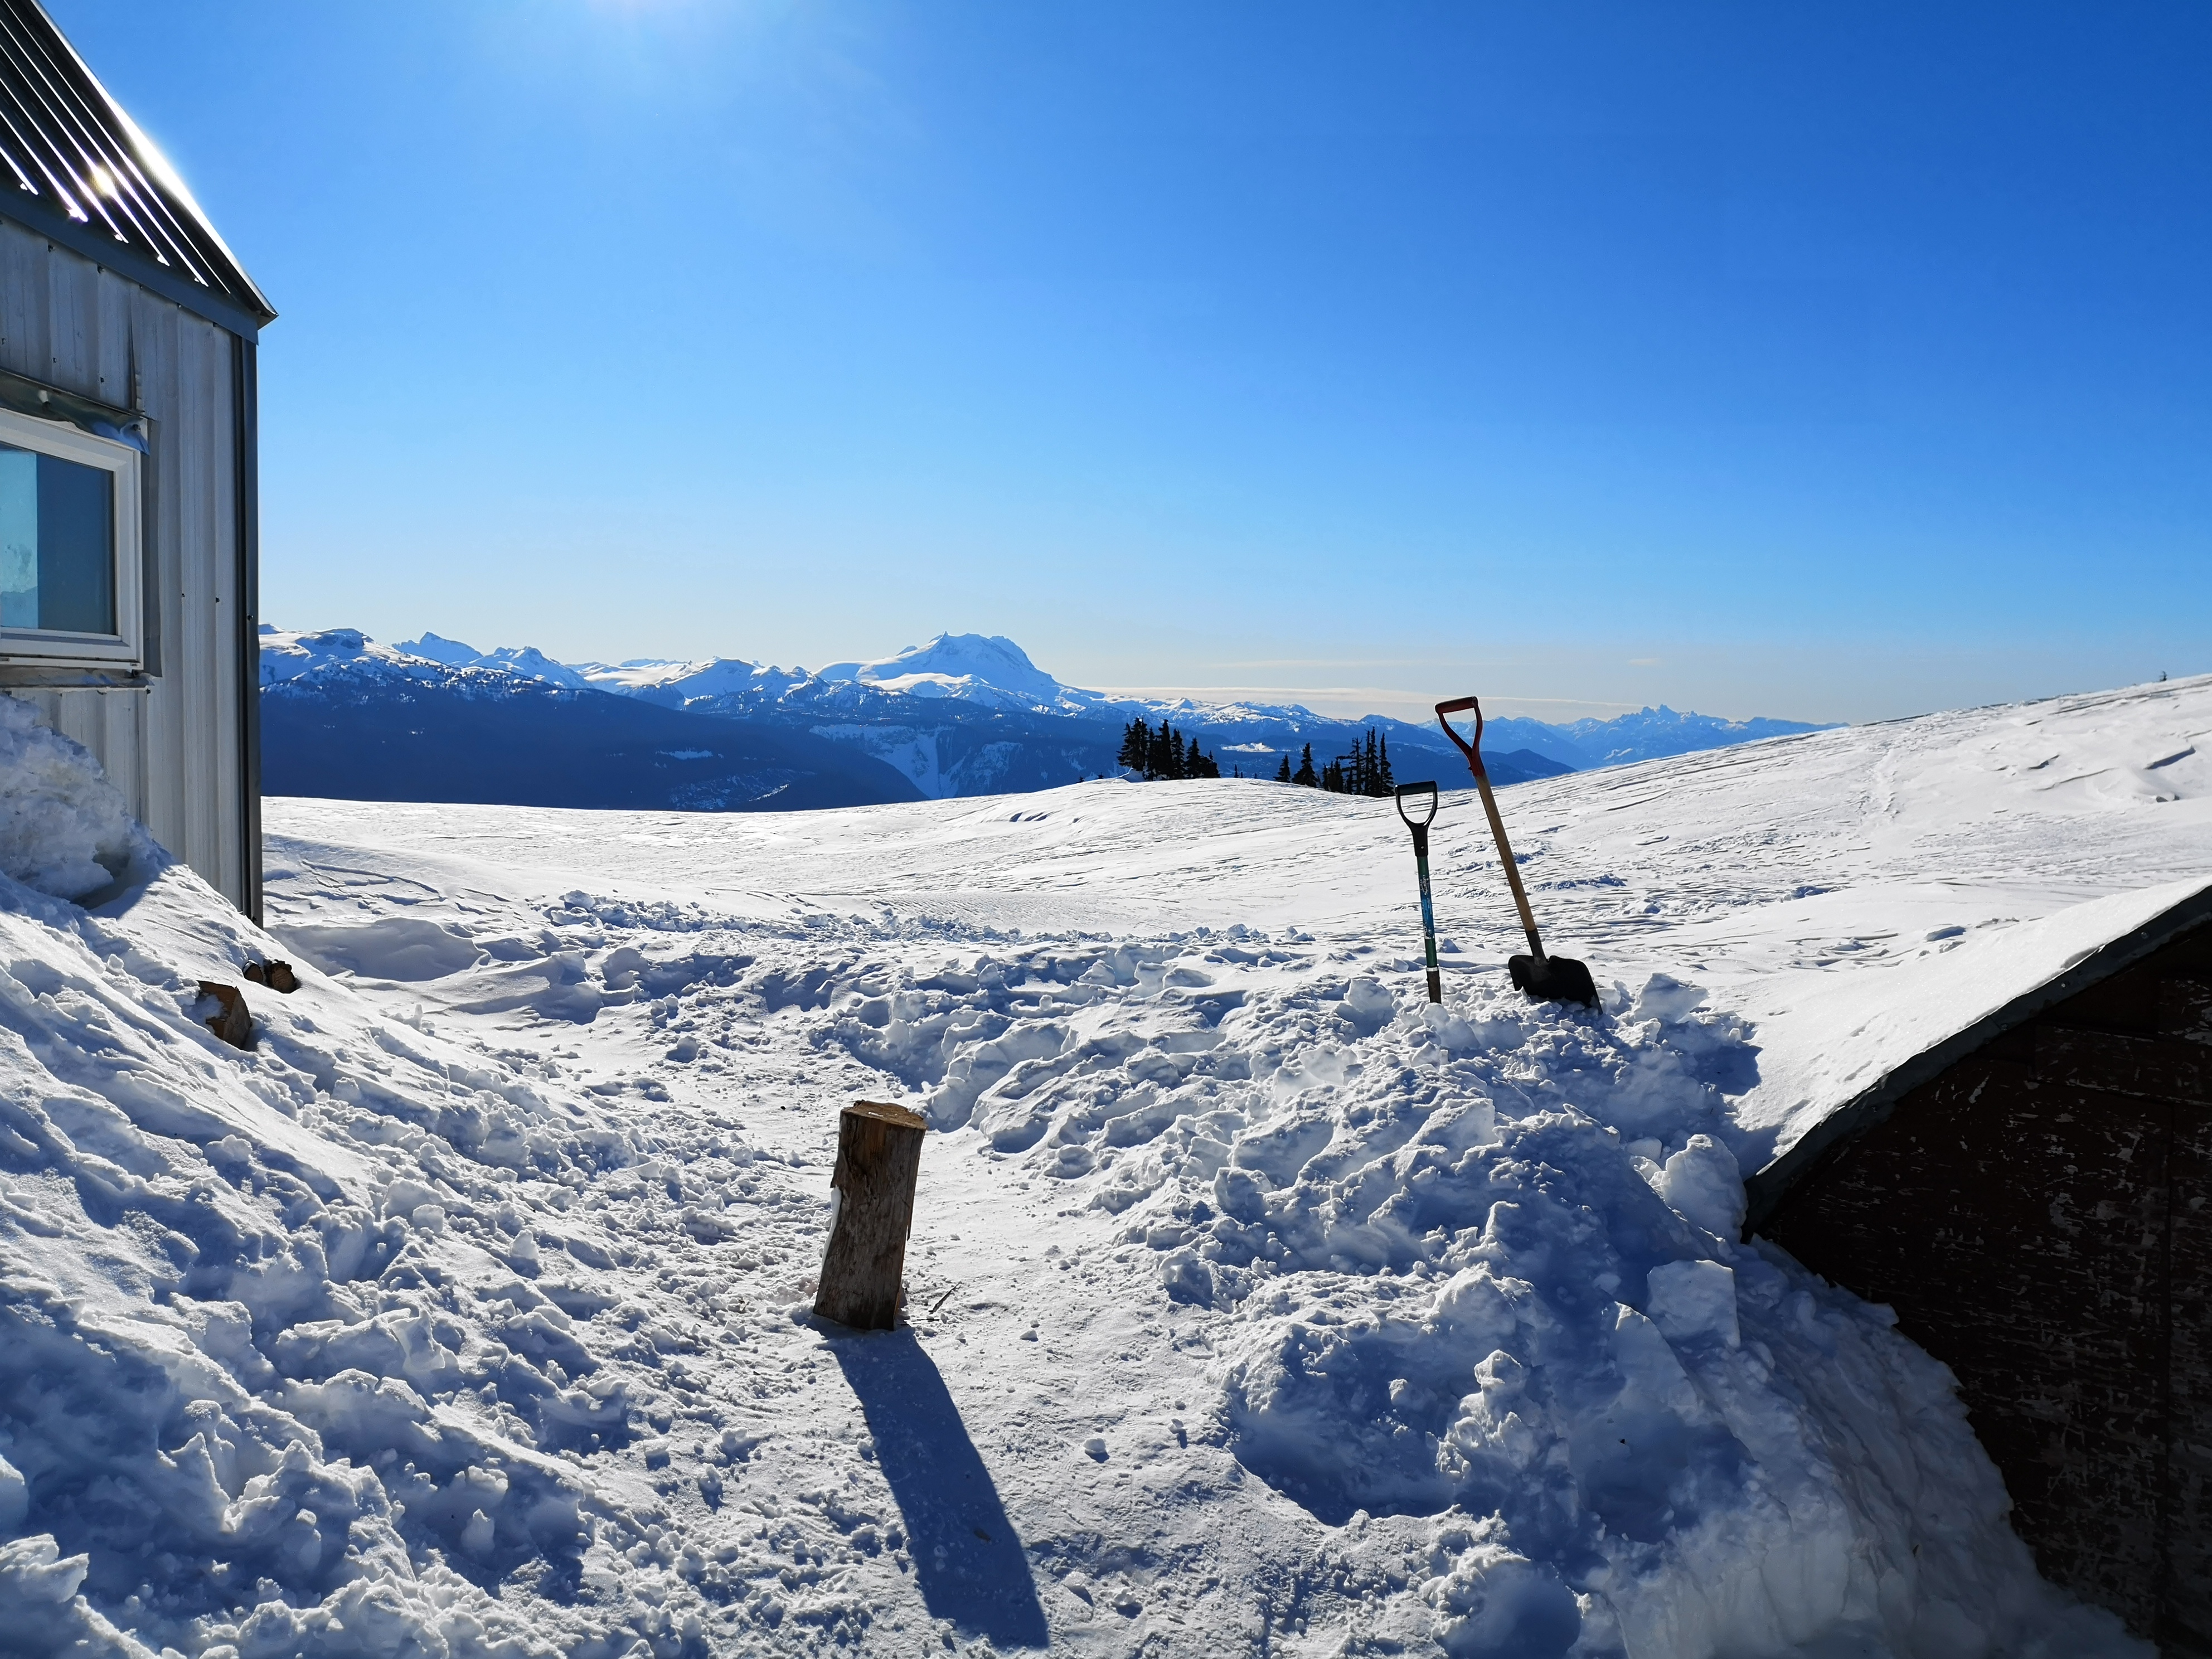
Brew Hut was built and maintained by the VOC – a UBC-based club dedicated to helping people explore the outdoors. Depending on who you ask, the hut is either luxurious or bare-bones. It features a large central table and bench, an old gas stove, a loft for sleeping, a wood-stove, books, a surprisingly nice guitar, and an outhouse. It officially sleeps about 12-16, but can accommodate up to around 20 if needed. The VOC asks that you register your stay beforehand (this helps coordinate with other groups that may be staying at the same time), plus pay a small fee for maintenance ($10/night). While we were planning on tenting that night, we did hope to find some room in the comparatively warm hut to cook and socialize before bedtime, as we arrived with several hours to kill before turning in. Fortunately for us, it seems that two groups of the four booked that weekend didn’t show up, leaving plenty of room for us to cook, eat, dry gear, and make new friends.
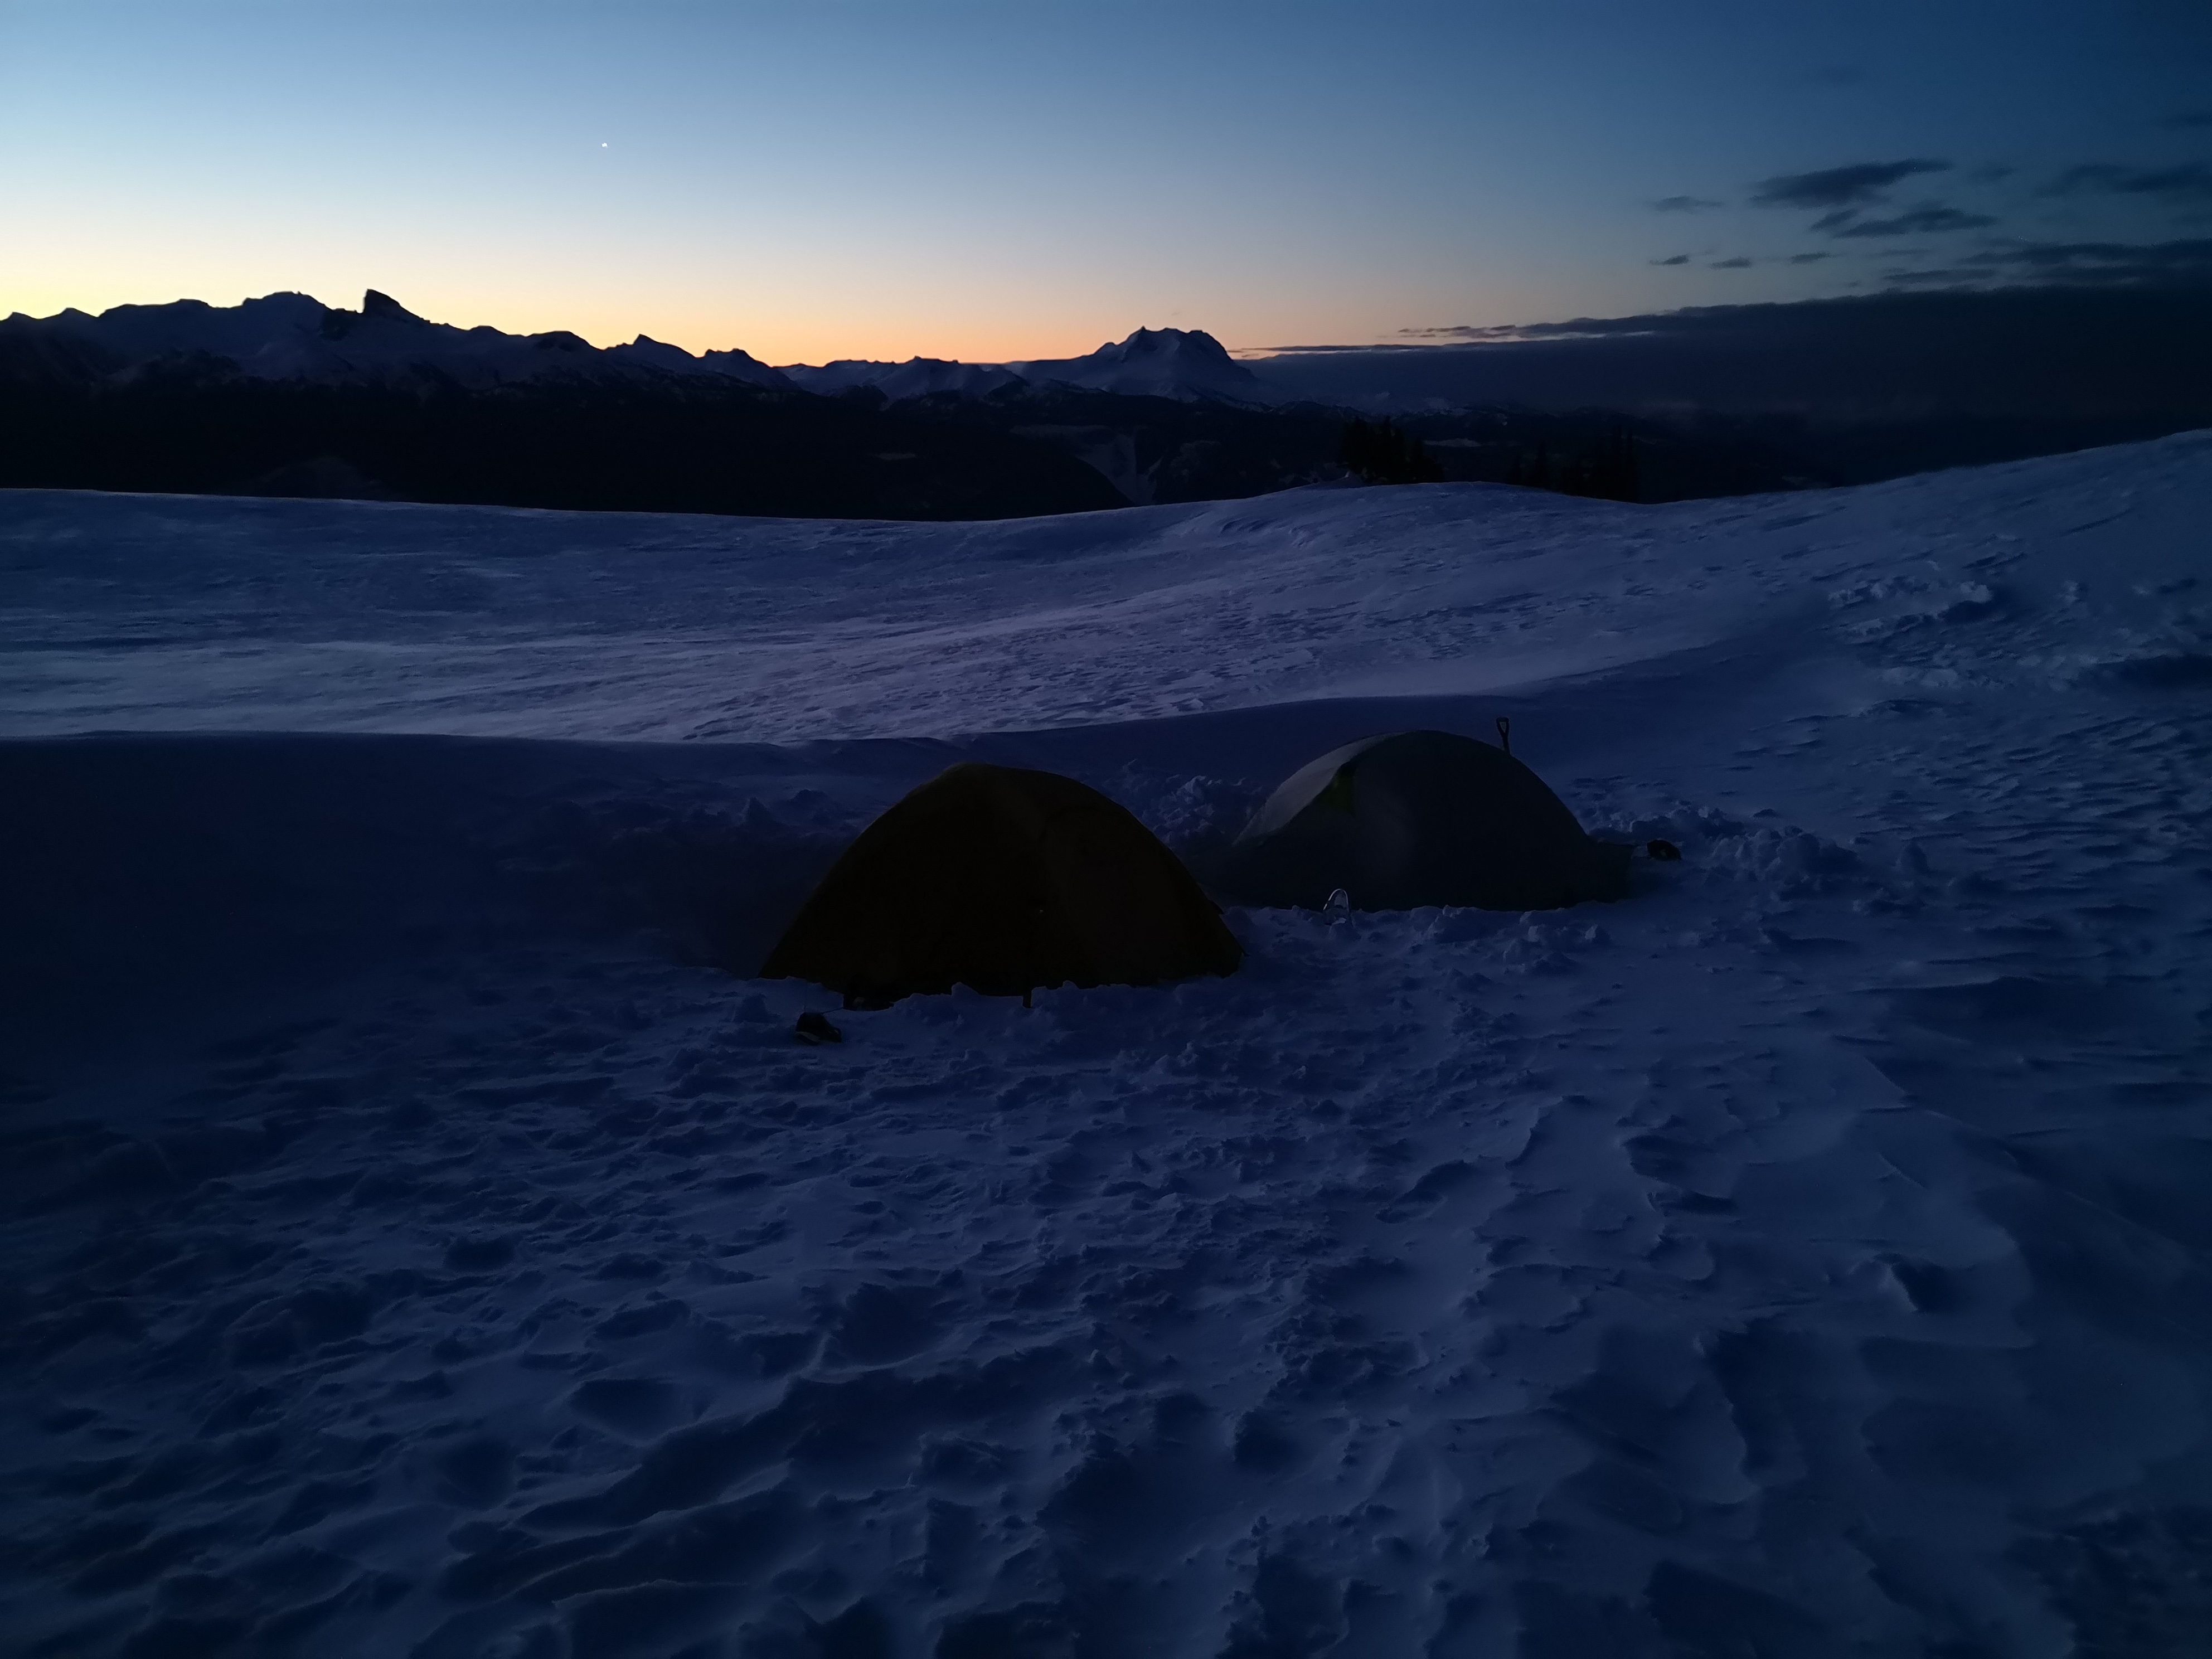
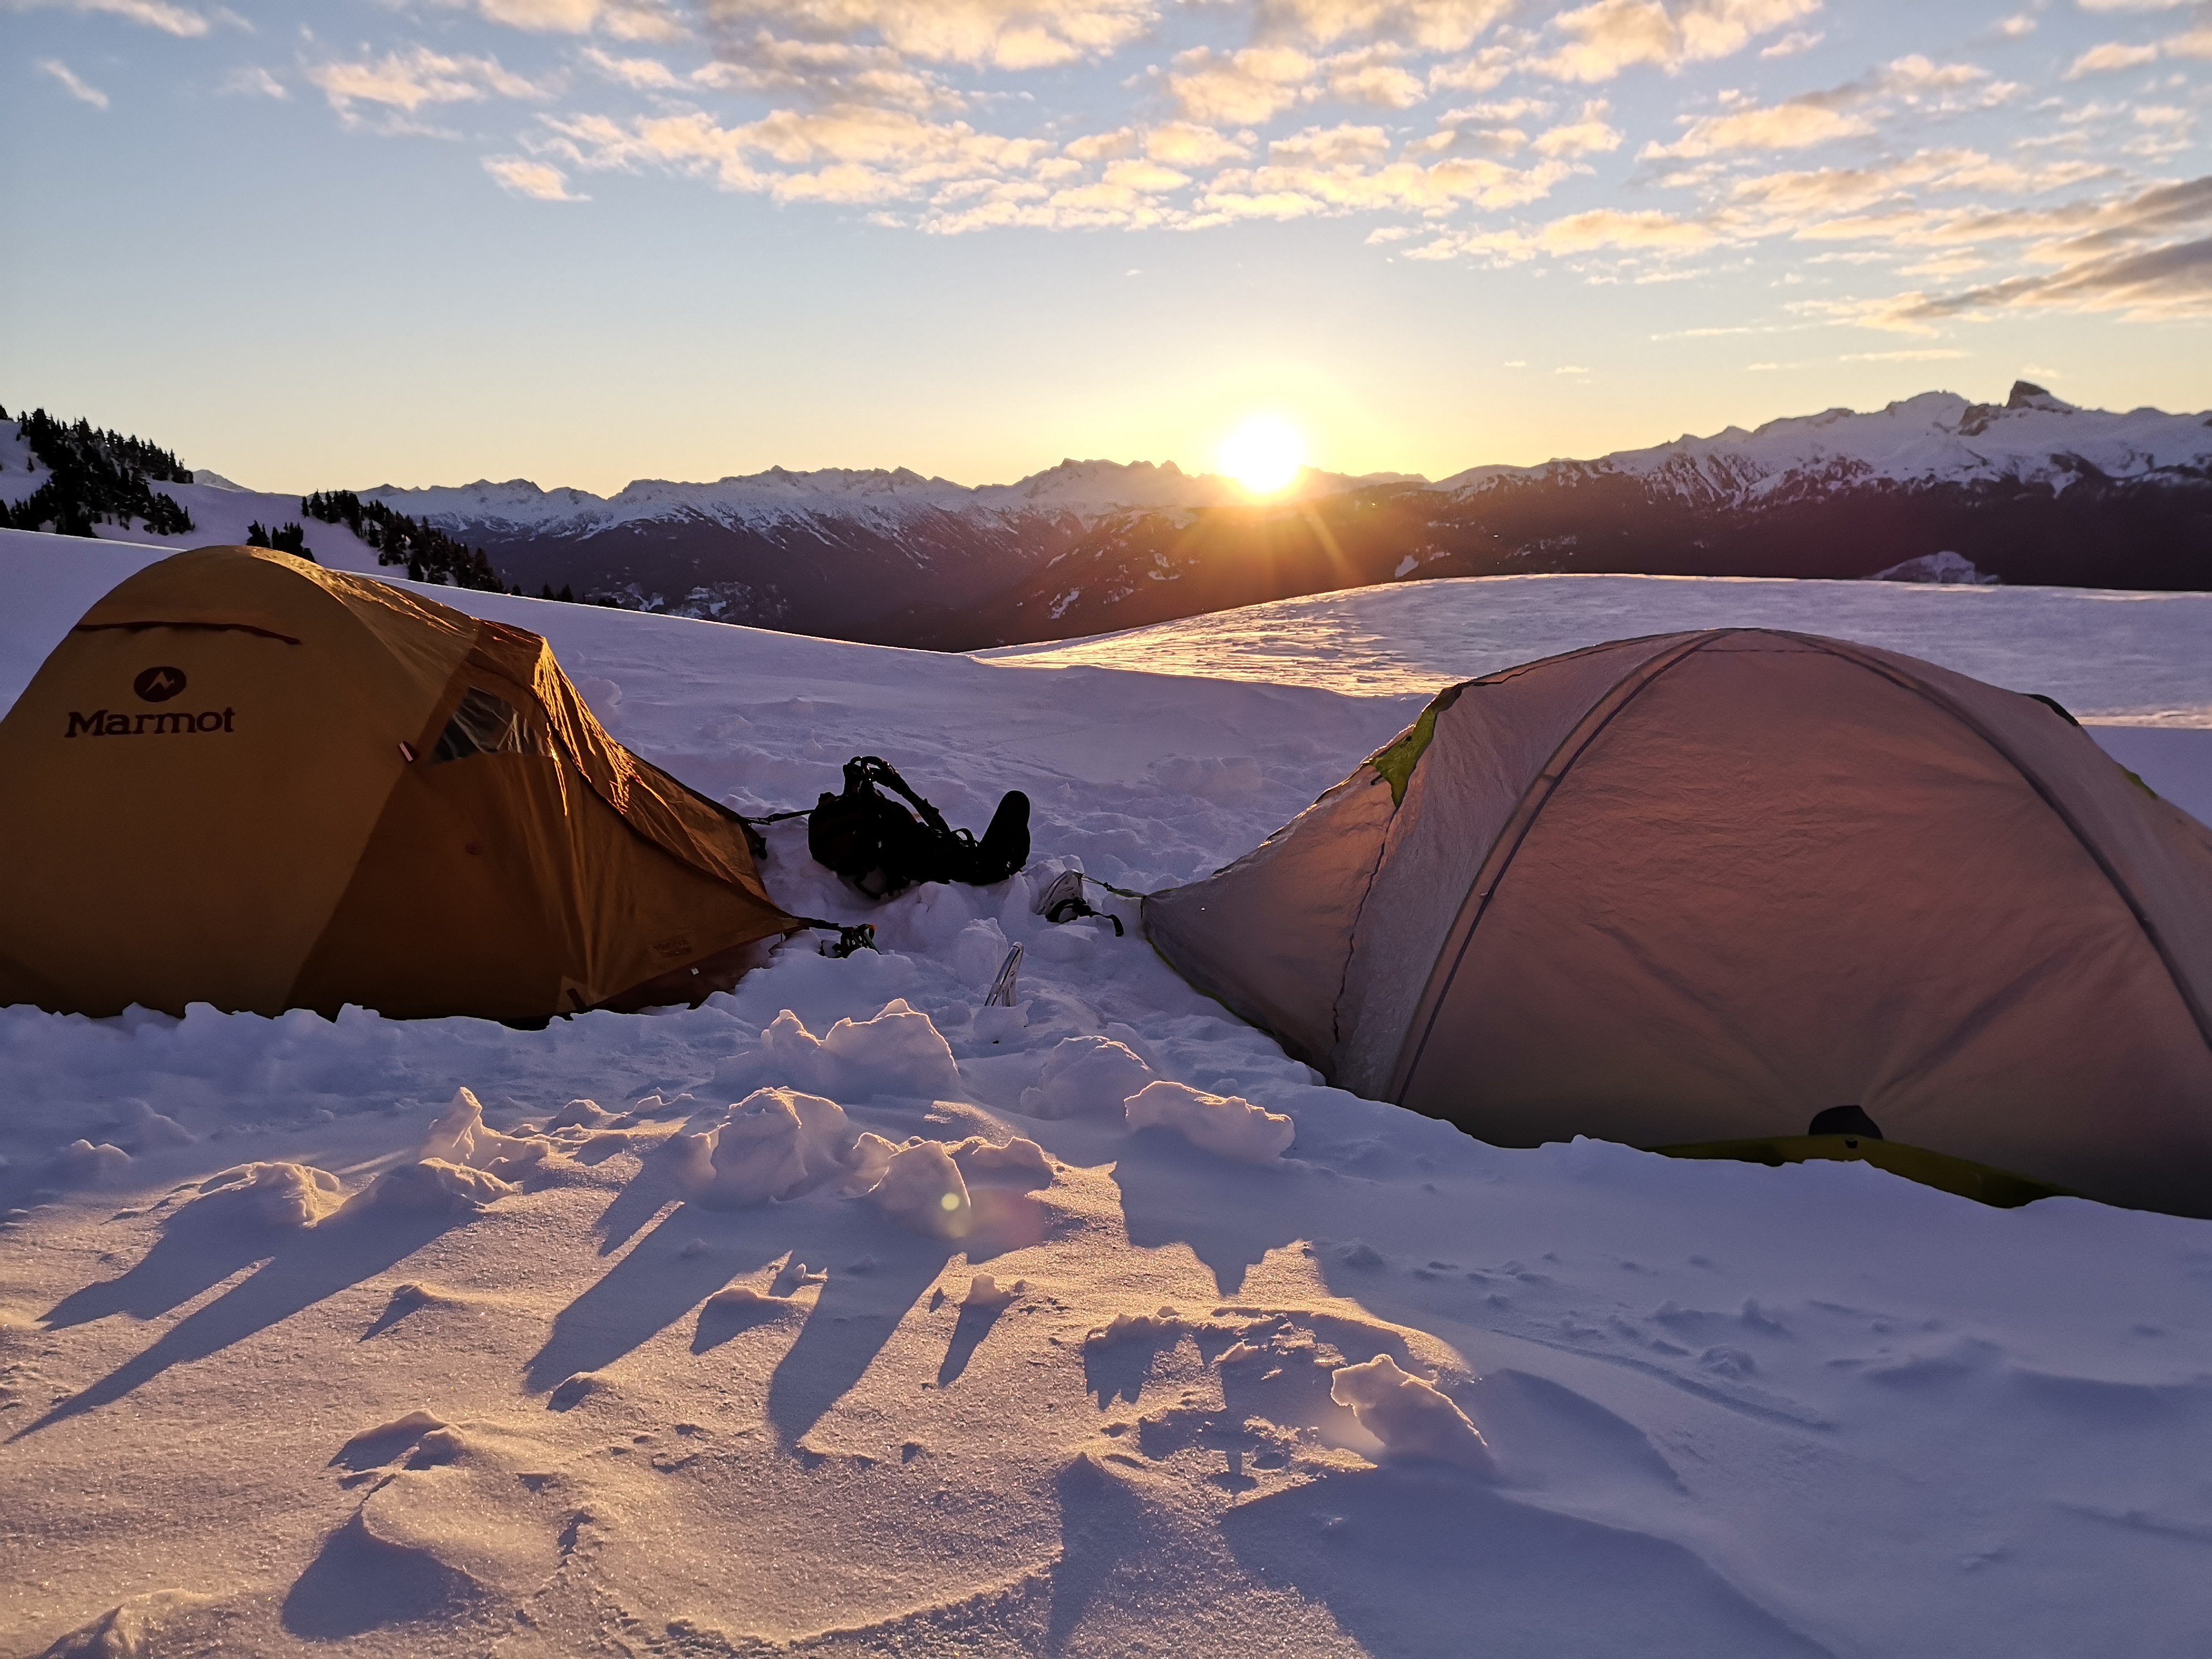
After a hot meal, some whiskey, and various other treats, a few of us braved the wind and darkness to set up the tents. We settled these into pits dug about a foot deep, struggling against the wind (including a last-minute catch that would have seen one of the tents flying into the open and empty darkness below), and staking them into the snow using partially buried snowshoes and ice axes. With our toes protesting in cold boots the whole time, our only consolation was the density of stars in the sky above, far from city lights. That chore completed, we retreated to the warm and light of the hut again to warm up, hang out, and prepare for bed.
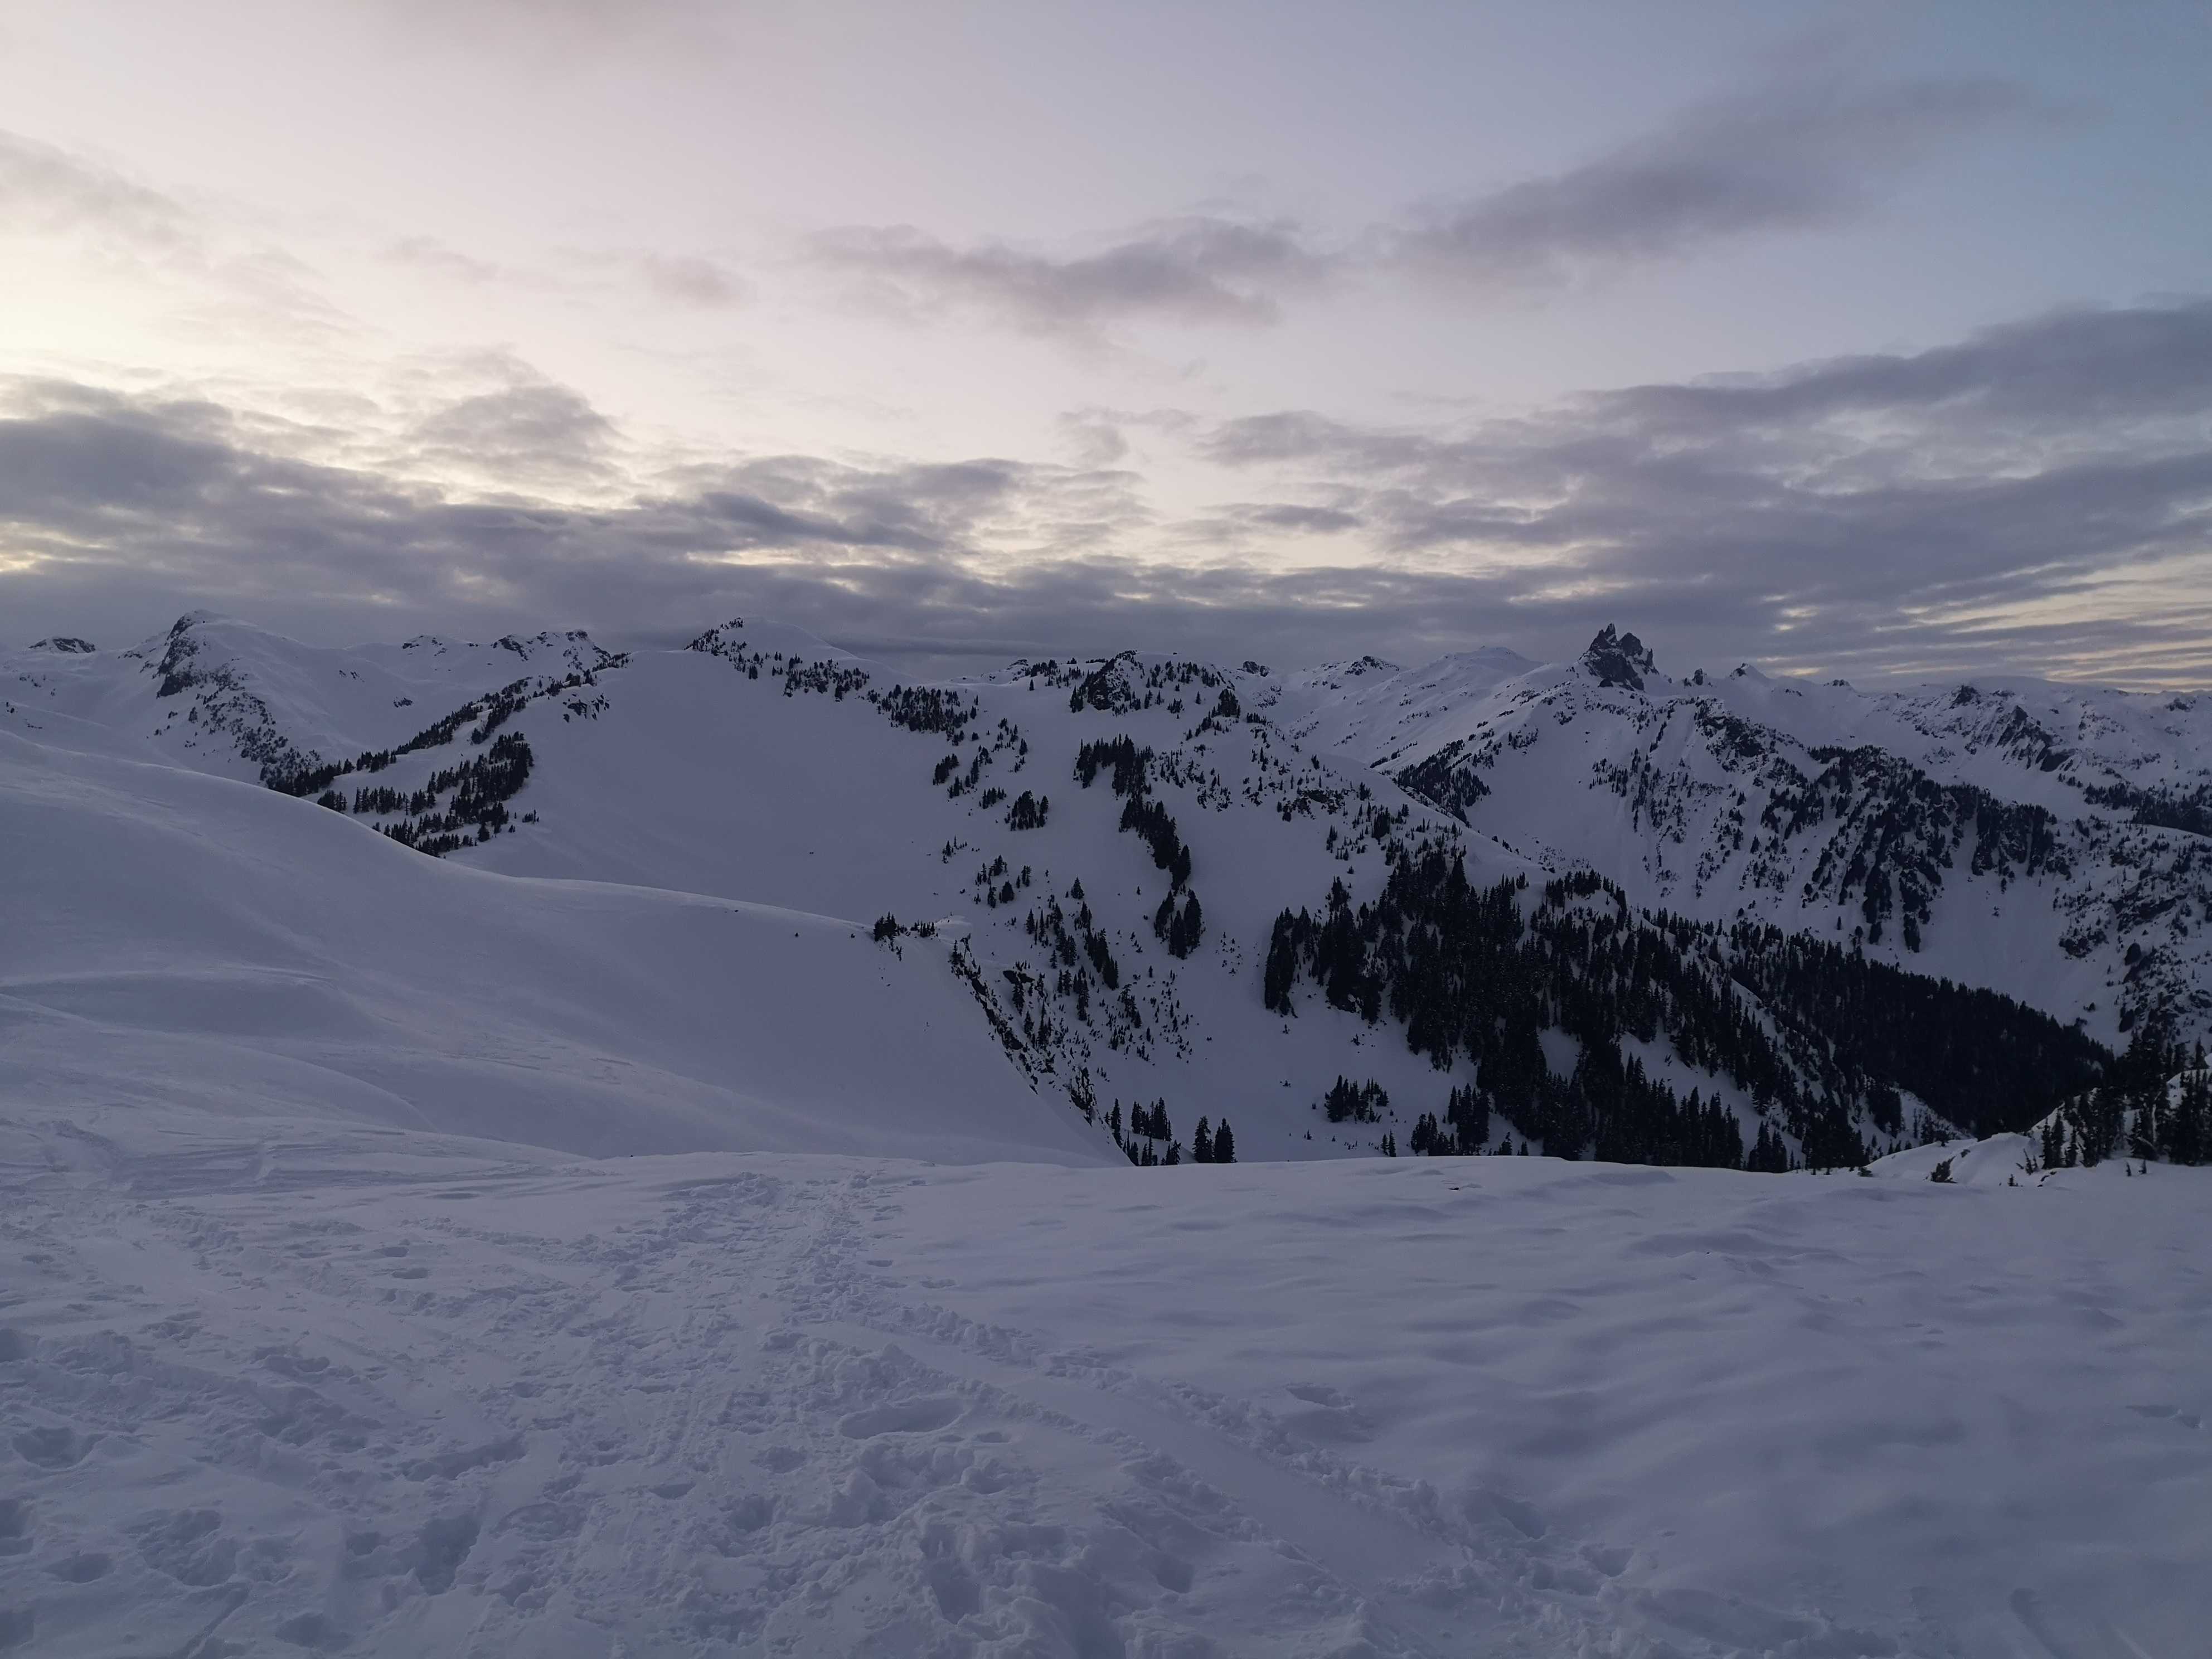
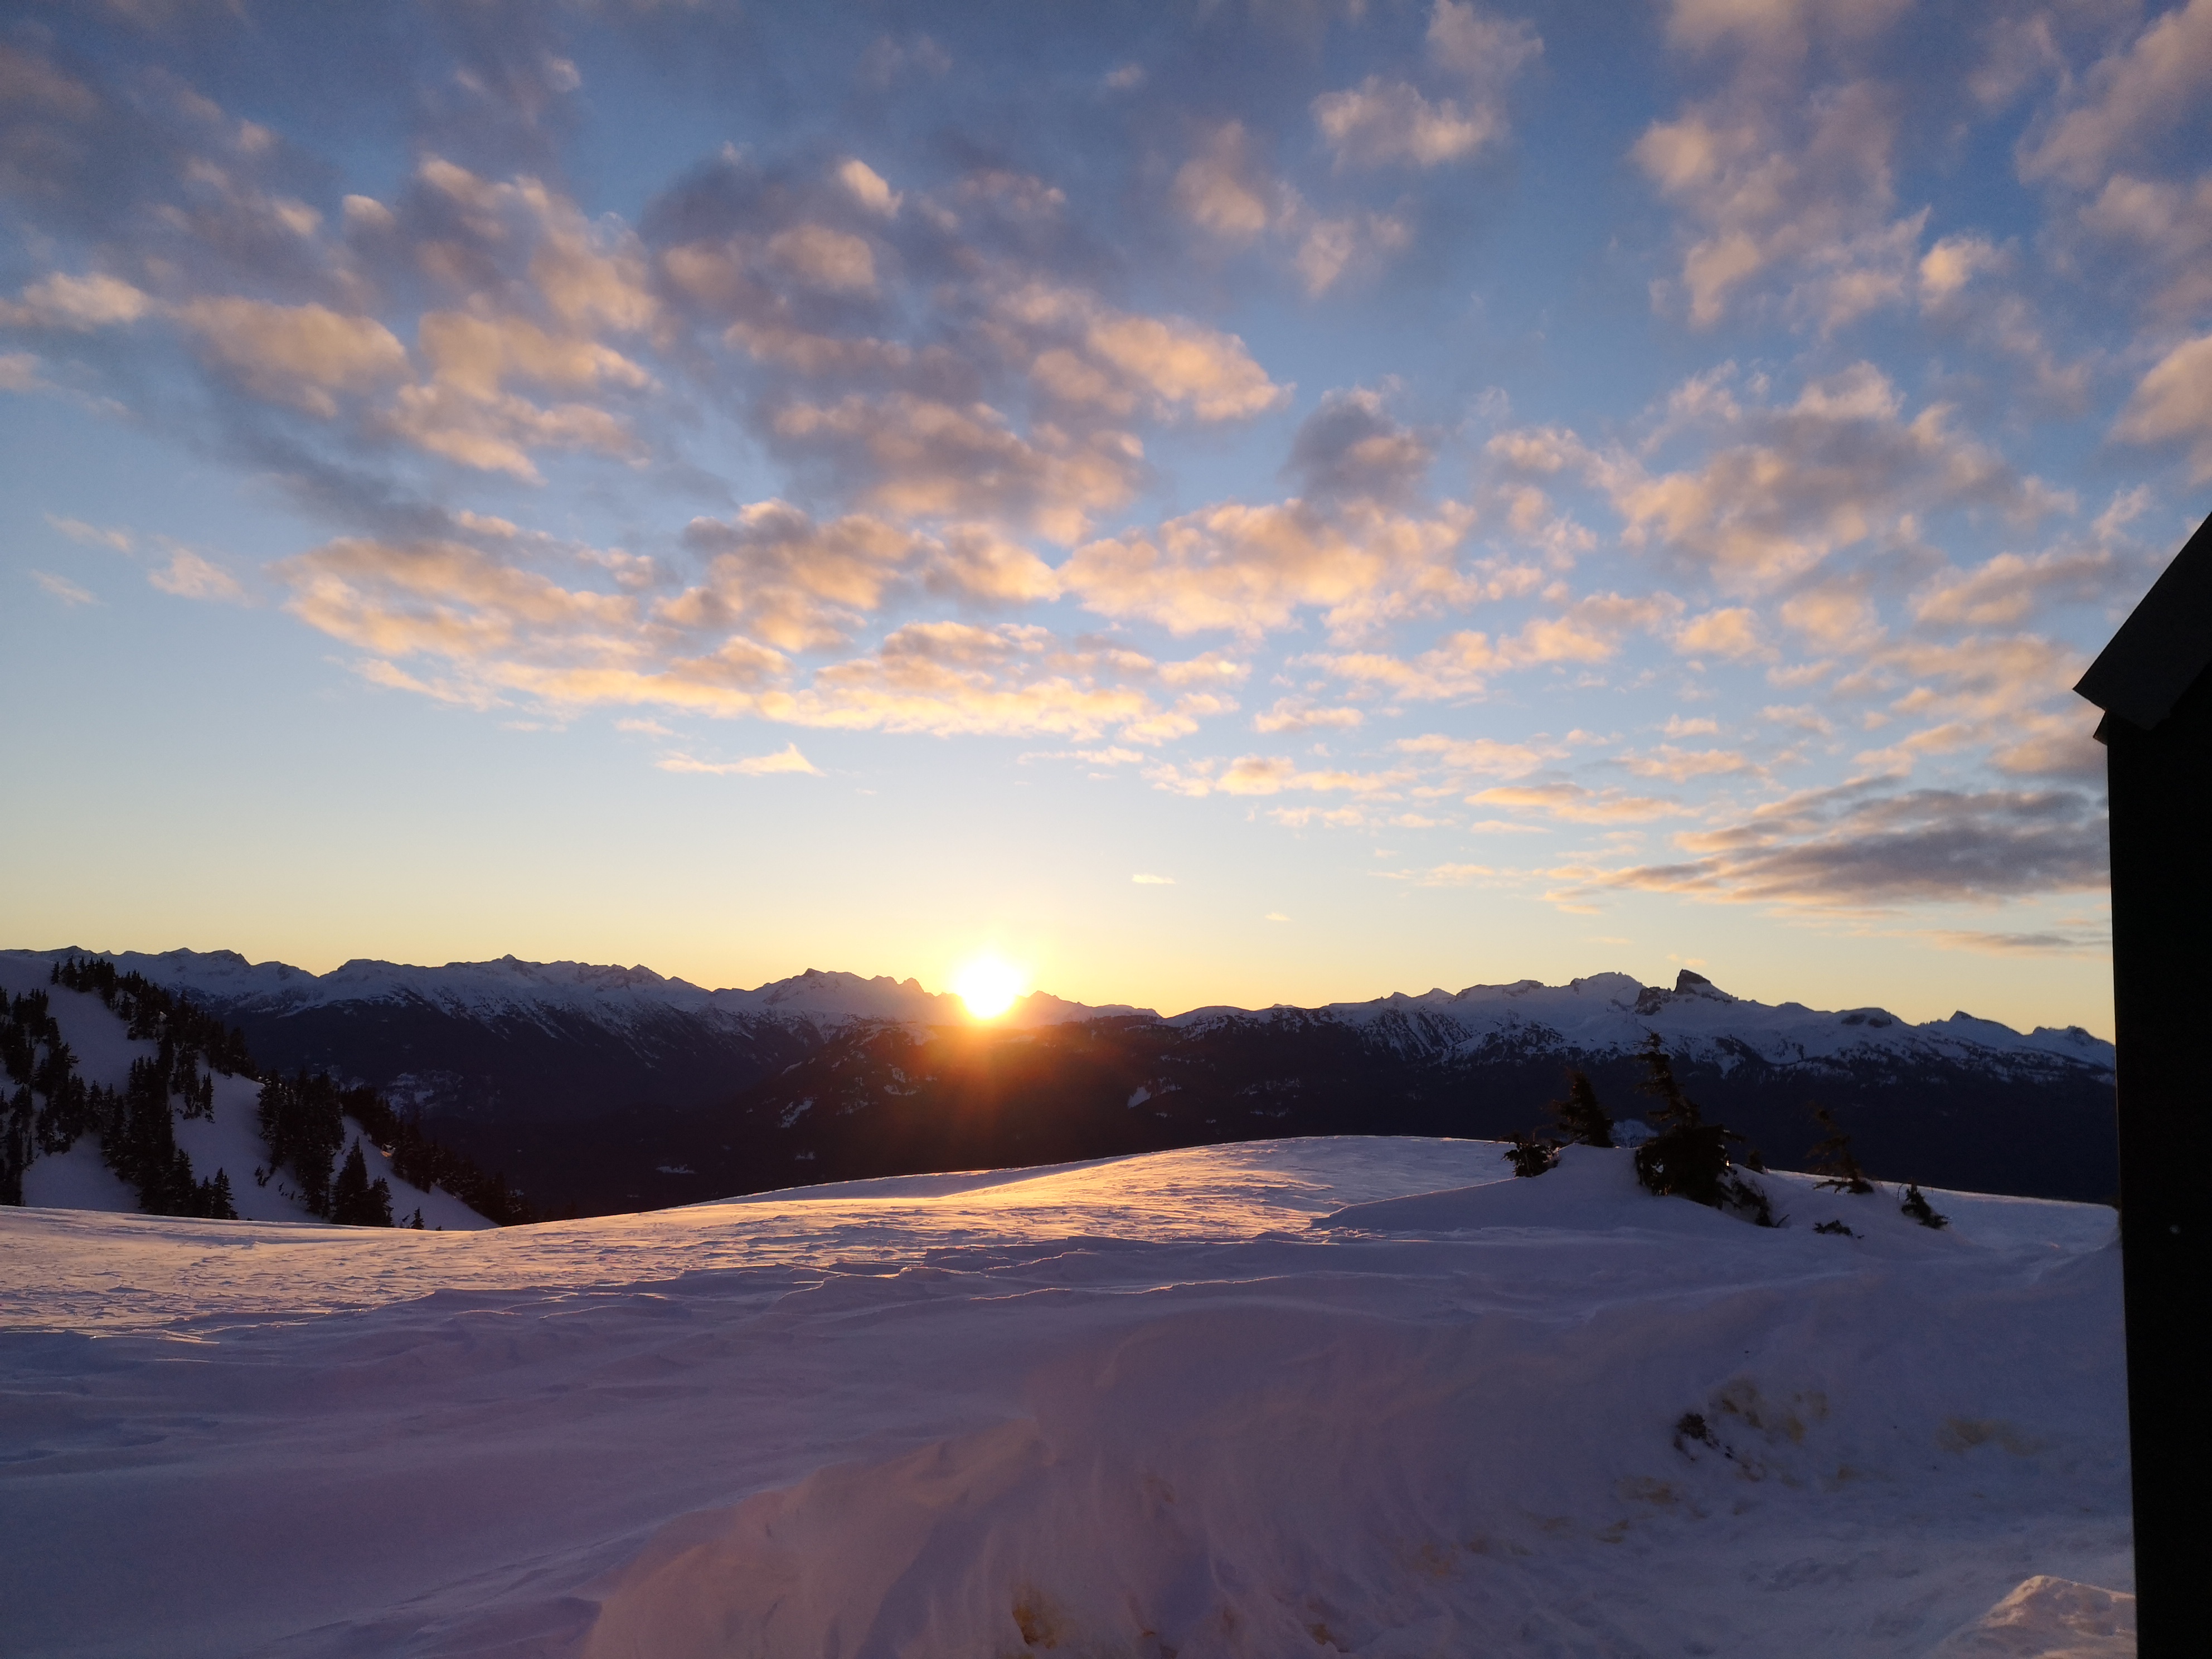
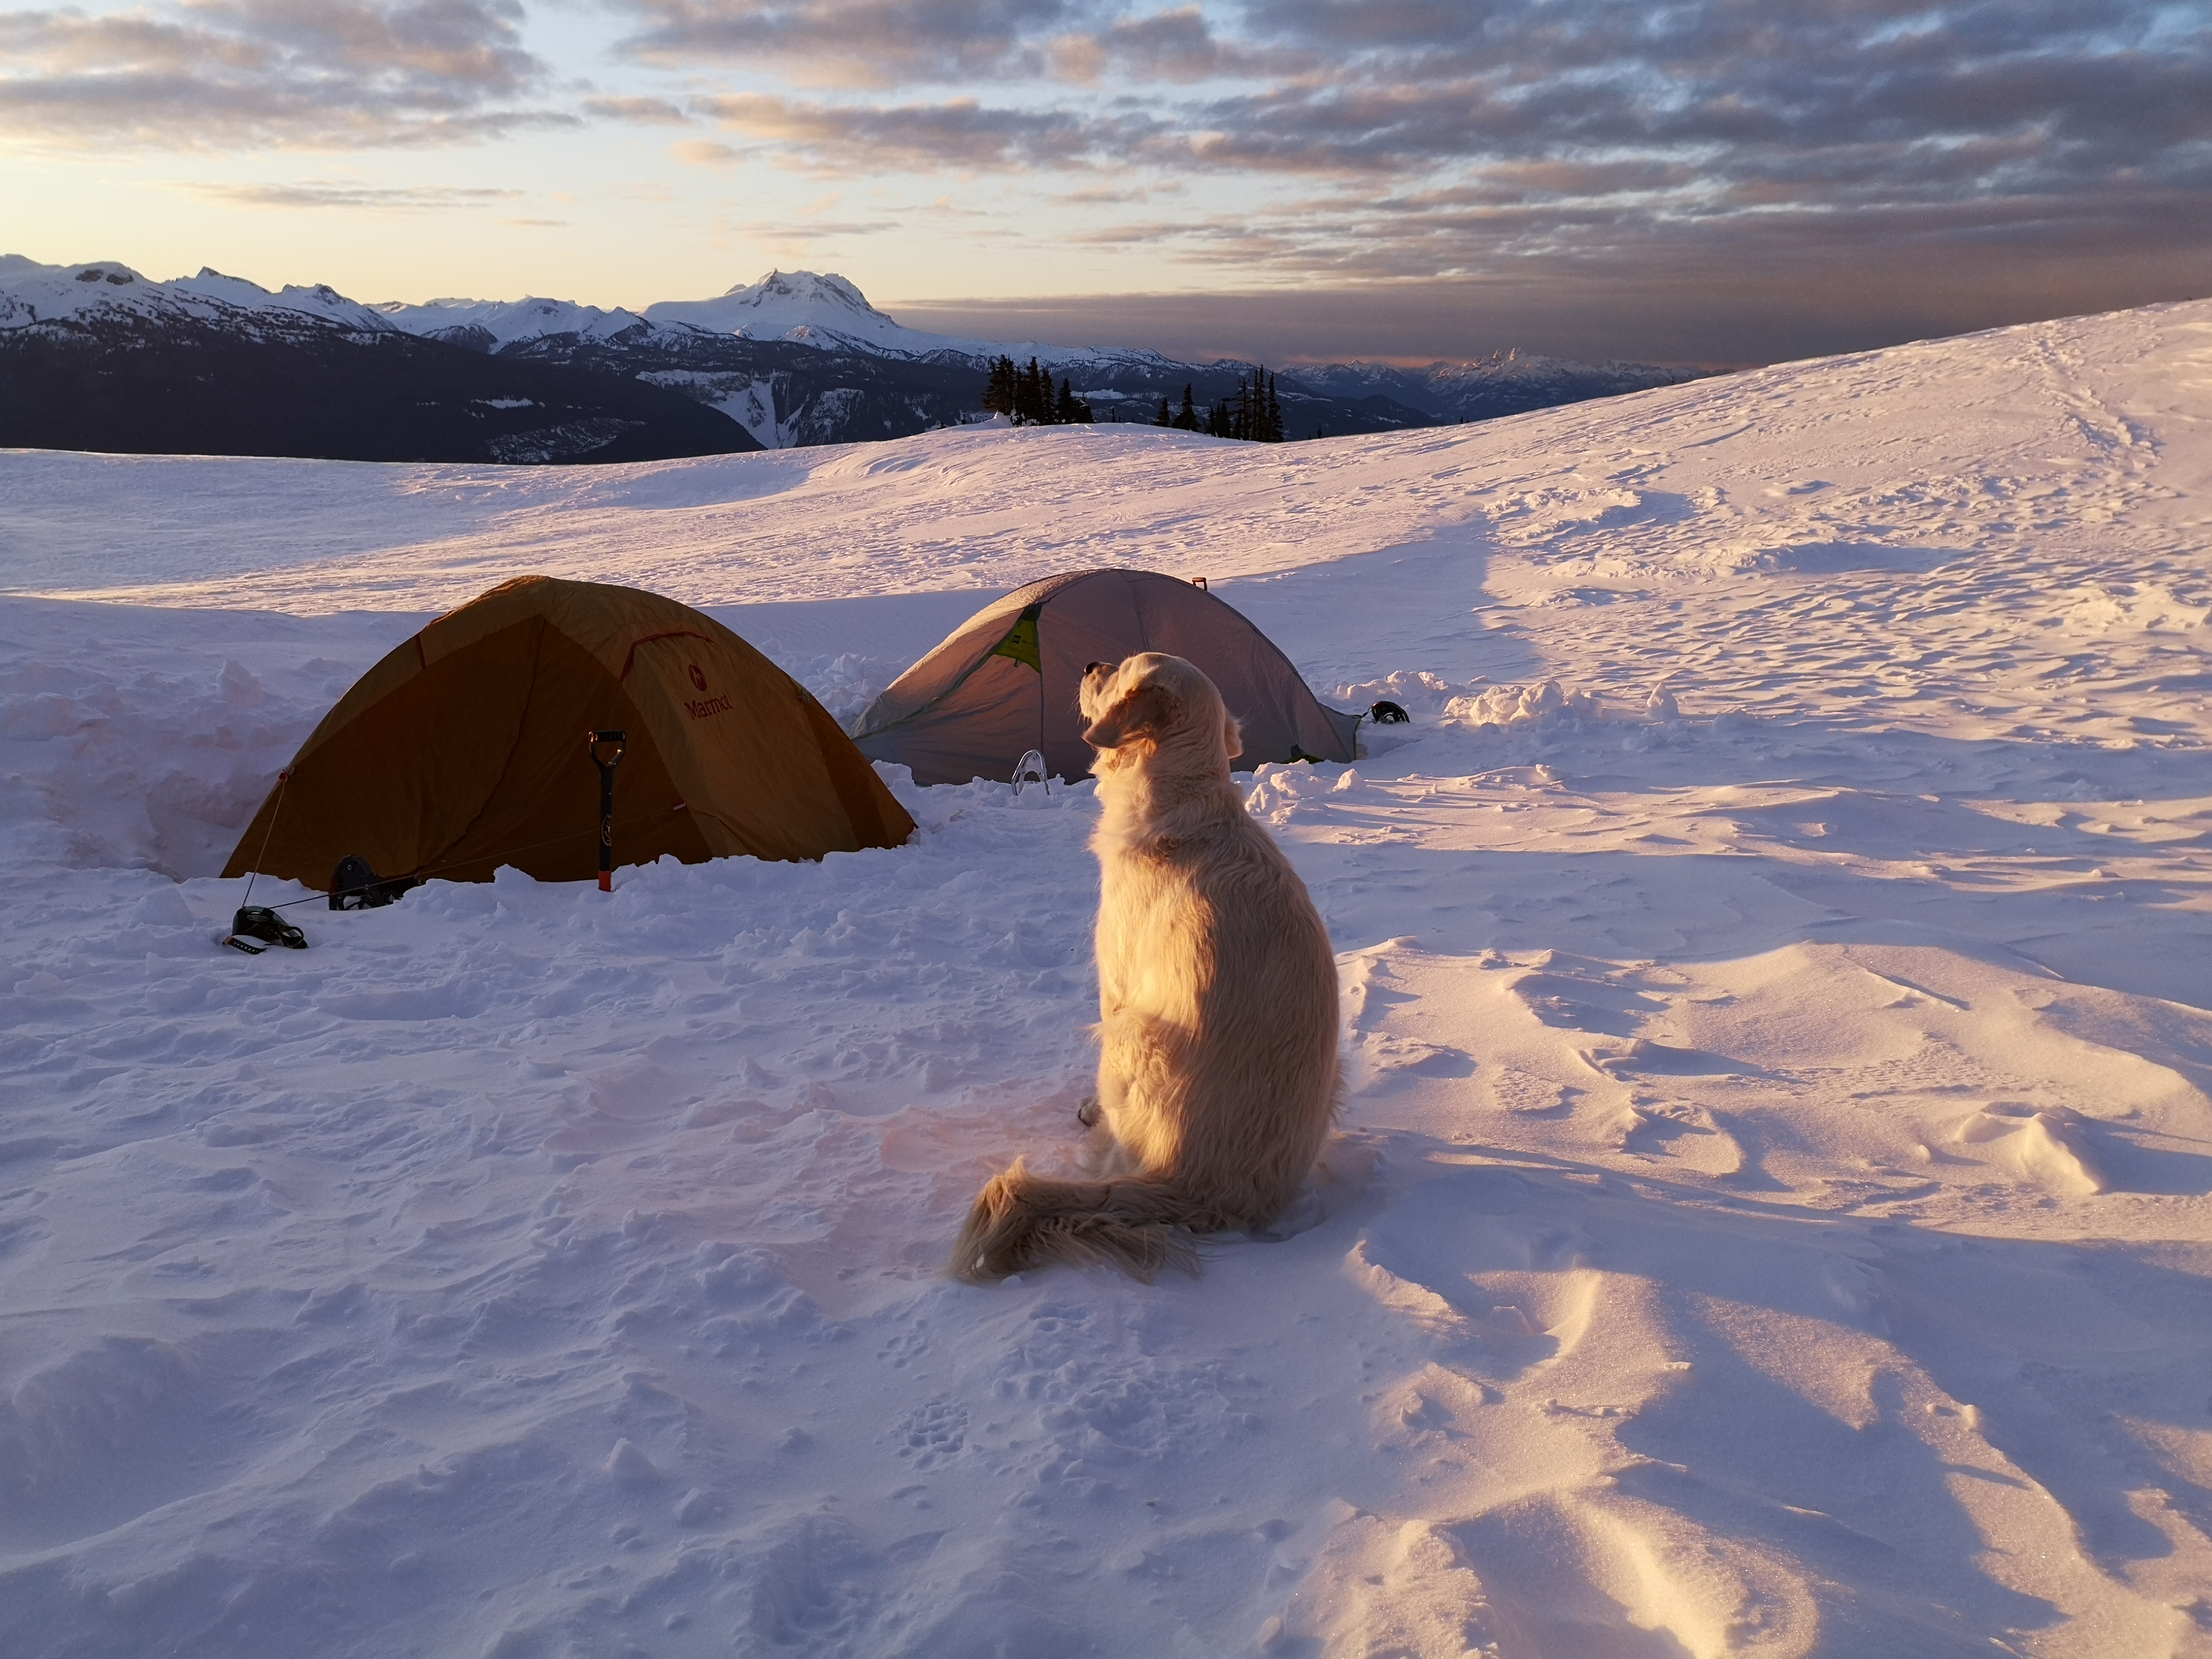
We all slept well-enough on the ridge that night, ranging from comfortable enough to downright cozy. As the first one awake, I made myself some hot tea in the hut and assigned myself to photography-duty to capture the glorious sunrise. Luckily, I had a new friend for company.
As both hut- and tent-dwellers sleepily stumbled into the main area of the hut for breakfast, we discussed our night’s rest, gear, and lessons learned. It was another gorgeous sunny day, and we had a slow morning. By the time we were beginning our descent off the col, stomachs full and gear packed away, it was about 9:45am.
Fortunately for some of us, the men in the party were seized by the irresistible urge to absolutely crush the trail and try again to bring the truck up the logging road. We split into groups, and they made good on their goal: they descended the entire length of the trail and logging road in three hours, and managed to get the Tacoma up to meet us around the logging road bridge, which saved us about 4 km of the trail. Well done boys!
We were back in Squamish and eating delicious Indian food by 2:30 pm. Despite a few mishaps, the trip was smooth, the gear sufficient, and the team prepared. And the elephant in the room – Yeti attacks – could now be shelved… for the time being…
Here are some strategies we used to keep ourselves warm and cozy for a night at 30 below:
- Properly rated sleeping bags – check the temperature at elevation before you go, and make sure it falls within your sleeping bag’s ‘comfort’ rating. Bags should provide a couple of different ratings, such as comfort and survival (eg: -20°C comfort, -40°C survival).
- Moisture management – moisture is your enemy! While there’s no way to stop sweating if you’re hiking uphill with a massive pack, take the time when you stop to change into dry clothes. Remember that you only have about 5 minutes of residual body heat once you stop – after this, the cold air on your wet clothes will freeze you!
- Don’t breathe into your sleeping bag – the moisture from your breath will make your bag damp, reducing its effectiveness if you have a down bag. Similarly, if you’re so hot you’re sweating at night, remove some layers rather than risk getting your bag damp.
- Don’t compress your sleeping bag (like by squishing the end against the tent wall or a pack, or by wearing too many layer, etc). This will reduce the effectiveness of the insulation.
- Remember that down doesn’t work when wet – while down provides superior warmth and durability to synthetic, it’s game over if it gets wet. I put on my down puffy jacket only after I’ve stopped hiking, and I keep my down sleeping bag in a dry-bag just in case water seeps into my backpack or I have water bottle/hydration bladder/poorly stored alcohol malfunction.
- Fill a Nalgene water bottle with boiling water right before you go to bed, and take it in your sleeping bag with you. Those things do not leak, and will keep you pleasantly warm for hours.
- Remember that things outside of your sleeping bag will freeze. On our trip to Brew Hut, the hut itself stayed just above zero all night, so we left everything we didn’t need inside. Consider boots, water, food, sunscreen, etc. I slept with my contact lens case in my pocket so that my lenses would be warm and unfrozen in the morning.
- Boots can present a particular problem – they will likely be wet from sweat and snow, and will freeze into useless, rock-solid lumps if allowed. Leave boots in an above-zero hut if possible (consider adding some hut booties to your gear list to trek from the hut to the tents), or keep them in your sleeping bag. Alternatively, if they’re not too wet, remove the laces and pull out the tongues before bed so you can get your feet into them in the morning.
- Eat high calorie food, especially before bed – you need calories to keep warm and for high exertion activities. One of the best things about hiking is that it enables guilt-free indulgence!
- Dig a pit for the tent to get out of the wind – when digging, ensure that the pit you make is level (it’s harder than it seems!). You will consider the extra effort put in worth it when you’re not rolling into your tent-mates in the middle of the night.
- Dress in layers – a basic hiking tip, but extremely important here. At night, I wore thermal base layers, fleece mid layers, and insulated outer layers, plus gloves, a toque, and a buff.
- There is no such thing as bad weather, only bad gear – take care when preparing your gear list by checking conditions and planning for emergencies. Bring first aid gear, spare batteries, avalanche safety equipment, extra food, and extra warm clothes. Pack items that it’s crucial to keep dry in dry-bags/Ziploc bags (such as warm clothes, electronics, paper maps, phones, apartment Fobs, etc). Check your teammate’s gear too, whether by sending each other photos, or by conducting a pre-trip check to make sure no one forget anything. Gear malfunctions are not just one person’s problem – they’re the whole team’s problem.
Trail Stats
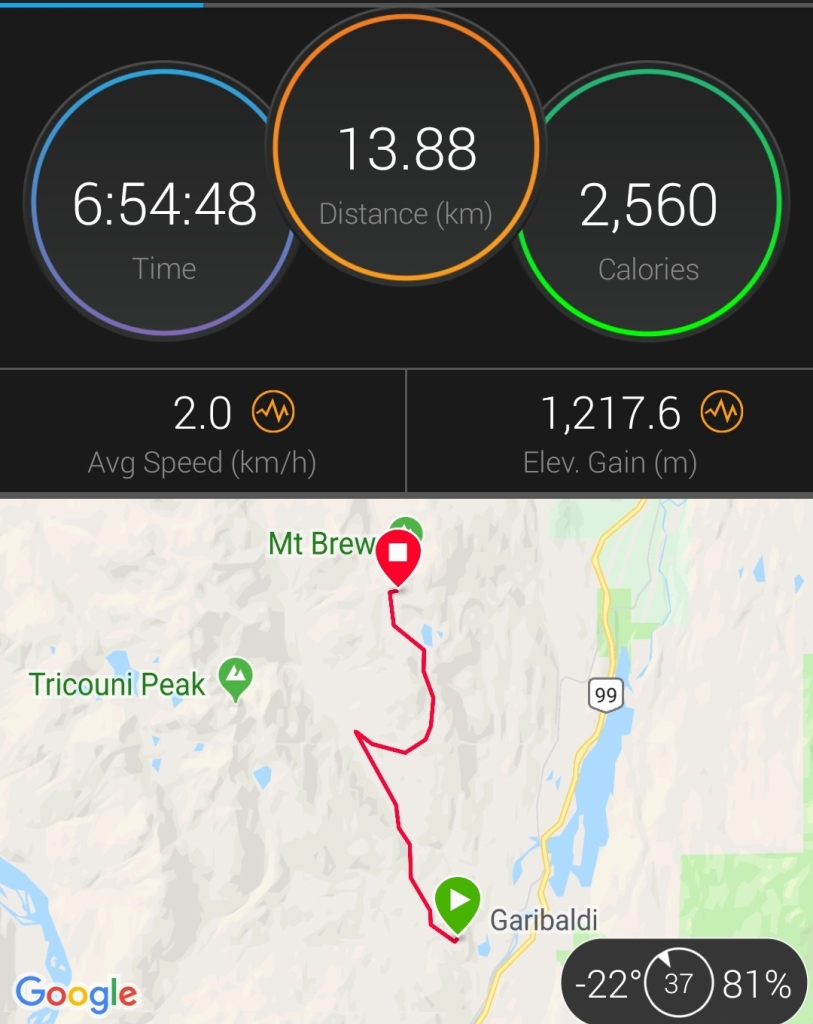
This trip was completed in March 2019. The total distance over 2 days was about 28km. The elevation gained on day 1 was about 1200 m. The trip up to the hut, plus the logging road (minus the first km of the road), took just under 7 hours. The trip down took between 3-4 hours, depending on how hard each team member wanted to get crushed. We lucked out with the weather: we had clear, sunny skies for most of the trip; however, the wind on the col was a force to be reckoned with. The day high was above zero in the sun, and the night low was -30°C with windchill. Note that there is some avalanche danger on this trek (convex rolls, terrain traps, open slopes, cornices), so proper gear should be carried.

Have any good winter camping tips to share? Let me know in the comments below!

Well written and excellent account of the hike in winter time. I to often find myself wondering were the next Yeti attack will come from… the danger is real folks…
LikeLike
Constant vigilance is required. Thanks for reading! 🙂
LikeLike
Well written and good account of the winter route to brew hut. I’m glad you addressed Yeti attacks. It’s an often overlooked reality of backcountry travel. The danger is real folks….
LikeLike
This really answered my problem, thank you!
LikeLike
Awesome, glad to be of service Alejandro! Thanks for reading!
LikeLike
A fantastic write up there mate. Glad to see you’re enjoying a love of writing.
LikeLike
Thanks for the read Allie! Definitely loving the journey so far! 🙂
LikeLike